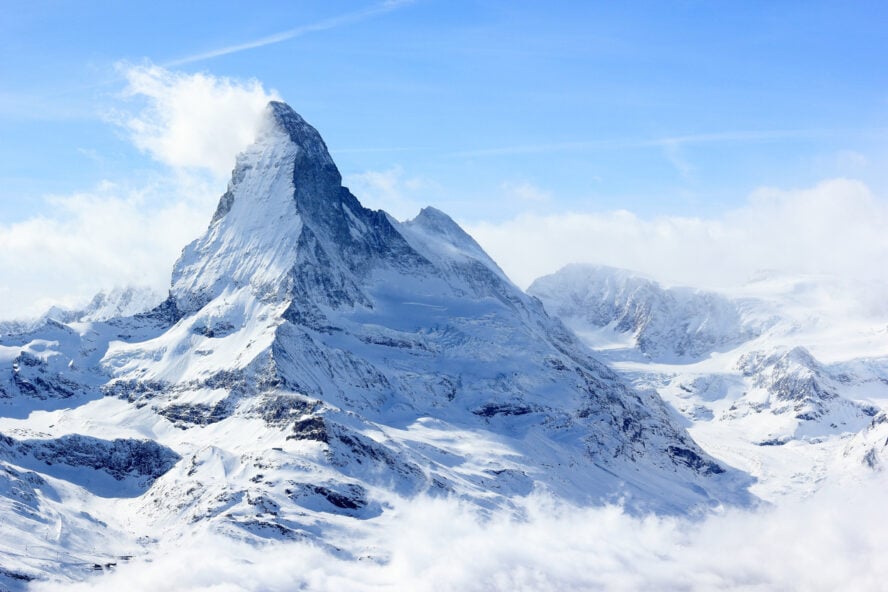
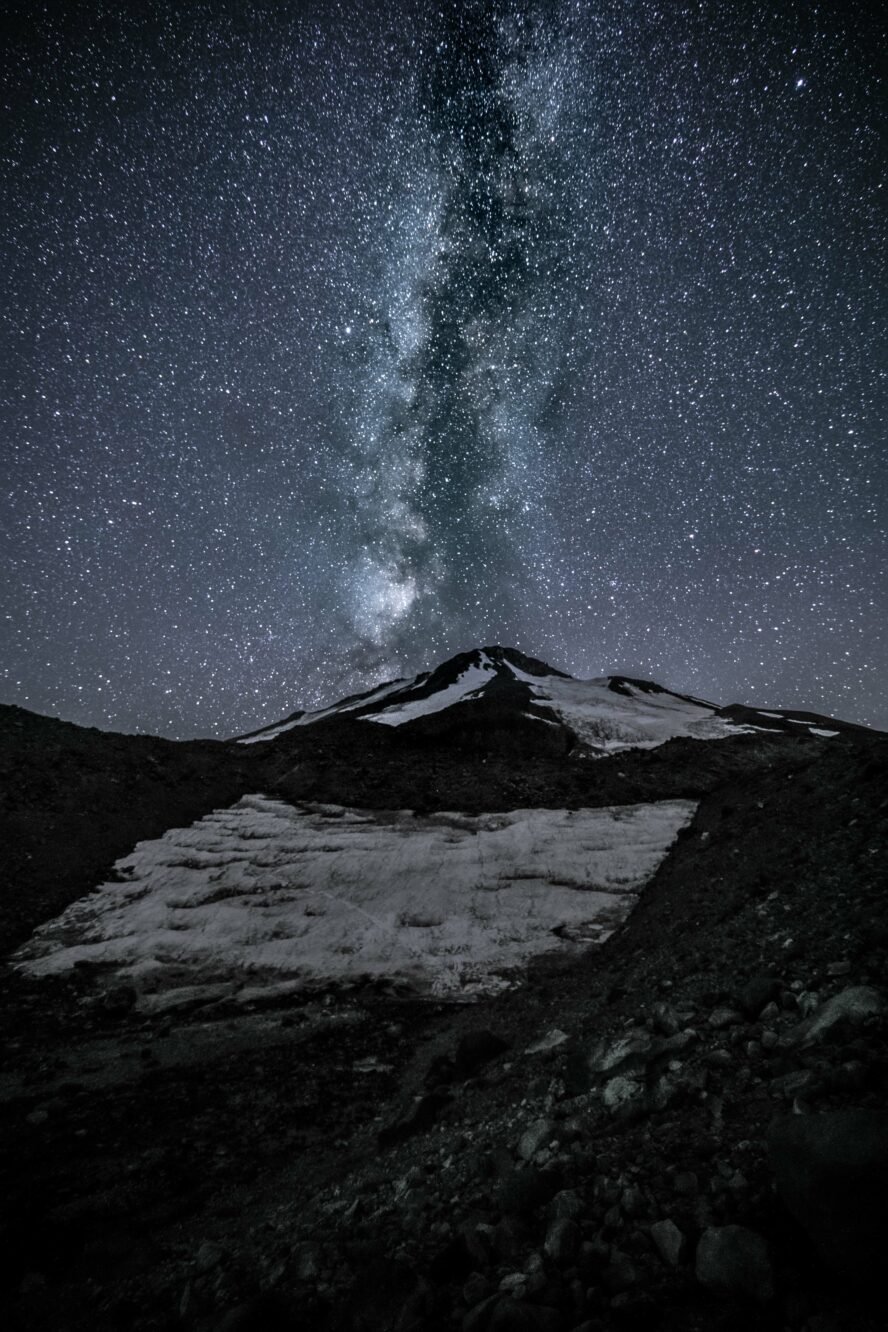
I drove to overnight for a climbing trip of Mount Shasta. At dawn, still miles from the mountain, I saw it on the skyline, a golden-yellow light radiating on top, its snowy head gleaming. The dark shadows of the horizon were beginning to be pierced by rosy sunrays, pillars of pink and orange.
“My blood turned to wine,” John Muir wrote upon seeing the peak for the first time.
“Am I supposed to climb this?” I thought, as it grew into view. You could say I agreed with Muir.
Standing like a lone monarch in Northern California, the pinnacle rises over 10,000 feet above the flatlands. It’s one of the most prominent of the Cascades, and on this approach it’s really all you see on the horizon. Commonly snow covered year-round, the slopes are drenched with deep layers, including some of the largest glaciers in the state.
That’s where we were headed, to climb Mount Shasta, a test piece for budding mountaineers.

Pros and Cons of Glacier Climbing on Mount Shasta
A Mountaineering Training Ground in Northern California
About a 5-hour drive from the Bay Area, Mount Shasta is a sought-after peak for climbers and mountaineers in North America—and a favorite of mine for teaching technical mountaineering skills. At a whopping 14,179 feet, it is just 249 feet smaller than Rainier, and with seven of California’s twenty-something named glaciers, the conical volcano is a rare opportunity to practice glacier travel in the lower 48—though record heat the past few years is changing this.
Getting to the summit is a choice—it can be anything from a full-day hike with rock scrambles like climbing Cotopaxi to a full-on technical ascent on steep glacier ice. This is another specialty of the peak: based on your fitness level and intention, there are a range of routes and difficulties.
The prominence of Mount Shasta, and its secondary peaks such as Shastina, stand out against the surrounding flatlands in this flyover 3D representation.
On the south side, for example, you can reach the top via non-technical routes such as Clear Creek (mainly hiking) and Avalanche Gulch (moderate snow travel without the need to rope up). Both of these hikes cover 11-14 miles roundtrip and have an elevation gain of 7,500 feet. If you are building your fitness base, they are enduro days comparable to peak bagging a Colorado 14er.
With that said, if your goal is to climb technical routes on Rainier, Denali, or in the Himalayas, Shasta’s north side is a good training ground. Here you will find similar distance days as those mentioned above, but with snow and ice in more exposed conditions—more than 7,000 feet are above treeline. Our all-women’s glacier climbing course focuses here, to help you advance your mountaineering skills. Trekking Kilimanjaro can be a good preparation for Mt. Shasta, though keep in mind that Kilimanjaro still less demanding. However, if Shasta is a bit too advanced for you at the moment, but you still want the experience and the views—I recommend climbing the Mont Blanc.
The Northside Routes: An Introduction to Mountaineering
The Hotlum-Bolam is one of the most popular technical routes, and a great introduction for aspiring mountaineers. Among the main glaciers on the mountain, Hotlum is the most voluminous: a vast ice field 3,000 feet in length by about 1.5 miles wide. Lying on the northeast face of Shasta, it is far from the major highways and busier southwestern routes.

While the route is on the remote northern aspect, it may actually be one of the easiest ways to access glacier and crevasse features in the state. Here you’ll encounter headwalls, seracs, bergschrunds, gullies, and other icy terrain, perfect for building a foundation of mountain skills.
If you dream of the alluring alpine climbs of the Bugaboos, which are a mix of rock and ice climbing, or ascending the Polish Glacier on towering Aconcagua, Mount Shasta’s glaciers are a great place to develop the fundamentals. Let’s start by talking about the tools and techniques needed for safe glacier travel.
Crampons: Learn how to walk on ice
The number one danger you are trying to prevent in mountaineering is slipping and falling on steep, icy terrain. If you do, you are very unlikely to walk away unscathed.
Crampons are a key piece of equipment to help prevent that. These traction devices attach to your mountaineering boots and their sharp points provide stability by biting into snow and ice. Simply, you need time on your feet in glacier terrain to develop the technique for moving efficiently and effectively in crampons. And that’s where we begin our course.
If you’d like more information about the different types of crampons available, and for what activity they are best suited, AMGA Certified Alpine Guide, Micah Lewkowitz, has a useful overview in his intro to ice climbing article.
Ice axe: The importance of self-arrest
Using an ice axe properly is the second important skill for a beginner mountaineer. To be clear, they are much more than glorified walking sticks, which is how I used my first alpenstock-like axe, a hand-me-down from my grandfather.
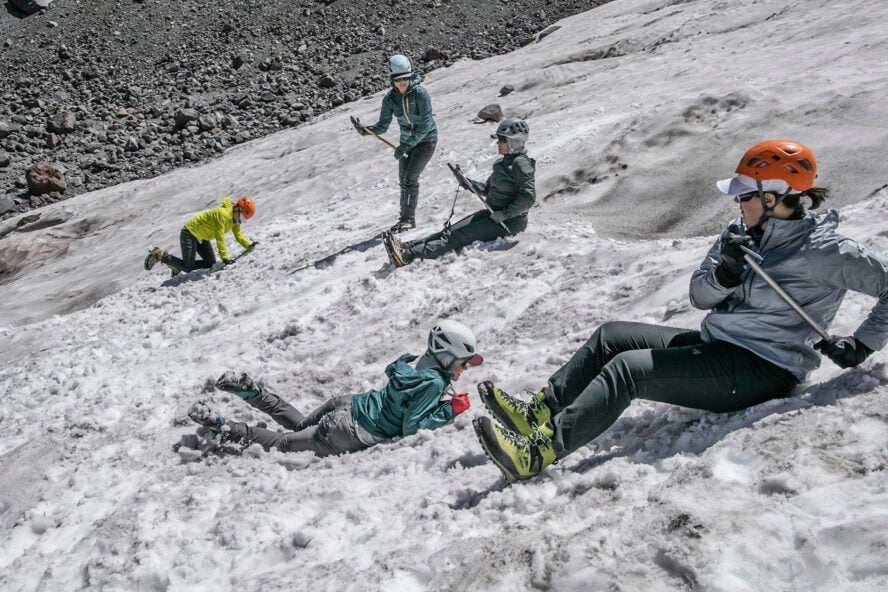
Essentially, ice axes help anchor your upper body to the mountain as you ascend. In the unfortunate event that you do slip and fall, your ice axe is the number one defense for arresting—slowing down and stopping—your slide. Likewise, self-arrest practice is vital before you head into glacial terrain; you need to know how to react in a split second.
Rope up: No security if no strings attached
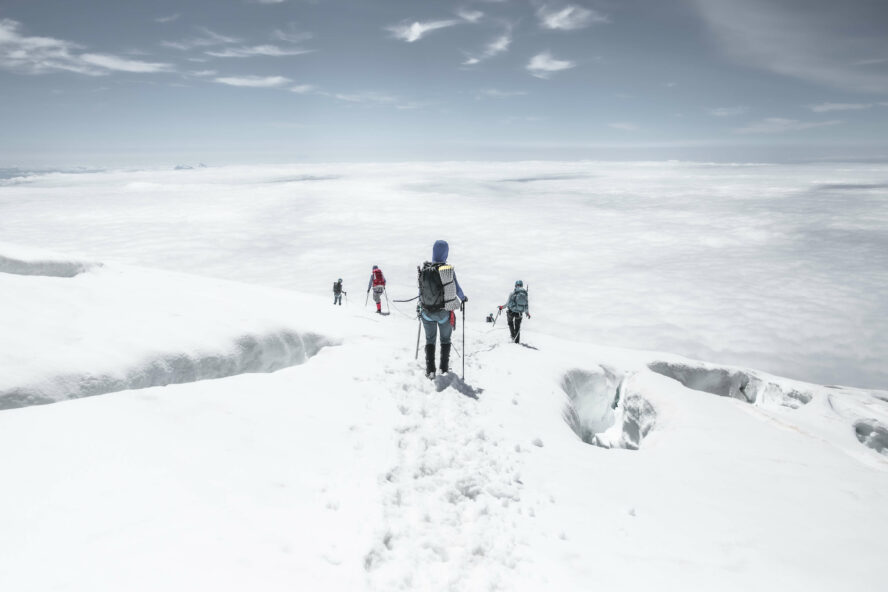
Creveasses are big gaps in glacial ice. These cracks are often concealed under layers of snow, called snow bridges, which can collapse under your weight. Should you fall into one, your crampons and ice axes won’t do much to help you get out. To safeguard against this, you need to “rope up” with your teammates, which means each person ties-in to the same rope. When someone on the chain tumbles into a crevasse—or slips down steep terrain and is unable to self-arrest—the others act as a human anchor to stop the fall.
The fundamentals of roping up include how to tie knots, thinking about how many and how far apart people should be on the rope for different situations within glacier travel, and scenario planning. For the rescuers, team members need to know how to use their ice axe skills to protect the fallen member, and how to get them out.
Building the climbing base to get to the top of Mount Shasta
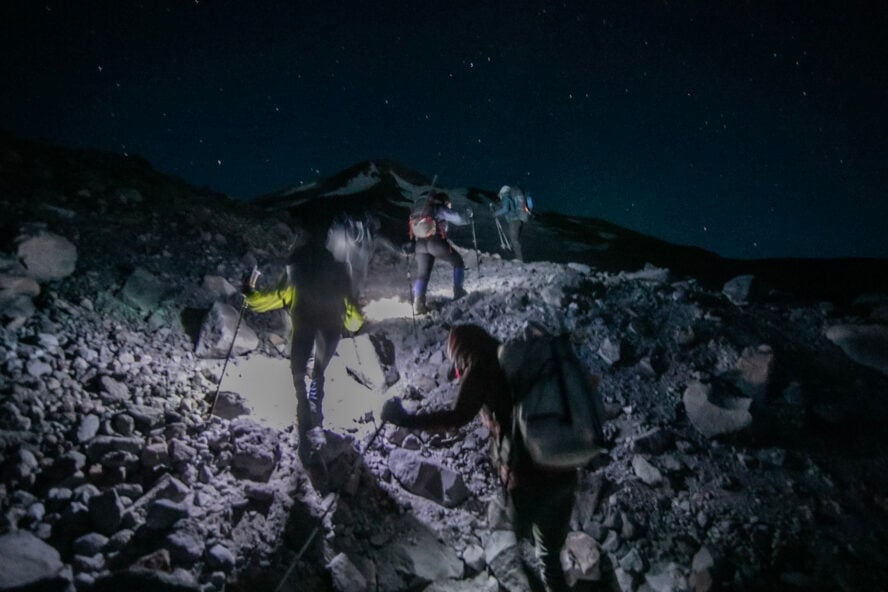
Put all that together and you’re ready for summit day! A typical attempt begins not too long after midnight with the aim of being at the peak just after sunrise. These alpine starts are common for many large mountains because snow and ice are the most stable and reliable at night, reducing the risk of rock fall or a snow bridge collapsing.
However, you need to remember that summiting is only half the battle. First-timers must be properly conditioned to have energy in reserve for the downhill, which is an absolute drainer after a night of little sleep and a hard climb up. Fatigue and waning attention are major contributors to accidents on the descent.
I don’t mean to scare you but if you haven’t been on an expedition before you must be prepared for the challenges. Carrying all your gear, tent, clothes, food, etc. often means your pack will weigh around 40-50 pounds. Now, imagine hiking up to 10,000 feet with this load on your back via steep slopes, slippery scree, and harsh weather.
For a fitness check, I recommend that climbers should be able to run a trail half marathon or hike 10-12 miles (16-19 km) while carrying 45 lbs. But, if you’re prepared and ready to level up your mountaineering skills, the payoff is access to a whole new type of terrain most people only dream about.
Why All Women’s Glacier Training?
Today, only about 1 in 10 big mountain climbers (peaks above 8,000m) are women. But from the research I’ve seen, and conversations I’ve had, there are more women who want to climb these mountains, yet aren’t. Why is there that gap?
Traditionally, mountaineering has been a male-dominated environment, much like the corporate world. So I felt I needed to do something about it—and the best way to encourage female participation was to lead by example. That’s how I created AWExpeditions.
During an all-women’s climbing and mountaineering courses of Mount Shasta, there is a certain comfort and connectedness among ladies which is easily missed in co-ed camps. The dynamic is different, more open; I see women laughing, being themselves, and learning the craft with an innate affinity. And of course, the mountains can be transformative, and I believe more women should have the opportunity to experience this. To be able to help foster this is a privilege, and playing a part in this skill-development course is equally transforming for me.
What Else Do You Need to Know About Climbing Mount Shasta?
Gear list
To make Mount Shasta your home for a week you need to be prepared with quality equipment. The kit that we carry includes ropes, tents, kitchen equipment, and technical gear: climbing helmets, ice axe, crampons, harnesses, and carabiners. You also need a sleeping bag and sleeping pad, trekking poles, and durable hiking boots. To carry all this requires a large backpack (typically 60-80L).
Since you will be wearing layers of clothes for staying warm and dry in the cold, you must take warm inner layers, dry-fit trekking pants and long-sleeve shirts as a mid-layer, softshell and hardshell jackets as outer layers. You also need enough pairs of socks, a suncap, gloves and mittens, headlamp, glacier glasses, and facemask.
Best time for climbing Mount Shasta
Since there are many routes heading towards Shasta’s summit, the climbing season varies. For Avalanche Gulch and Clear Creek, mid-May to mid-July are often optimal. For the north side glacier routes, April to June and sometimes July, when the ice is hard, is the best time.
Do you need permits to climb Mt. Shasta?
Climbing Shasta isn’t like hiking in San Diego — you’ll need a permit. Permits can be obtained at the Mt. Shasta and McCloud Ranger Stations, and all trailheads that are open. Summit Passes are compulsory for hikes above 10,000 feet, which you can get them at the same stations.
Getting there
The nearest airport is Redding Municipal Airport just an hour away. Additionally, you can fly to Rogue Valley International airport and hire a cab or take a bus to reach the town of Mount Shasta. Other airports include the Sacramento International Airport, about 200 miles away, and Reno-Tahoe International Airport, which is about a 4 hour drive. Los Angeles International Airport may be a popular access point for the best Joshua Tree hikes, but it’s a bit too far from Shasta to be a viable option.
Climbing Mount Shasta is just a start
Even for an experienced mountaineer and ultra-runner like me, the mountain is more than simply tickling that adventure itch. It’s a stage for transformation.
Yea, it’s about the challenge, the summit, the mountain and what not, but in a way that’s just an excuse: to get out there and challenge yourself; to have an amazing experience. And that experience, in my mind, rises and falls with the people that you share that with, which is why doing this in all-women’s teams is so powerful.
Shasta is an accomplishment in its own right, and a stepping stone towards bigger objectives—that we can tackle together.

