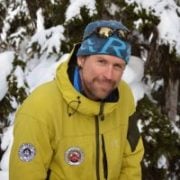

I have been living in Canmore, Alberta for over 30 years. It is where I make my home, and it is where I learned that the best turns in this country rarely come with a lift ticket attached.
I’m an IFMGA mountain guide, and I’ve been guiding since 1995. For the past decade I have focused almost entirely on ski touring Canadian Rockies routes.
My season runs long, usually from November through the end of May. I spent about 10 years heli-ski guiding in British Columbia too, but small groups were always where my heart was, moving under my own power, away from the noise of the resort scene. Close to 10 years have passed since I last heli-skied, and I have no regrets about that.
Most companies cannot run trips deep into this range, because most of the best terrain sits locked inside national and provincial park boundaries where commercial access is hard to get. That is exactly why so few people ever see it.
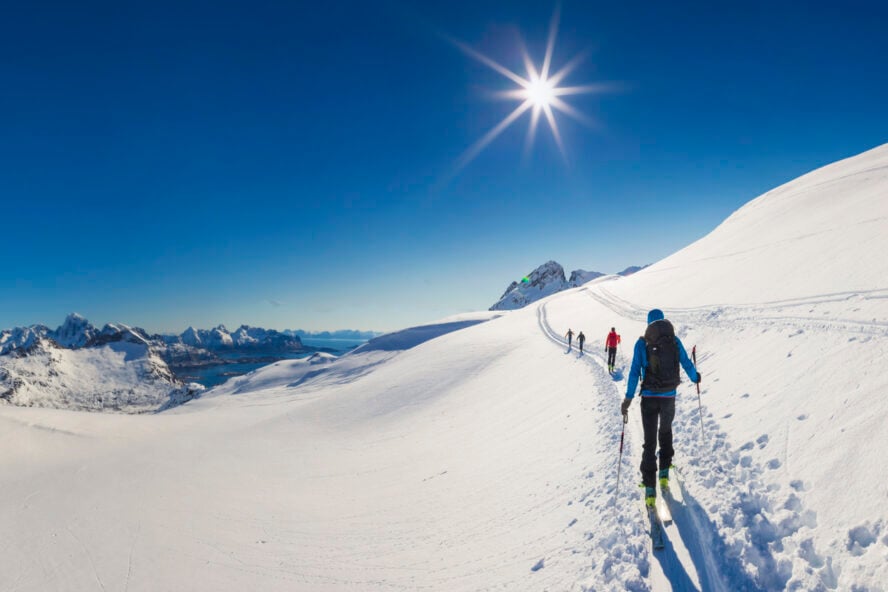
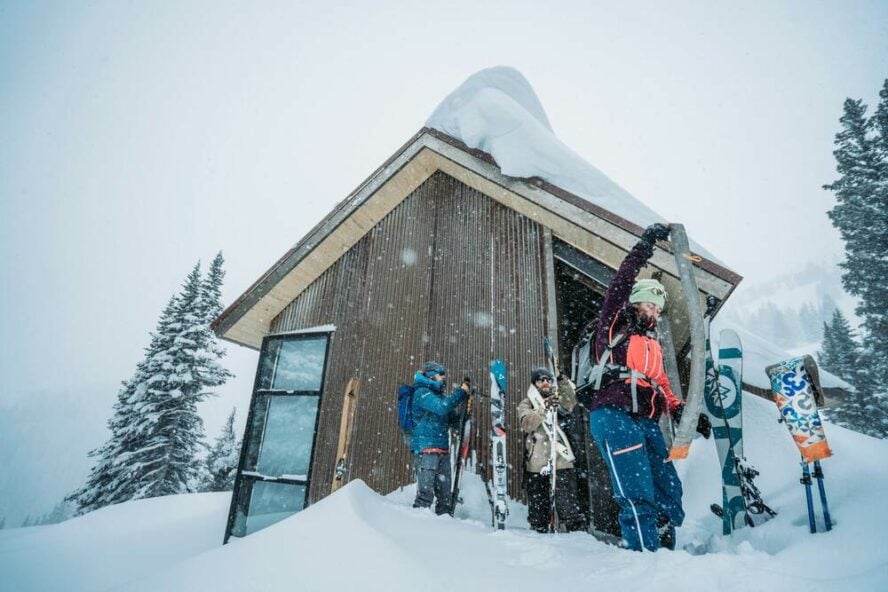
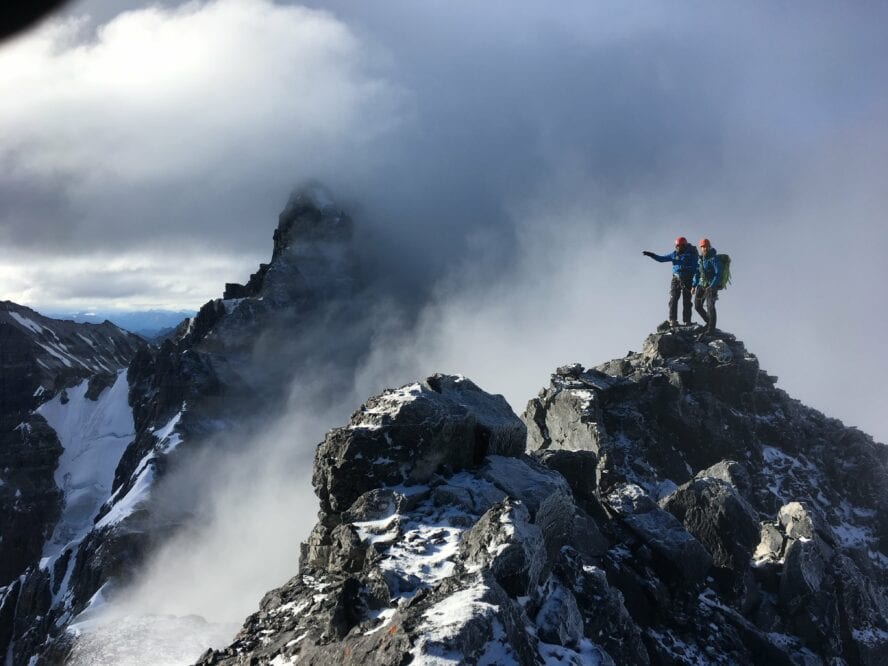
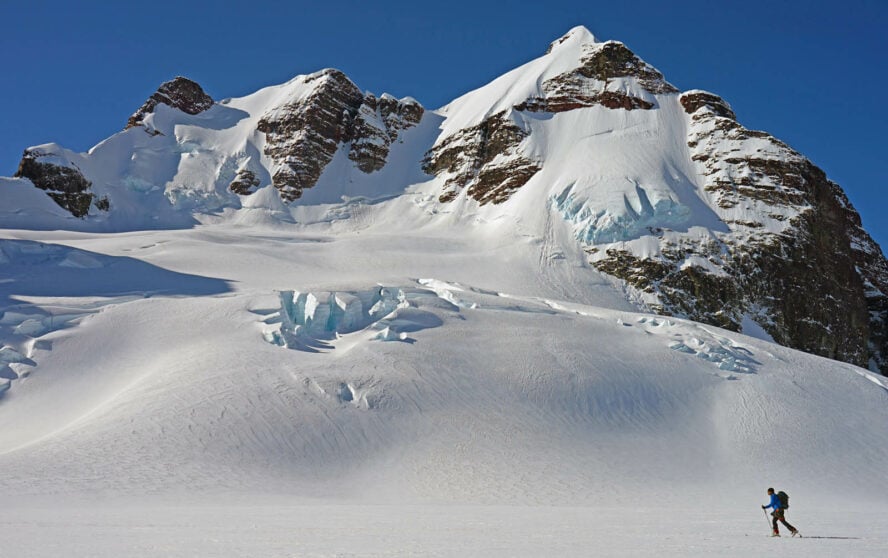
What I want to show you here is what it actually looks like once you are inside: peak bagging on glaciated summits, ski mountaineering on big open glaciers, alpine bowl skiing, and circuit routes linked hut to hut, with a little storm skiing in the trees on the days the high alpine will not cooperate.
Why this range still gets overlooked
Most people picture backcountry skiing in western Canada and think of British Columbia: the Selkirks, the Monashees, the Purcells, the Kootenays. That reputation is well earned. But it also means that skiing in the Rockies gets passed over, and I think that is a mistake.
BC’s fame comes partly from its snowpack, but just as much from commercialization, since heli-skiing operations and private backcountry lodges have opened up huge amounts of terrain there.
The Canadian Rockies, by contrast, sit mostly inside national and provincial parks, where access is harder to commercialize. That keeps the crowds away, but it also keeps a lot of skiers from ever discovering what is possible.
Fortunately, there is an excellent and genuinely affordable hut system here, run by the Alpine Club of Canada huts program. It is what makes multi-day ski touring Canadian Rockies travel possible at all, and it is where I want to take you next.
Where to Ski in the Rockies
Three ranges, one reputation
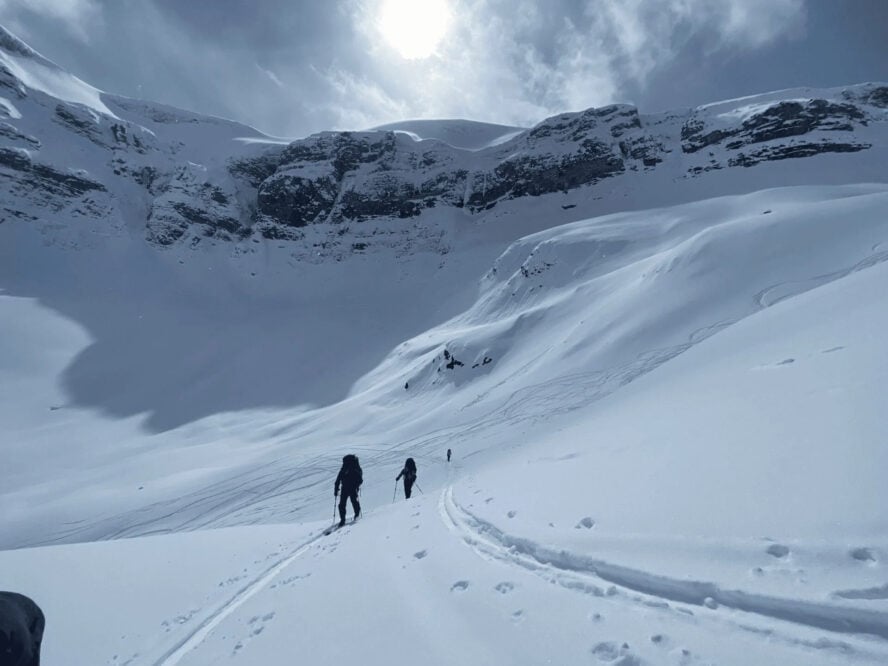
A lot of people lump all of western Canada’s mountains together as “the Rockies.” In fact there are three distinct ranges.
Big granite peaks and heavy glaciation define the Coast Mountains, which meet enormous amounts of precipitation and are home to Whistler. A collection of smaller ranges makes up the Columbia Mountains: the Kootenays, Purcells, Monashees, and Selkirks. Then there are the Rocky Mountains themselves, stretching from the United States all the way up into the Yukon.
Where the snow comes from
BC’s famous powder starts with cool, moisture-heavy air stacking up against the western edge of the province beginning each September. As that air is forced up and over the 3,000 m (9,840 ft) and higher terrain, starting with the Coast Range, it dumps snow, and the pattern trends eastward across each successive range.
The Columbia Mountains and the western Rockies sit closer to the colder, drier air near the Rocky Mountain Trench. That means more sun and lighter powder than the wetter, warmer conditions further west. Canadian Rockies powder skiing is a real thing, even if it does not carry the same reputation as BC’s.
What this range actually offers
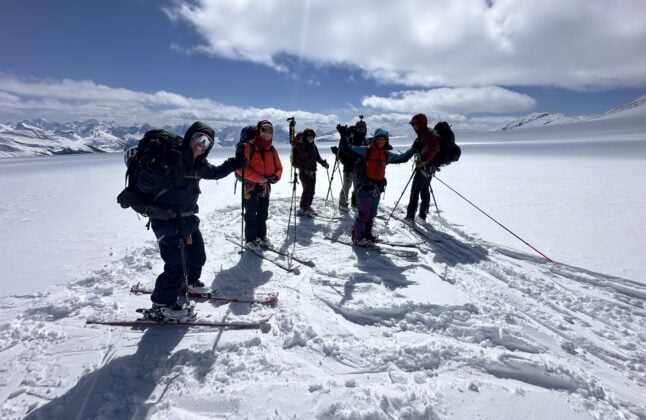
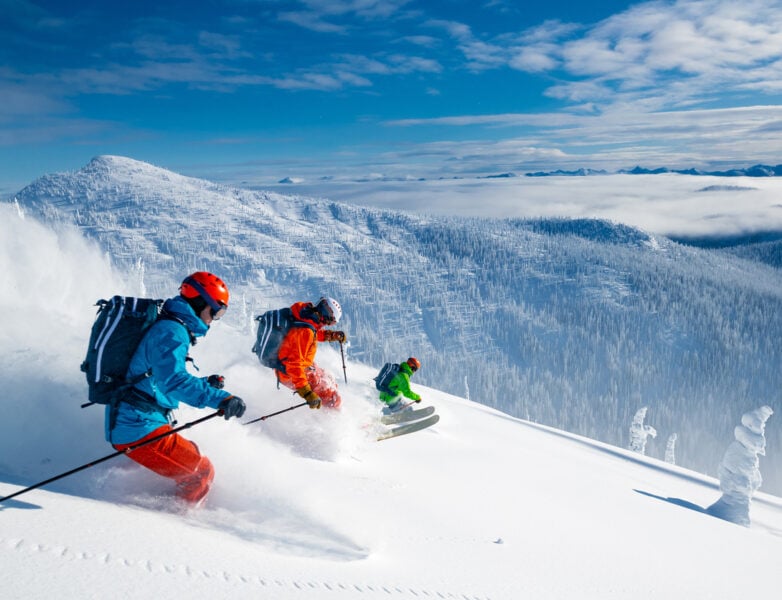
This is where ski touring Canadian Rockies terrain earns its keep. We get peak bagging on high glaciated summits, ski mountaineering on big glaciers often broken up by seracs and ice cliffs, and wide open alpine bowls. When the weather turns, storm skiing in the trees becomes the fallback.
There is a saying up here that Canada gets eight months of winter and four months of bad skiing. High in the spine of the Rockies, that is not far off the truth.
But skiers come from every corner of the earth for the descents, and the range delivers them. I think of a run of about 1,000 m (3,280 ft) down into Emerald Lake near the south exit of the Bow Yoho Traverse, or spring turns high above Bow Lake on Mount Jimmy Simpson.
There is even a fair bit of tree skiing tucked into the high alpine terrain, which becomes valuable when a storm rolls through.
The Waputik Icefield and Its Classic Traverses
A history that goes back to 1932
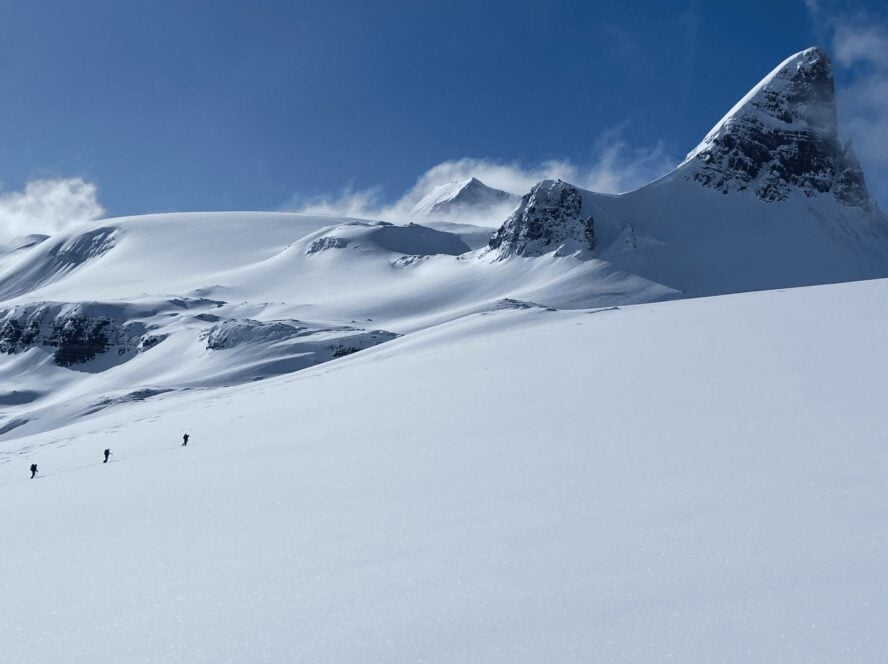
The first recorded exploration into the Waputik Icefield dates to 1932, led by McCrubery and the Neve brothers along with Secord. Skiing did not become popular here until Hans Gemoser attempted a traverse from Kicking Horse Pass to Jasper in 1960.
The first hut built on this terrain, the original Balfour Hut, did not last. It was a fiberglass structure, and marauding wolverines broke in and destroyed it, more than once, before a sturdier metal hut finally took hold.
That history is part of why these huts look the way they do today, and it is a story I will come back to.
Two traverses, two different characters
Two routes have become the classics here: the Wapta Traverse and the Bow Yoho Traverse. They roughly parallel each other.
Starting at Peyto Lake, the Wapta trends in a fairly relentless southerly direction to its exit at Sherbrooke Lake. The Bow Yoho begins at Bow Lake, heads west before trending south, and finishes close to that same exit point. Both are staged out of Field, British Columbia, about a two-hour drive from Calgary’s international airport.
This kind of hut to hut ski touring is what makes multi-day ski touring Canadian Rockies travel so approachable, since you are never carrying a tent or full camp kitchen.
What is the best Canadian Rockies itinerary?
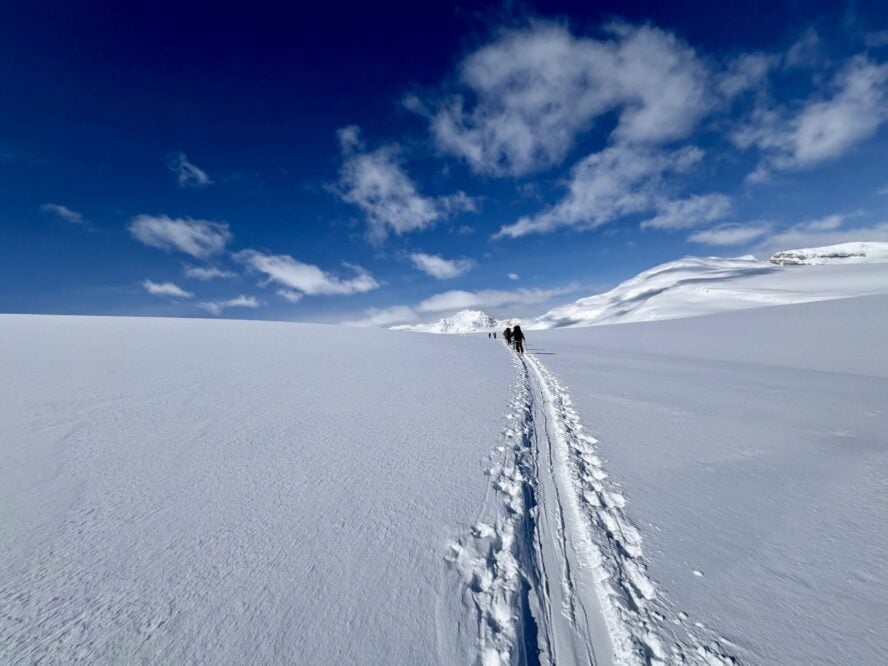
If I had to pick one answer, it would be the Wapta Traverse. What I love about it is that it covers some of the most rugged, spectacular alpine scenery in the range. The itinerary is more focused on travel than on downhill skiing, though there are good runs along the way.
It runs about 45 km (28 mi) long, with five days of touring and a total elevation gain of 1,800 m (6,000 ft) across the whole trip, not counting side trips.
Starting at Peyto Hut, the route then crosses to Bow Hut, where I will usually climb Mount Habel, Mount Rhonda, or Mount Thompson en route. From Bow Hut we continue south toward Balfour Hut, often adding Mount St. Nicholas, Mount Olive, or Mount Gordon if the weather holds.
The crux of the whole trip comes next: up and over the Balfour High Col, down into the Scott Duncan Hut. From there, we thread beneath the east face of Mount Niles to the exit at the Sherbrooke Lake trailhead.
The Bow Yoho Traverse: Seven Days Plus Side Trips
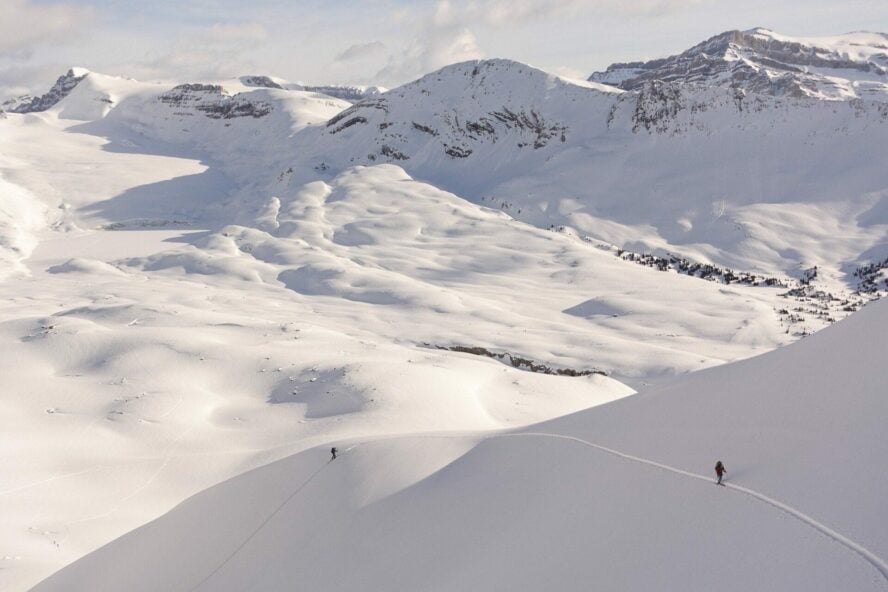
This traverse runs 51 km (32 mi), roughly the same length as the Wapta, and shares a similar total elevation gain before you factor in the side trips. Those side trips are the real difference. Across the seven days, the side trips alone can add thousands more meters of vertical if conditions cooperate.
The highlight of this trip, in my opinion, is the volume of ski mountaineering you can pack in along the way. We start at Bow Lake, spend two nights at Bow Hut with time to climb Mount Gordon and ski its north side, then move to Guy Hut, often bagging Mount Rhonda or Mount Collie en route.
From Guy Hut, conditions permitting, we push up Mount Des Poilus, one of the most impressive peaks on the route, before working our way over Isolated Col to the Stanley Mitchell Hut. On the last day, we descend the long, fairly flat exit road back to the highway, or, in perfect conditions, drop into Emerald Lake instead.
Life in the Huts
Bow Hut, the easiest and safest starting point
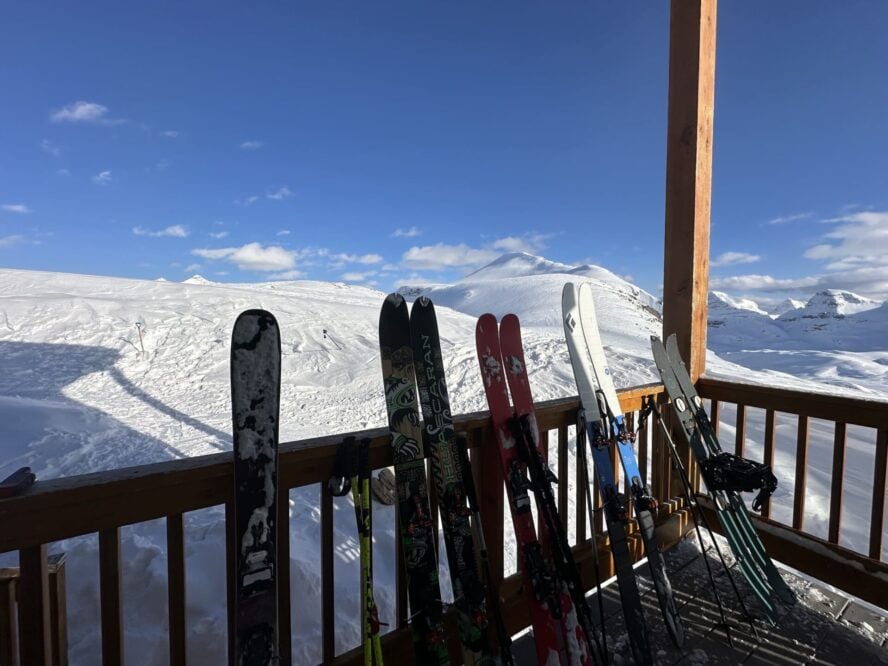
Four huts anchor these traverses, and each one has its own character.
Bow Hut sits at 2,350 m (7,710 ft) on the eastern edge of the icefield, inside Banff National Park. It is the largest, best equipped, and most accessible of the four alpine huts on this system, and it serves as the jumping-off point for half a dozen peaks. You can actually look down from the hut and see the highway.
Balfour Hut and its wolverine problem
Balfour Hut sits at the toe of the Vulture Glacier, and this is the third generation of hut to occupy roughly that site. The very first version, a fiberglass igloo, went up in 1965 and was destroyed by wolverines. A cedar log rebuild followed in 1971 and met the same fate 18 years later.
Then came the current metal hut in 1989, just in time for my first visit as a 19-year-old. It used to be painted a lighter tan color, but the Alpine Club has since switched all the huts to a dark blue, which is far easier to spot in a whiteout.
Guy Hut and going easy on the planet
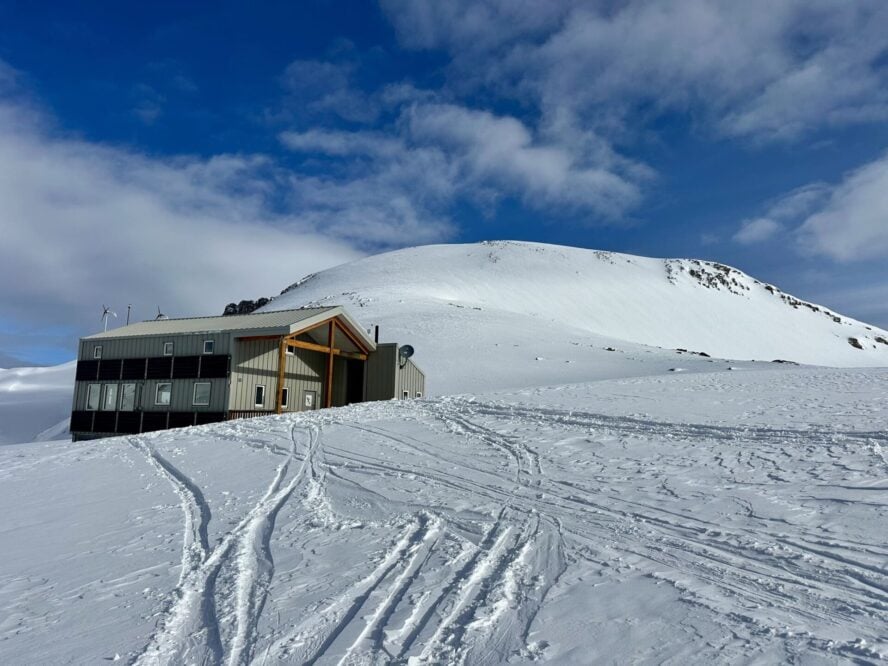
Guy Hut, properly the Richard and Louise Guy Hut, is the newest and most modern hut in the system. It runs almost entirely on solar and wind power stored in a battery bank, with propane reserved for the stove and heating.
Despite sitting at one of the higher elevations on the Bow Yoho Traverse, it has a 600 m (1,970 ft) tree run just outside its front door, which is not something I take for granted.
The Stanley Mitchell Hut
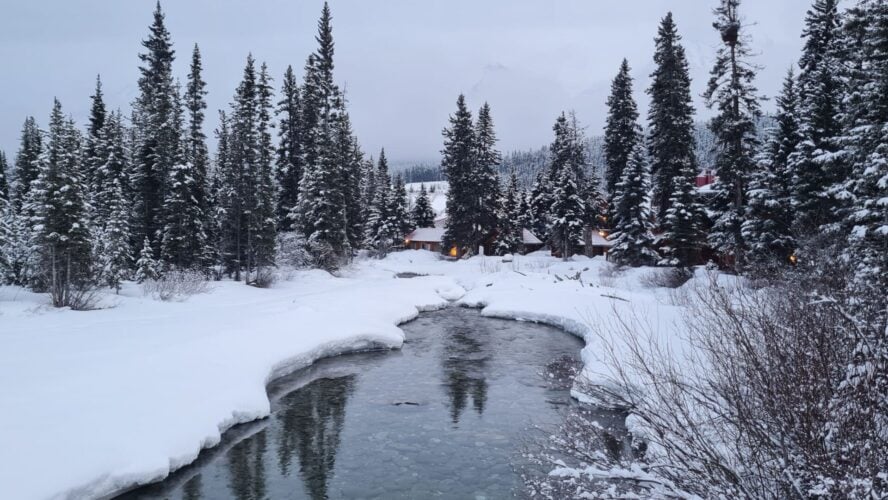
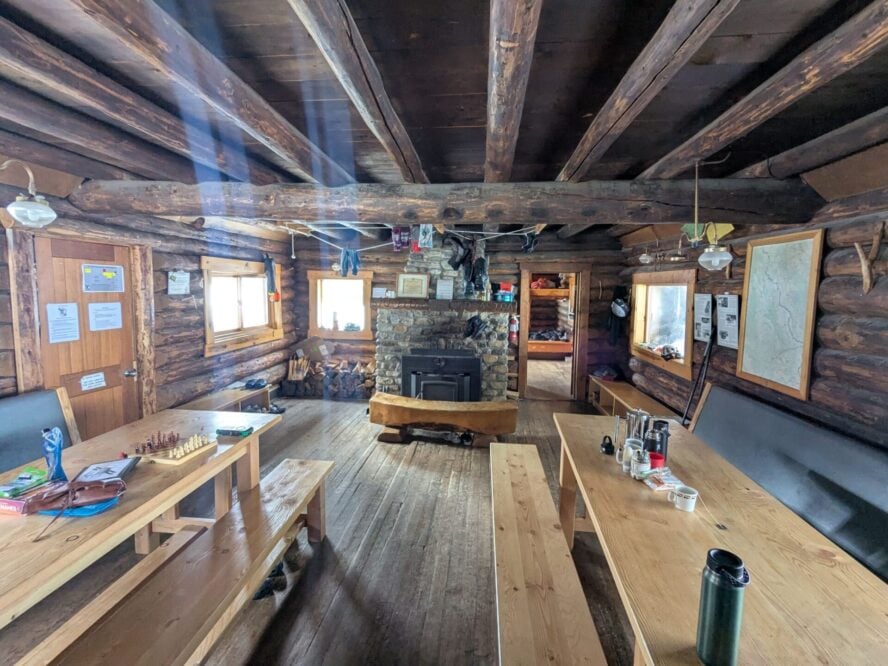
The Stanley Mitchell Hut sits at 2,060 m (6,750 ft), the lowest of the huts on this system, and it has a genuinely warm, inviting feel to it, right down to the wood-fired interior. Mountain guide Hans Gemoser used it as a base for his ski camps in the 1960s, shortly before he went on to open the world’s first heli-ski lodge.
Between Bow, Balfour, Guy, and Stanley Mitchell, these are some of the best places to stay for skiing Canadian Rockies terrain, since each one puts you within reach of different peaks and runs.
The night I could not find the Scott Duncan Hut
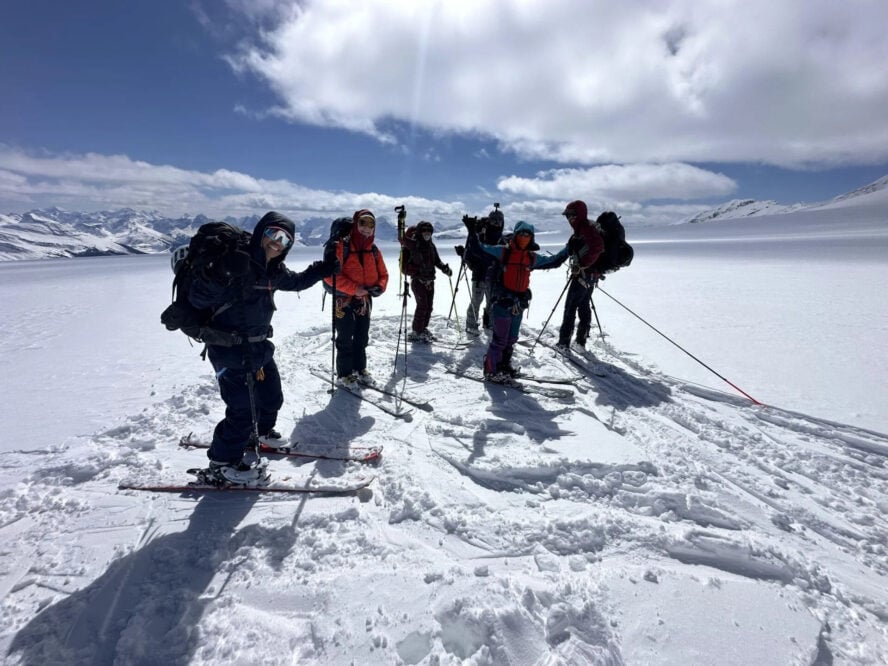
The very first time I went to the Scott Duncan Hut, a tiny shoebox-sized shelter on the south end of the traverse, GPS units barely existed. I had my map and compass, and as we came up and over the Balfour High Col it clouded in completely.
We got to the toe of the Vulture Glacier and could not see a thing. I would walk forward, bump into a wall of snow, and think, it has to be right here. We ended up pitching a tiny two-person tent and squeezing three of us in for the night.
In the morning, my wife stepped out to find the hut sitting almost exactly where we had guessed. Today, with GPS, you walk to a waypoint, hit a wall of snow, and go around it. It takes minutes.
But every time I walk in to Scott Duncan, especially in poor visibility, I remember that first night. I am glad we do not have to navigate that way anymore.
Fitness, Skills, and Gear
Can you actually do this trip
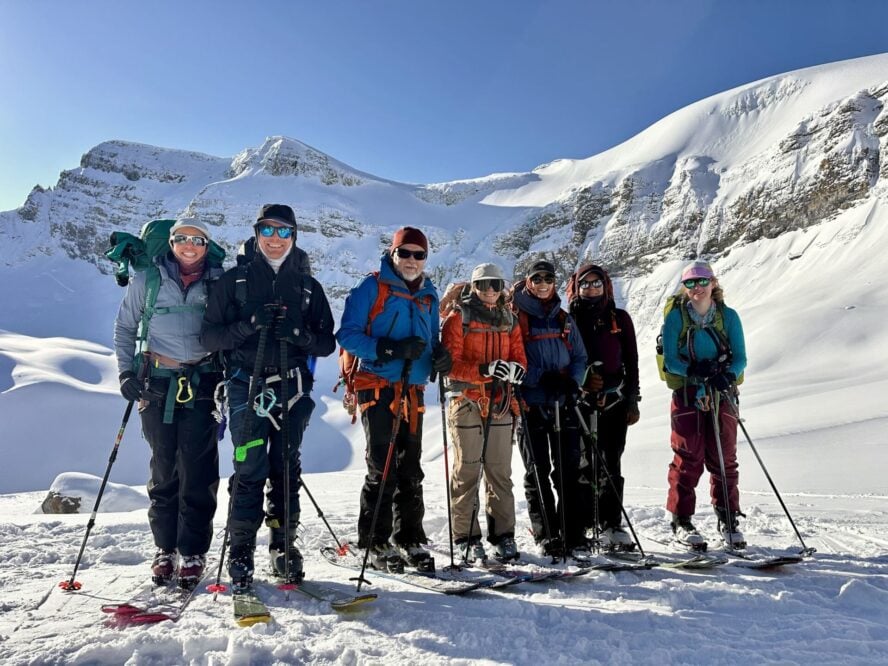
I get asked this constantly, and it usually means two things: do you have the skiing ability, and do you have the fitness. Ability comes first. Skiing itself can take people years to learn, so if you already ski confidently, that piece is done.
Fitness is next, and while it is hard to give one formula, a strong intermediate to advanced skier who can run 10 km (6 mi) in 60 to 80 minutes is generally in good shape for these trips.
Touring experience specifically is not essential for ski touring Canadian Rockies trips. I have had people show up with almost none of it and do just fine, because they already knew how to ski and were fit. Transitions on these traverses tend to be limited, sometimes just one or two a day, so the technical learning curve is gentler than people expect.
A typical day on the traverse
On a travel day, we usually cover 6 to 10 km (4 to 6 mi) with 500 to 700 m (1,640 to 2,300 ft) of elevation gain, carrying a mid-sized pack. On a ski day, the distance climbs to 10 to 15 km (6 to 9 mi) with 1,000 to 1,400 m (3,280 to 4,590 ft) of gain, but with a lighter day pack since the heavy gear stays at the hut.
The legs between huts on the Wapta tend to be shorter, with side trips filling the afternoons, while the Bow Yoho alternates travel days with dedicated ski days. A strategic rest day at a hut, reading, napping, or just taking in the scenery, is often the smartest call on either route.
Technical skills you actually need
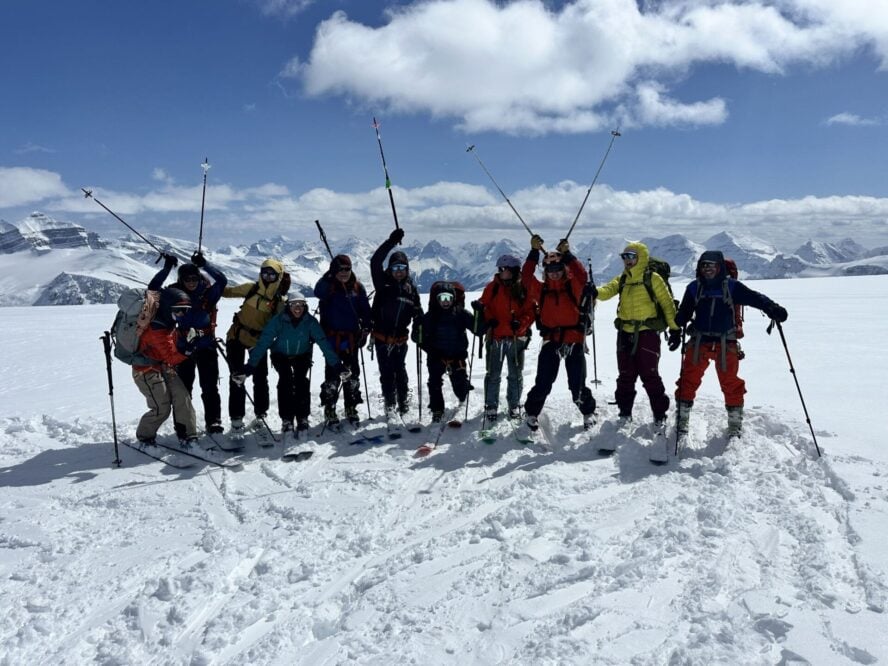
The single most useful technical skill is proficiency with transitions, ripping skins off and reapplying them quickly. That is something you can genuinely practice at home.
For glacier travel, all you really need is a figure eight on a bight, a simple knot you can learn from a five-minute video. Boot crampons and ice axes are not required for these particular trips, though the guide will carry a set in case a specific section calls for it.
Ski crampons, on the other hand, do matter. We use them perhaps one time out of ten, but when you need them, you need them.
Gear that actually earns its weight
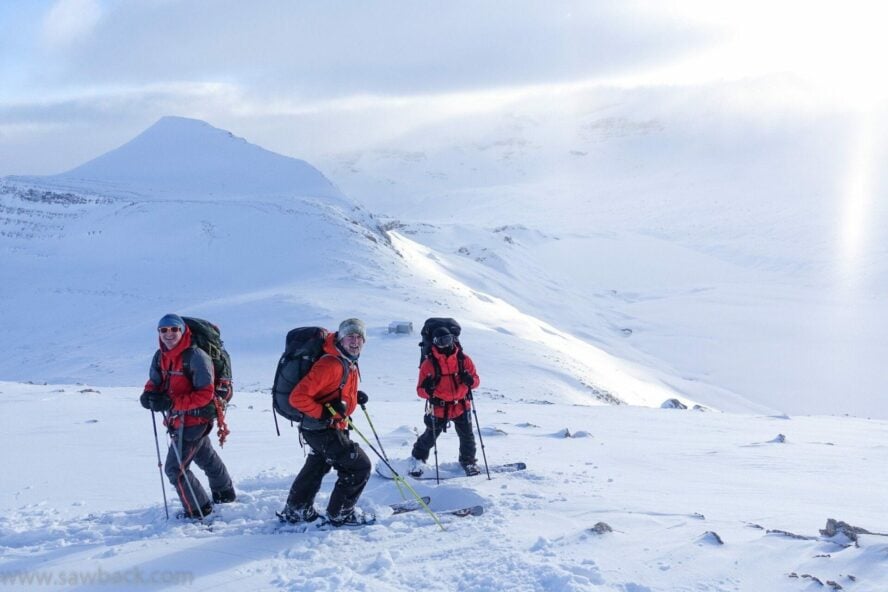
Boots matter more than anything else you bring. Lightweight touring boots with tech inserts and quality liners, professionally fitted and broken in before the trip, make the difference between a good week and a miserable one.
Pair them with alpine touring skis in the 100 to 115 mm underfoot range and tech bindings if possible, lighter is almost always better here. Bring mohair skins if you can, since they glide efficiently and hold up well.
For clothing, plan on a Gore-Tex shell, a breathable softshell jacket and pants, merino or synthetic long underwear, a midweight fleece, a light puffy jacket, and two or three pairs of wool ski socks.
Safety gear should include an avalanche probe at least 240 cm (94 in) long, a modern digital beacon, and a solid shovel. An ultralight climbing harness and locking carabiners round out the kit for glacier sections, and I keep loaner sets of both on hand if you need them.
With the physical side sorted, the last piece is simply picking the right window.
When to Visit the Canadian Rockies
Season and timing
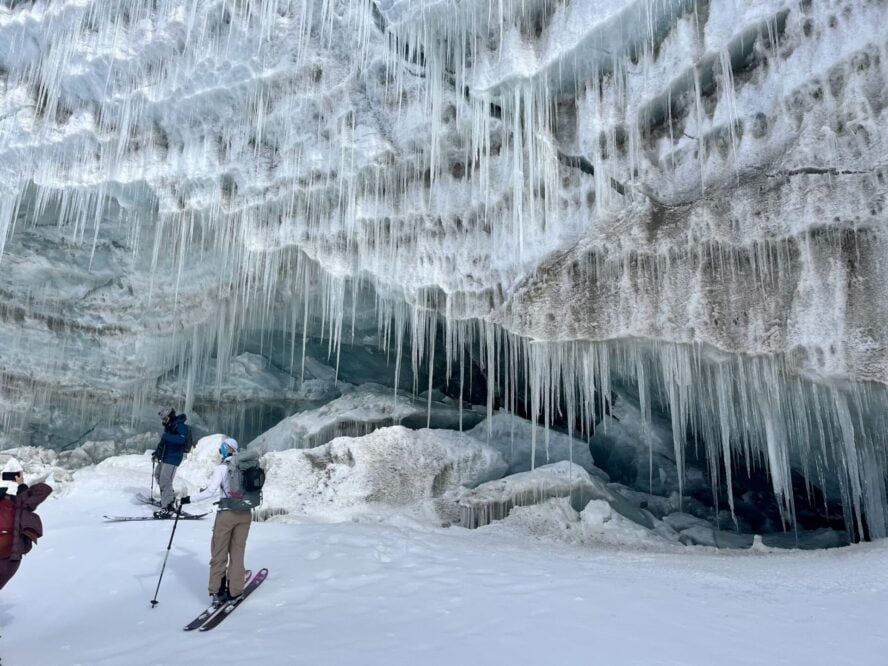
Our ski touring Canadian Rockies season stretches from November through late May or early June, though the character of the snow shifts a great deal across that window. Early winter brings colder temperatures and the deepest powder; spring brings longer days and more settled snowpacks, which is when most of the traverse trips run best.
Getting there
The Calgary International Airport (YYC) sits about a two-hour drive from the ice fields. I recommend renting a car, since it gives you the flexibility to arrive a day early and ski a local resort like Lake Louise or Sunshine Village to acclimatize and shake off jet lag.
Arriving the day of works too, provided you reach Field by 6:30 pm.
What is included
Trip fees on our traverses cover an ACMG-certified guide, five to seven days of backcountry skiing Canadian Rockies style, all meals, hut and backcountry permit fees, porter service to carry food up to the first hut, a shuttle driver to move vehicles between trailheads, and a hotel stay with dinner the night before departure at the Truffle Pigs Lodge in Field. Groups get exclusive use of each hut along the way, which changes the feel of the trip completely.
Group size is capped at six people per guide. What you bring yourself is your personal touring kit and transportation to Lake Louise or Field, though we can help arrange both if needed.
The Reason I Never Left
My very first trip into these mountains was in the winter of 1988 to 1989, a guided week onto the icefield staying at the newly built Bow Hut. Looking back, that trip was the start of everything: my interest in ski touring, my connection to the Rockies, and eventually my life as a mountain guide.
I still remember arriving at that hut and finding a party of three who had beaten us there on cross-country race skis, gear that would be unthinkable for this terrain today. No idea what they were thinking crosses my mind even now, though I know it took real stamina.
Gear has changed enormously since then. What has not changed is what pulls me back into these mountains every winter: the glaciers, the huts, and the particular quiet of moving through this terrain under your own power.
That is not something I plan on giving up anytime soon.
Come find out what a week in these mountains actually feels like.