
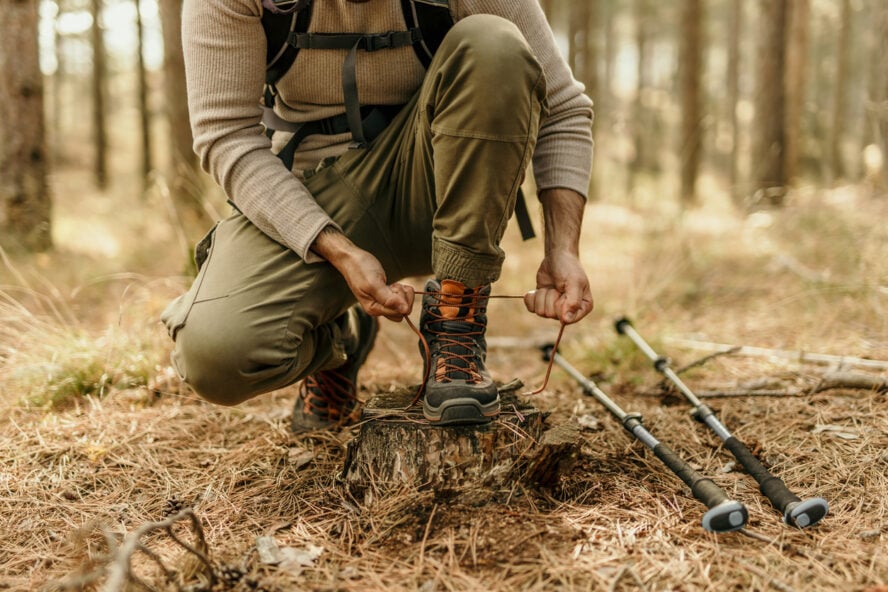
Few moments are as exciting as unboxing a brand-new pair of hiking boots. They smell faintly of adventure: leather, rubber, and possibility. You imagine them crunching across alpine gravel, standing at summits, splattered with trail dust from half a dozen countries. But do you know how to break in your new hiking boots?
Take them straight from the box to the backcountry, and that dream can turn into a nightmare. Even premium boots need time to adapt to your feet, just as your feet need time to adjust to them. Skip that step, and you might end up with blisters, hot spots, or worse: a long hike that feels like penance rather than pleasure.
Breaking in hiking boots is a rite of passage for every hiker. It’s not difficult, but it does require patience, attention, and a bit of care. Prepping for a thru-hike on the Appalachian Trail, a trek through Iceland’s Highlands, or your first guided hike in the Dolomites? It doesn’t matter; this guide will walk you through everything you need to know to turn any pair of stiff new boots into trail-ready companions.
Why Breaking in Your Hiking Boots Matters
New hiking boots are like untrained pack animals: they look the part, but they need time to earn your trust. Breaking in your boots gradually allows the materials to flex, the padding to compress, and the shape to mold around your unique foot structure.
If you skip this process, the rigid materials — particularly in leather or mid-cut boots — can rub against pressure points, which causes friction and blisters. Once a blister forms, every step irritates it further, and by the end of the day, even the gentlest of downhills will feel like punishment.
A proper break-in period helps prevent pain, but it also enhances long-term performance. Boots that have softened naturally conform to your walking pattern. This improves stability, comfort, and energy efficiency.
In short, the more you invest in breaking them in, the more they give back.
Understanding Your Boots: Materials and Design
Before you start learning how to break in your hiking boots, it helps to understand what your boots are made of. Different materials behave differently, and knowing what you’re working with will help you plan the right approach.
Full-Grain Leather Boots
Traditional leather boots, like those made by Scarpa, Asolo, or Lowa, are built for durability and long-distance support. They’re also the stiffest out of the box. Full-grain leather takes longer to soften because it’s thick, dense, and designed to withstand abrasion and moisture.
Expect a break-in period of at least 30 to 50 miles for full-grain leather boots. Once they’re ready, though, they’ll last you years, possibly decades, with proper care.
Nubuck or Split Leather Boots
Nubuck leather has a softer, brushed finish that makes it more pliable than full-grain. It’s still supportive but easier to wear from the start. These boots typically require 10 to 20 miles of gradual use before feeling trail-ready.
Synthetic Boots
Boots made from synthetic materials like nylon or polyester are much lighter and more flexible. Many modern trail shoes and mid-cut boots fall into this category. They often feel comfortable right out of the box and may need only 5 to 10 miles to fully break in. However, they don’t mold to your feet quite as precisely as leather does and tend to wear out faster.
Hybrid Boots
Some boots are made by combining materials, like leather uppers with synthetic panels or mesh inserts. These usually offer a compromise between stiffness and comfort. The break-in time for these is the shortest.
The takeaway: the more rugged and supportive the boot, the more time it needs to adapt.
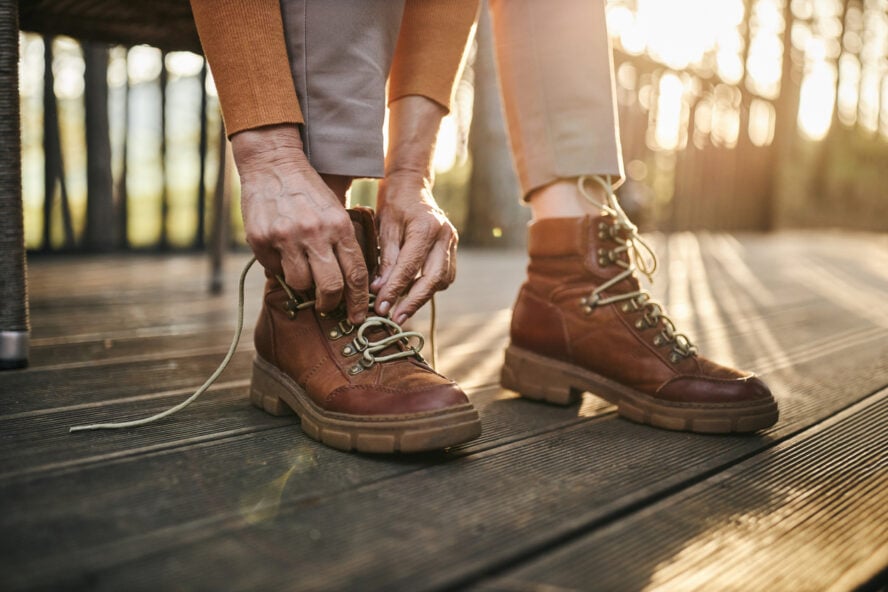
Step 1: Know Your Fit Before You Start
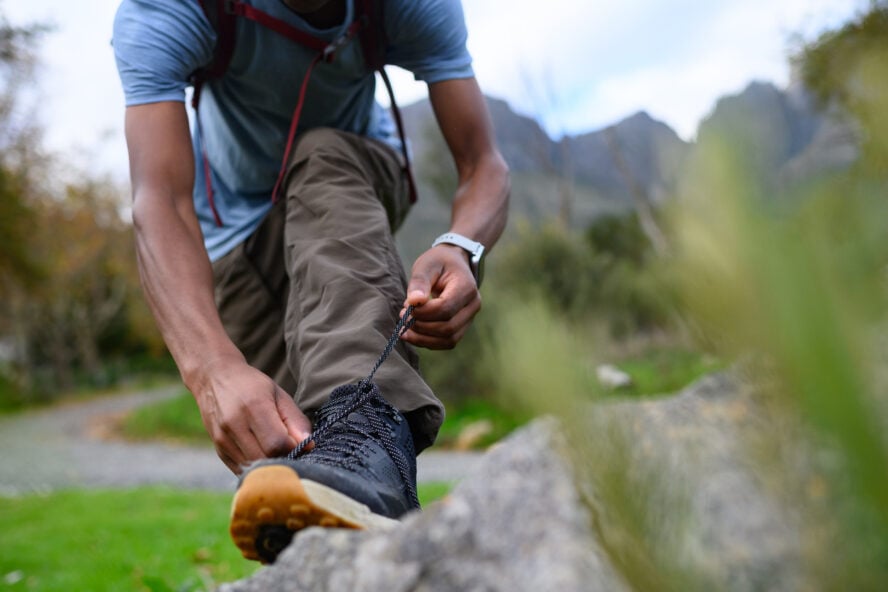
Before you even think about breaking in your boots, make sure they actually fit. No amount of walking can fix a boot that’s fundamentally the wrong size.
Your toes should have a finger’s width of space at the front, and your heel should sit snugly without slipping.
Try your boots on late in the day, when your feet are naturally a bit swollen. That’s when they’ll most resemble how they’ll feel on the trail.
Wear your hiking socks during fitting, and walk up and down an incline or ramp if possible. If your toes touch the front on descents or your heel lifts on ascents, exchange them for a better size or adjust the lacing pattern.
Breaking in a poorly fitted boot is like trying to “wear in” a bad relationship. It doesn’t get better, it just gets more painful.
Step 2: Start Indoors
Before you hit the trail, get acquainted with your new boots in a low-stakes environment — your home.
Wear them around the house for an hour or two at a time. Lace them snugly, but not tight, and walk up and down stairs to mimic elevation changes. This helps you notice any pressure points or stiffness without taking the risk of a long day’s hike.
Some hikers like to wear their boots while doing chores or working at a standing desk. The goal isn’t mileage but movement. You want the materials to start flexing where your foot naturally bends and for your ankle to get used to the boot’s height and stiffness.
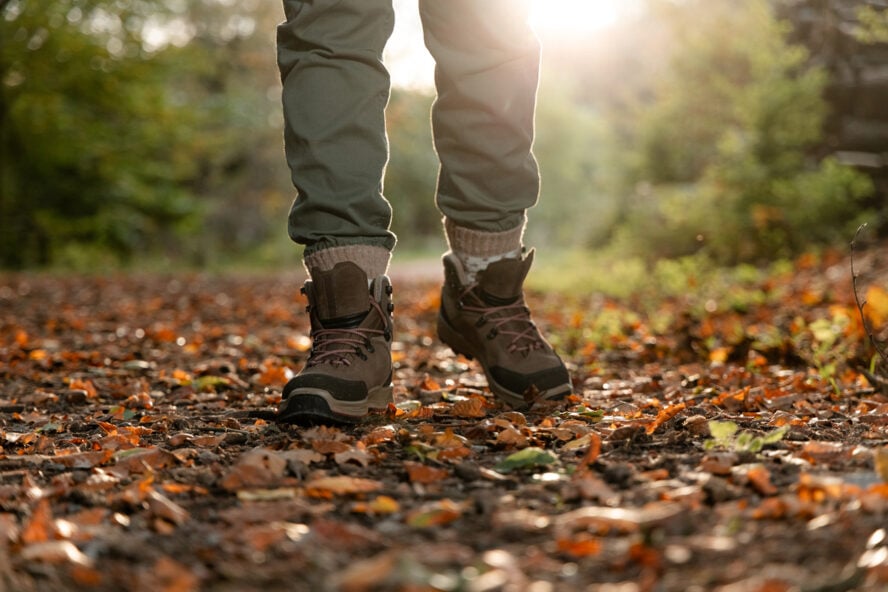
Step 3: Short Walks and Neighbourhood Hikes

Once you’re comfortable indoors, it’s time to take your boots outside. Start with short, flat walks around your neighbourhood or local park.
These short sessions let the soles and uppers begin adjusting to real terrain. Gradually add more time: from 30 minutes to an hour, then two. Walk on different surfaces: grass, pavement, and packed dirt.
Pay attention to how the boots feel after each session. Are there hot spots on your toes, arches, or heels? Any numbness or tightness? If you notice discomfort, address it early. Sometimes a slight adjustment in lacing or switching to a different sock thickness solves the issue entirely.
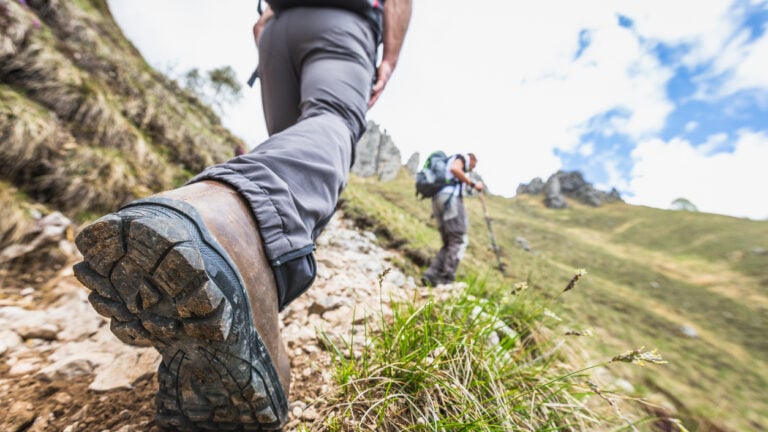
Step 4: Load Up and Hit Easy Trails
After a few shorter walks, it’s time to add some weight — your backpack.
A big thing to know when learning how to break in your hiking boots is that hiking with a loaded pack changes how your boots perform. The added pressure tests ankle support, midsole cushioning, and traction in a way that flat city sidewalks can’t.
Choose easy trails first: Don’t go for the Tour du Mont Blanc right away. Gentle elevation, stable footing, and dry weather. Aim for 3–5 miles per outing. The goal here isn’t to set records but to help the boots begin to move with your natural gait.
If you feel rubbing at specific points, stop and tape them with blister prevention patches or moleskin. It’s easier to prevent irritation than to heal it later.
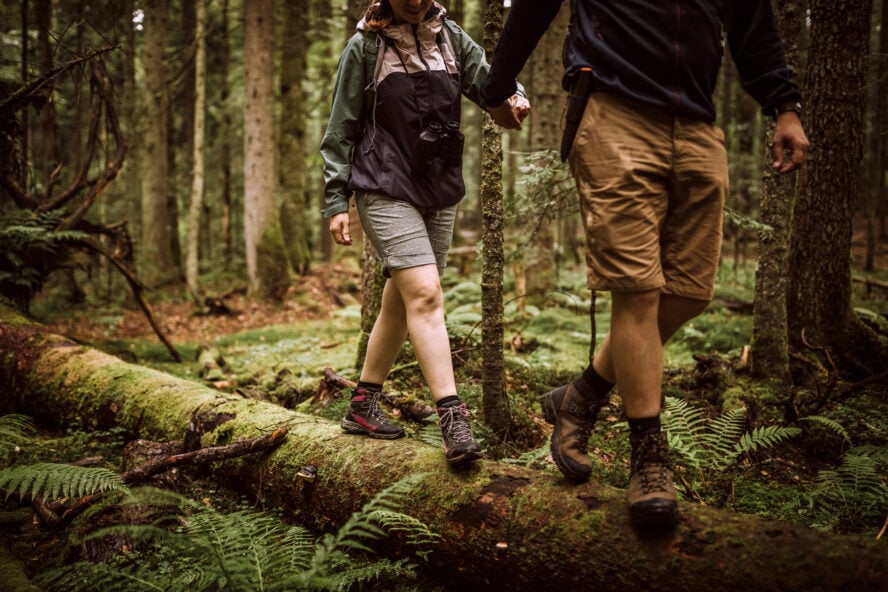
Step 5: Increase Distance and Difficulty Gradually

After 20 or 30 miles of light use, your boots should begin to feel more like extensions of your feet. At this stage, it’s time to tackle longer, more challenging terrain.
Pick moderate trails with mixed conditions — a few rocks, roots, and inclines — to fully test the boots’ flexibility and support. Continue to adjust your laces as needed; leather stretches subtly, and even synthetic fabrics will relax slightly over time.
It’s normal for the break-in process to take several weeks if you hike only on weekends. Don’t rush it. The best boots often become lifelong partners precisely because they’ve earned that comfort through time and use.
How to Spot When Your Boots Are Broken In
You’ll know your boots are ready when they feel almost invisible. You can hike for hours without thinking about your feet. The materials will have softened, the padding will have shaped to your arches, and there will be no friction points or stiffness when you walk.
The heel should no longer lift during ascents, and your toes should remain comfortable on descents. Your stride will feel natural and effortless.
That’s the moment your boots stop being “new gear” and start being trusted tools, moulded perfectly to your journey.
Common Mistakes to Avoid When Breaking In Boots
Breaking in boots is as much about what not to do as what to do. Here are a few common missteps that can sabotage your comfort:
- Skipping stages: Jumping straight to a long trail before doing shorter walks often leads to blisters.
- Wearing the wrong socks: Cotton socks trap sweat and increase friction. Always wear moisture-wicking hiking socks during break-in.
- Overheating boots: Never use direct heat to soften or dry boots. It weakens adhesives and cracks leather.
- Tightening too much too soon: Over-tight laces cause pressure points. Gradually adjust your fit as the boot loosens.
- Ignoring discomfort: A small hot spot can turn into a major blister if neglected. Stop and address issues early.
Breaking in your boots is a conversation between your feet and the materials. Listen closely, and they’ll reward you with years of loyalty.
Lacing Techniques for a Better Fit
Lacing is about customising comfort. Different techniques relieve pressure and improve stability in specific areas.
If your toes feel cramped on descents, loosen the lower section slightly to give them room to move.
If your heel slips, tighten the upper section or use the heel lock method, looping laces around the top hooks to hold your foot securely.
For high arches or wide feet, try parallel lacing, which reduces pressure across the instep. These small adjustments can transform how your boots feel, even mid-hike.
Caring for Your Boots During the Break-In
Your boots are an investment, and caring for them during break-in sets the tone for their entire lifespan.
After each outing, brush off dirt and let them dry naturally in a cool, shaded spot. Stuff them with newspaper to absorb moisture if they’re damp.
Never leave them near a fire or heater, which can warp the soles and damage the waterproof membrane. Once they’re dry, apply a waterproofing treatment or conditioner appropriate to their material.
Leather boots, in particular, benefit from gentle conditioning during the break-in phase. Softened leather not only flexes better but also resists cracking and water damage later on.
Dealing With Blisters and Hot Spots
Even with careful preparation, blisters can happen, especially if your boots are stiffer than your feet are accustomed to. The key is prevention.
Before hiking, apply blister prevention tape or hydrocolloid patches to high-friction areas like heels or toes. Keep your feet clean and dry, and change into dry socks mid-hike if you start to feel moisture build up.
If you do develop a blister, clean the area gently and cover it with moleskin or a blister plaster. Resist the urge to pop it unless necessary, as intact skin protects against infection. Rest if you can, and let your boots rest too. Even gear needs a breather.
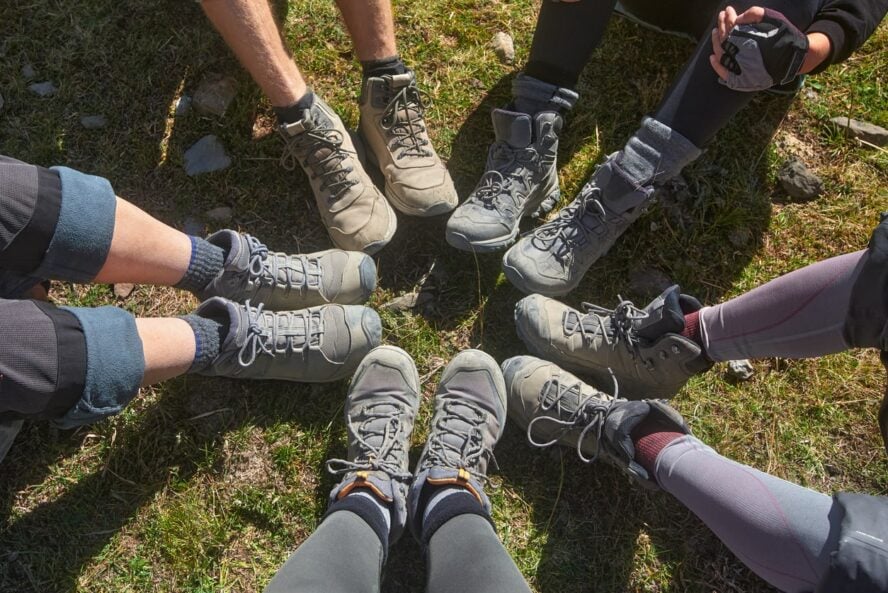
Breaking In Different Types of Boots
How to Break In Your Trail Runners and Lightweight Hiking Boots
Trail runners and low-cut hiking shoes break in almost immediately. A few neighbourhood walks or short hikes should be enough. However, make sure to test them under load, as their thinner soles provide less protection on rocky terrain.
How to Break In Your Mid-Cut Hiking Boots
Mid-cut boots, often made from mixed materials, usually take about 15–30 miles to fully break in. They offer great versatility but may feel snug around the ankle until the padding softens.
How to Break In Your Mountaineering and Backpacking Boots
Heavy-duty boots designed for alpine or expedition use can take 50–100 miles of wear before they truly feel perfect. Take your time with these — the payoff in support and durability is enormous, but the process is not to be rushed.
How long does it take to break in your hiking boots?
The break-in timeline depends almost entirely on the materials and build of your boots. Lightweight synthetic models often feel trail-ready within a few short outings, sometimes in as little as 5 to 10 miles. Leather boots, on the other hand, need time to soften, stretch, and absorb the contours of your foot. These can take anywhere from 30 to 50 miles before they feel truly comfortable.
Think of it this way: the stiffer the boot and the more rugged the design, the longer the break-in. But don’t rush it. Gradual mileage is far safer than forcing a new boot on a long hike and hoping for the best. Your feet will tell you when the boots are ready — no rubbing, no toe pressure, and no heel lift.
Frequently Asked Questions on How To Break In Your Hiking Boots
Now that you know how to break in your hiking boots, let’s go over some of the most common questions you ask:
Can I soak my boots to break them in faster?
Soaking boots was once a common technique when thick all-leather boots dominated the market, but modern construction has made it outdated — and risky. Today’s boots are layered with adhesives, membranes, foams, and synthetic reinforcements that can warp or separate when soaked.
Water can soften leather temporarily, but when it dries, it often becomes stiff or brittle. Worse, it can compromise the waterproof membrane and create long-term fit issues. A slow, steady break-in — wearing them around the house, on short walks, and on easy local trails — is far more effective and won’t shorten the lifespan of your boots.
Can I use a boot stretcher or heat to speed things up?
Boot stretchers can offer mild help if you need a tiny bit of width in the toe box or around the forefoot, but they don’t replace real miles. Stretchers can’t replicate the dynamic movement of your foot or the way boots flex on real terrain.
Heat is even trickier. Direct heat (like a hairdryer, heater, or campfire) can dry out leather and weaken glues that hold the boot together. Even controlled heat molding — used in some mountaineering or ski boots — isn’t designed for hiking boots with waterproof membranes. Slow use is still the gold standard, and if you really need to adjust fit, a boot fitter can often help more safely than heat.
Should I wear new boots on a guided trip?
Only if you’ve already put several hours of real walking into them. Guides everywhere agree on one rule: never take brand-new boots on a multi-day trek. Even the most comfortable boot has a few quirks that only reveal themselves after a few miles — a slight heel slip, pressure over the top of the foot, or a rub along the ankle.
If your trip is soon and your boots are fresh out of the box, start wearing them daily. Walk the dog in them, grocery shop in them, climb stairs in them, and take them on every short trail you can find. Anything is better than showing up at the trailhead with stiff leather and untested fit. Your feet — and your guide — will thank you.
What if my boots never feel comfortable?
If your boots still feel wrong after 40 to 60 miles, it’s time to reassess. Sometimes the issue is simple: lacing tension that’s too high, an insole that doesn’t match your arch shape, or socks that aren’t wicking moisture properly.
Other times, it’s a matter of anatomy. People with high arches, low-volume feet, wide toe boxes, or narrow heels often need more precise fits than standard boot models provide. A specialty retailer or boot fitter can analyze your gait, identify pressure points, and recommend insoles or alternate models that better match your foot.
Don’t suffer through discomfort. A hiking boot should feel like a partner, not an adversary. If it never quite clicks, exchanging them for a better-fitting pair is the smartest (and cheapest) long-term decision.
Now You Know How to Break In Your Hiking Boots!

Learning how to break in your hiking boots isn’t glamorous, but it’s one of the most important parts of preparing for any adventure. It’s where excitement meets discipline, where anticipation turns into trust.
Take it slow. Let the leather flex, the foam compress, and your stride find its rhythm. The process may take a few weeks, but the reward lasts for years. Boots that fit like a second skin, ready for snowfields, deserts, forests, and summits.
In the end, the time you spend breaking in your boots isn’t lost, but invested. Every short walk, every little adjustment, every mile adds up to comfort and confidence on the trail.
Because once your boots stop feeling new, that’s when the real adventure begins.