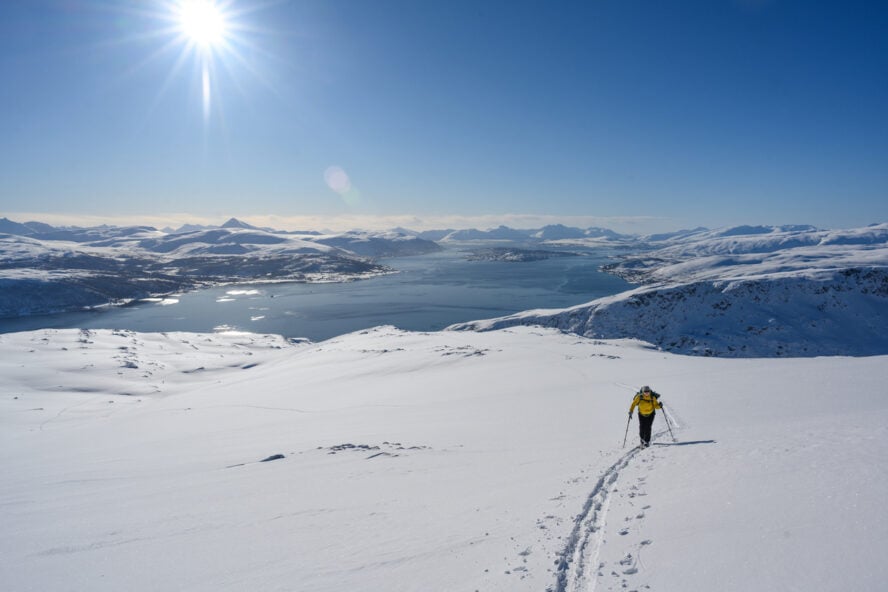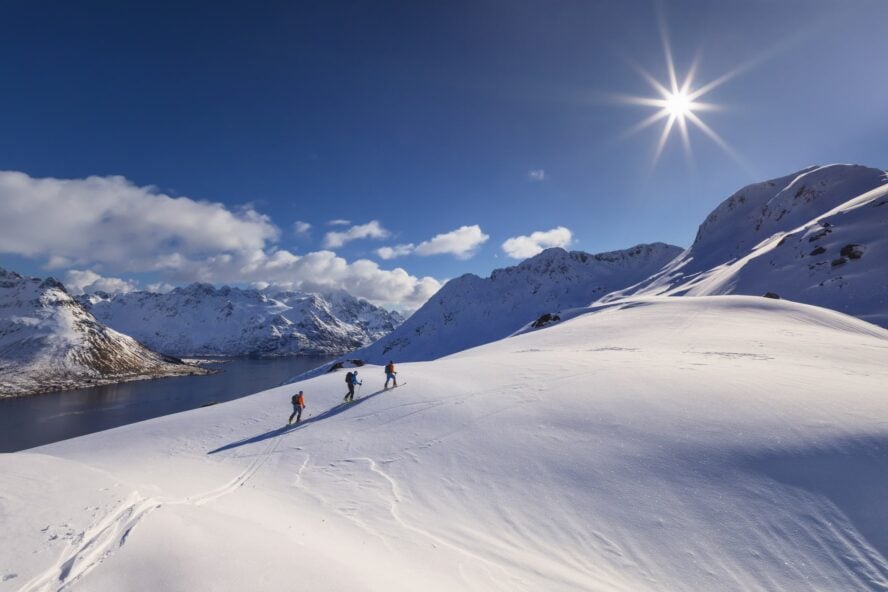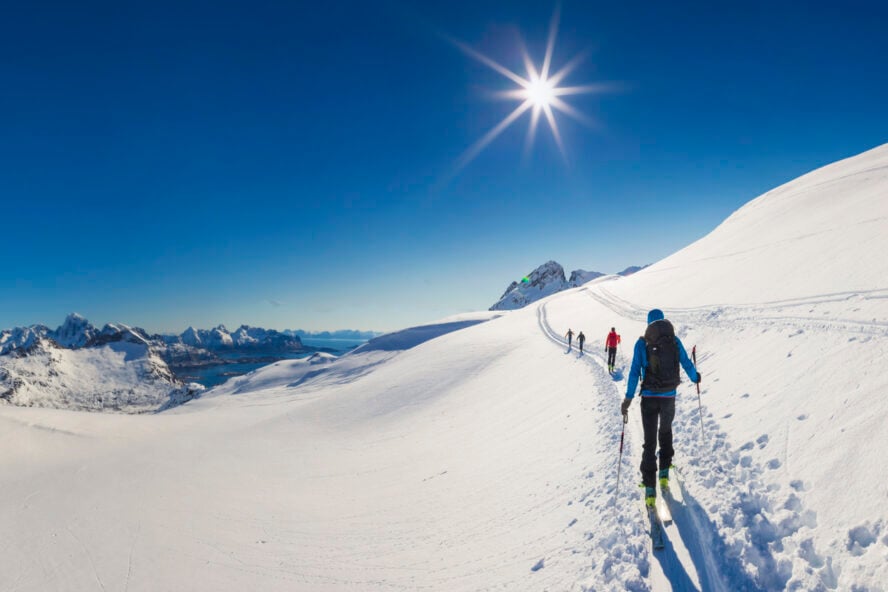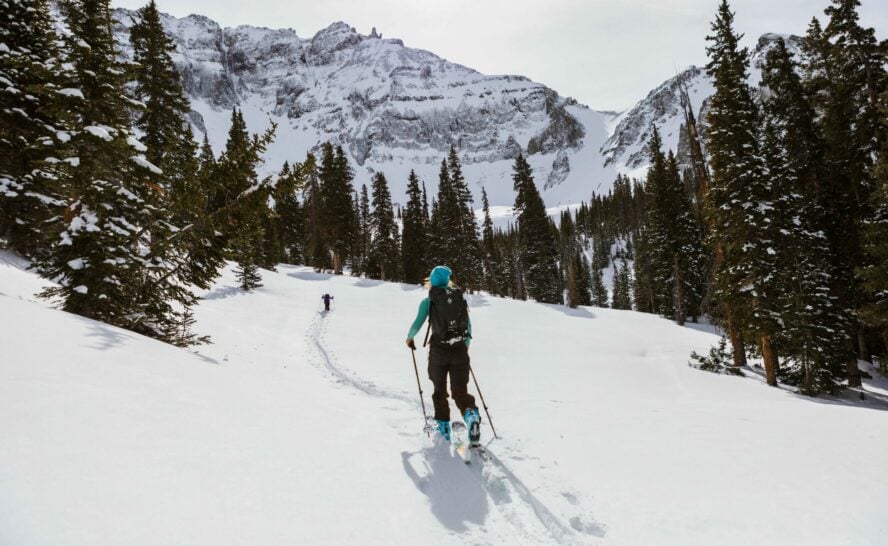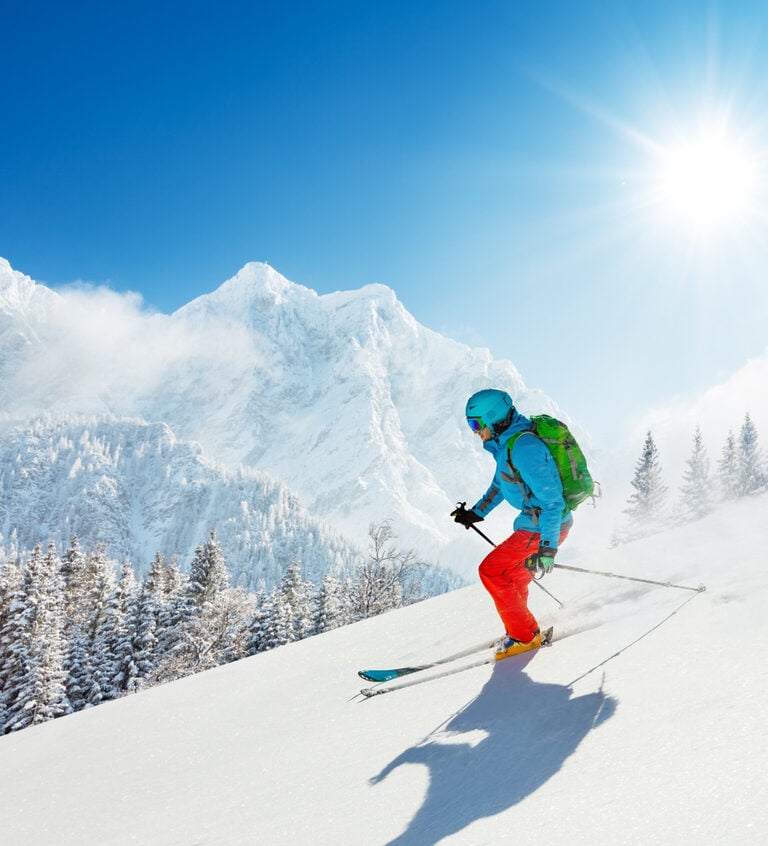
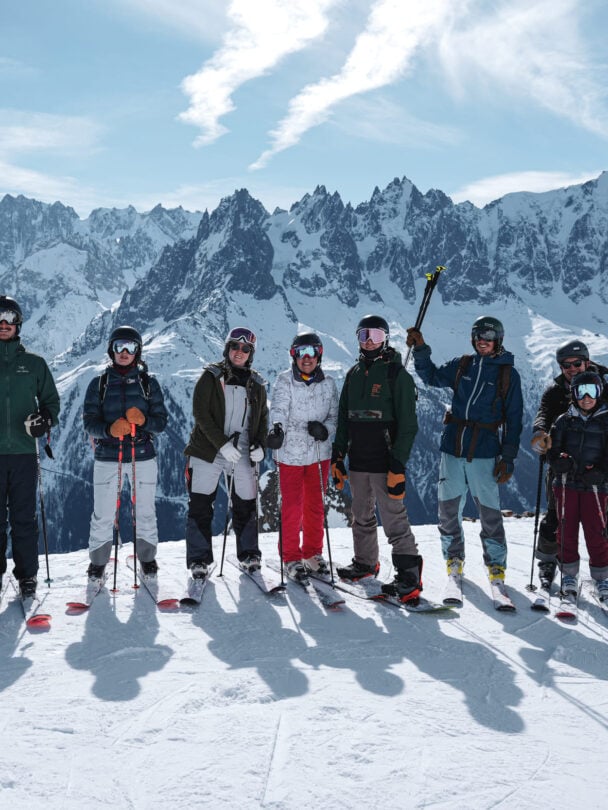
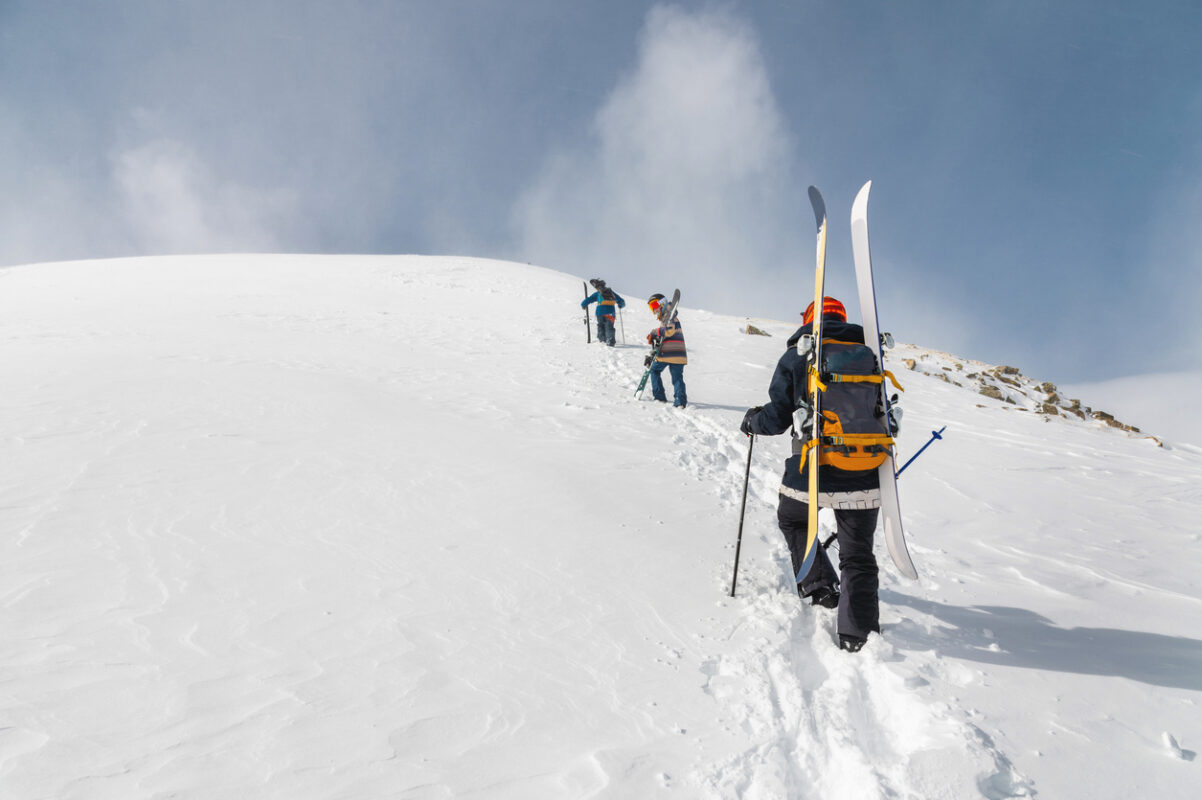
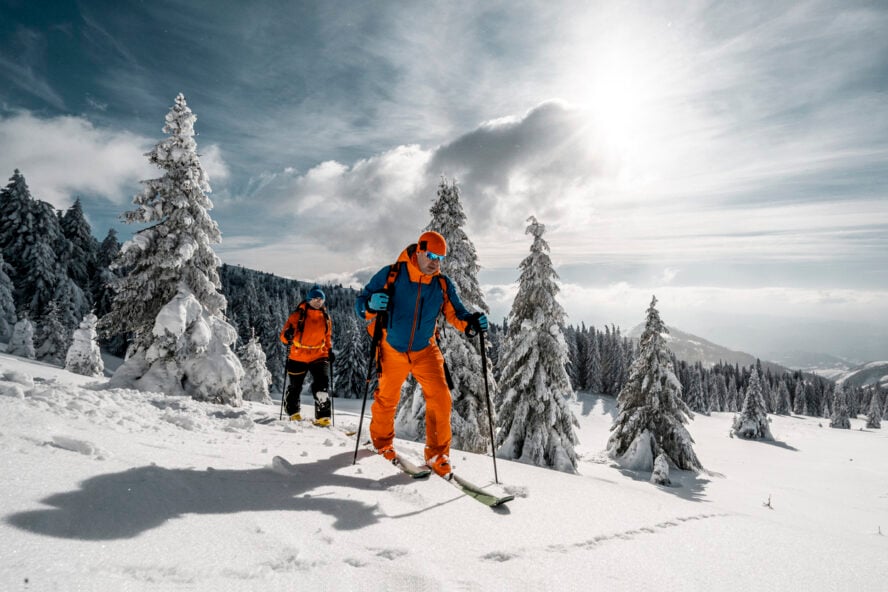
Ski touring is the purest form of skiing there is. It’s all about earning your turns: ascending under your own power, and carving untouched snowfields far from the resort. But before you drop into that dream run, there’s one crucial step: building the right ski touring setup.
The gear might look familiar if you’ve skied resorts before, but it’s built with a different mission: to go uphill efficiently, stay safe in variable conditions, and keep the downhill fun intact.
Joining your first guided ski tour, learning avalanche safety, or going for your first spring mission? Here’s everything you need to know to assemble your backcountry quiver from the ground up.
Resort Skiing vs. Ski Touring Setup: What’s the Difference?
At first glance, ski touring gear looks similar to what you’d use inbounds: skis, boots, bindings, poles, and a helmet. But every piece is engineered for efficiency and independence.
Resort skis are built to carve perfectly groomed runs, while touring skis are lighter and optimized for long ascents and unpredictable snow.
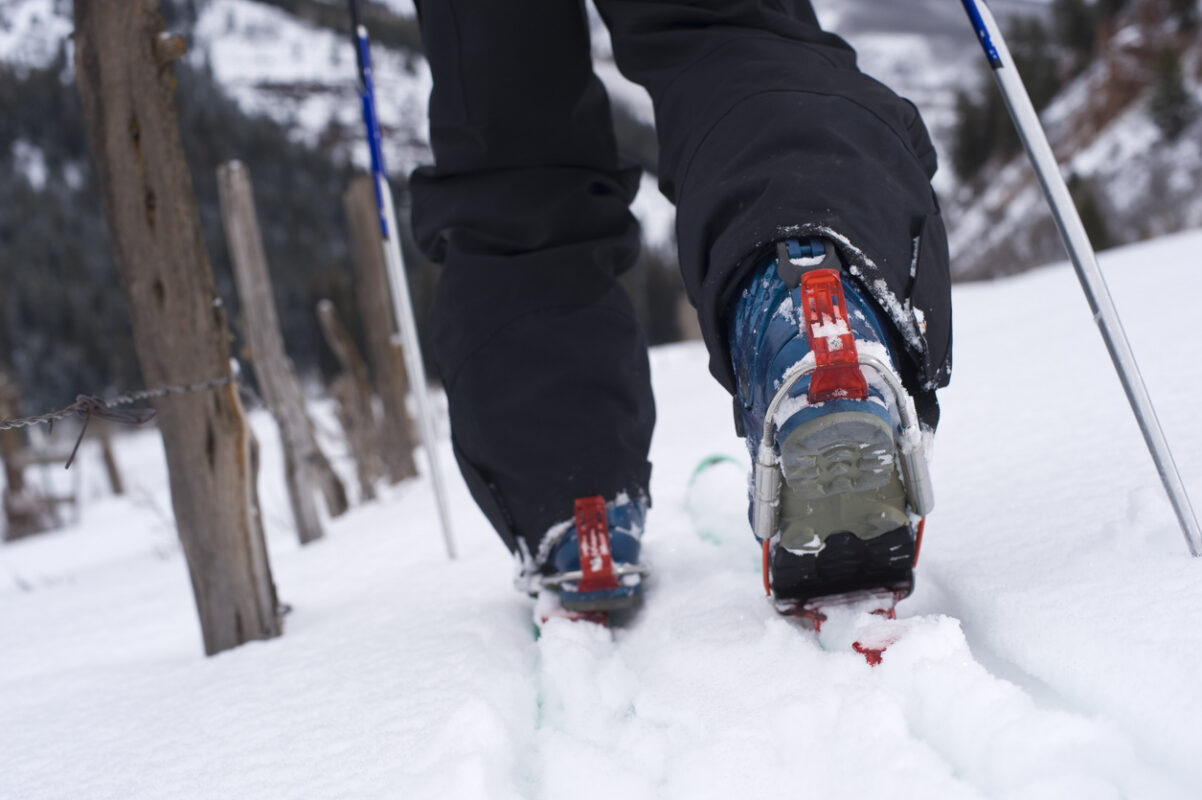
Alpine boots lock you in a fixed position; touring boots can switch between “walk” and “ski” modes with the goal of allowing your ankle to move freely when climbing. Even the bindings transform; your heel lifts while ascending, then locks down for the descent.


The biggest difference between resort and backcountry setups is purpose. Resort gear is built to maximize downhill performance on controlled terrain. Touring gear balances that downhill joy with the freedom to walk around in tough, untouched slopes.
Ski Touring Boots
What Are Ski Touring Boots?
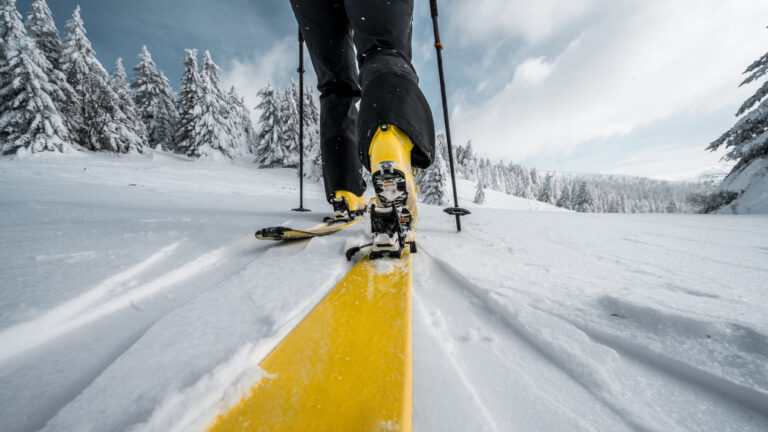
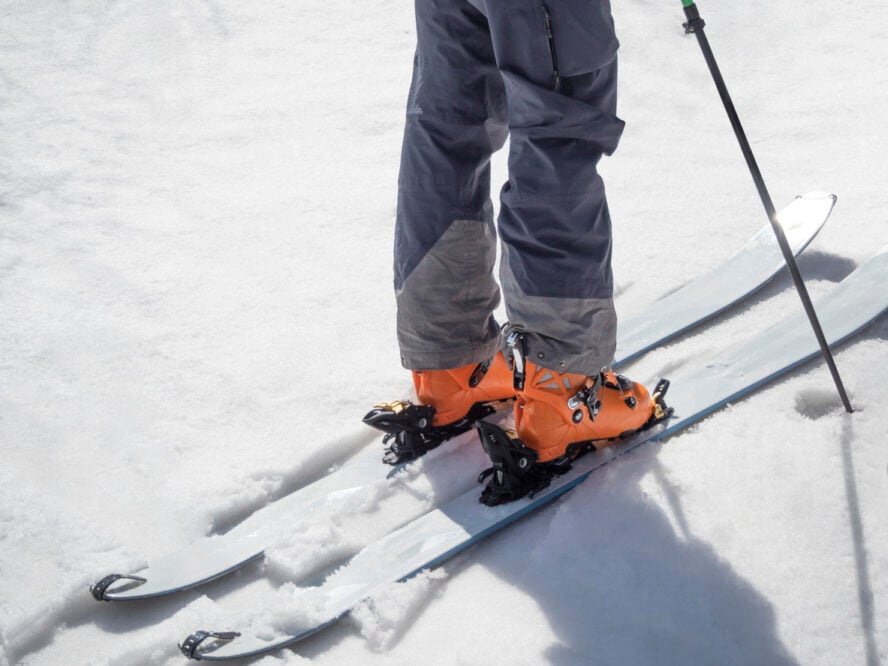
Touring boots look a lot like alpine ski boots but are packed with features to let you move freely uphill. The most obvious addition is the walk mode, a switch that releases the cuff to allow for natural ankle movement. Flip it to ski mode and the boot locks back into a rigid, downhill-ready stance.
These boots are also lighter, made with Grilamid or Pebax plastics instead of dense polyurethane. They often feature tech fittings (metal inserts at the toe and heel) that connect to pin bindings. A hallmark of modern touring setups.
Alpine vs. Ski Touring Boots
Alpine and touring boots might look nearly identical, but they perform two very different jobs.
Alpine boots are rigid. They are heavy, stiff, and designed to transfer maximum energy into your skis while bombing downhill. Great for groomers or lift-accessed freeride days, but take them into the backcountry and they’ll feel like lead anchors.
Ski touring boots, on the other hand, are built for movement. The trick is in their “walk mode,” which unlocks the upper cuff to let your ankle flex naturally as you climb, often with 40 to 60 degrees of articulation.
Touring boots are also far lighter—sometimes a full kilogram less per pair—and use rockered, rubber soles that grip icy trails or rocky approaches. You’ll still get solid downhill performance (especially with today’s hybrid boots) but without sacrificing the joy of the climb.
How to Find the Best Ski Touring Boots for Your Setup
When shopping, consider three factors: fit, weight, and compatibility.
-
Fit: Comfort is critical. Touring means long hours in your boots. Prioritize precise shell fit and quality liners over brand loyalty.
-
Weight: Lighter boots will let you climb faster, but stiffness can be compromised. If you plan to ski steep or variable terrain, aim for a middleweight boot (1,300–1,600 g).
-
Compatibility: Make sure your boots match your bindings: tech boots for tech bindings, frame boots for frame bindings, or hybrid-ready models for both.
Talk to a ski boot fitter who understands touring. A small heat mold or liner tweak could ruin a great ski trip.
Ski Touring Skis
What Is a Touring Ski?
Touring skis are lighter than resort skis, usually with a wood or carbon core. They are balanced for variable snow rather than groomed runs. The goal is to float in powder, edge on hardpack, and not get exhausted on long climbs.
Choosing the Best Ski Touring Skis for Your Setup
When choosing the best touring skis for you, think about matching them to your goals and the terrain you plan to ski.
If you’re going for deep powder, a slightly wider ski (around 105 to 115 mm underfoot) will give you the surface area you need for easier turns. Going for big traverses or spring missions? A narrower ski in the 85–95 mm range will save you energy with every step uphill.
For most beginners, a middle-of-the-road option—something between 95 and 105 mm underfoot—will provide the perfect balance of flotation and agility. Length matters too: go a few centimeters shorter than your alpine setup. You get easier kick turns and better control on technical descents.
Rockered tips (tips with an upward curve) help the ski glide smoothly in variable snow. A slightly raised tail adds maneuverability in tight terrain. And while ultra-light carbon models are tempting, remember that shaving grams sometimes means sacrificing downhill stability.
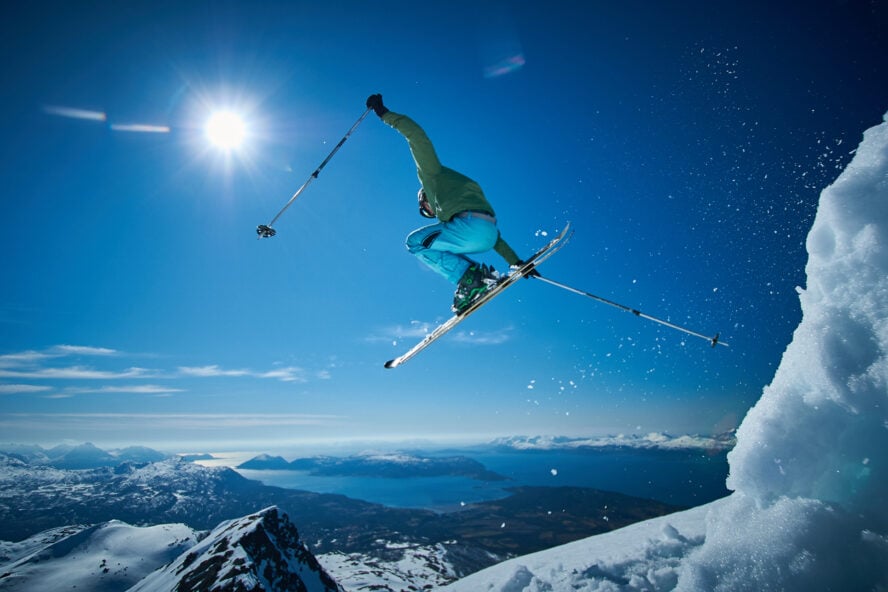
A solid wood-core ski with partial carbon reinforcement often gives the best of both worlds. The best touring ski isn’t necessarily the one that climbs the fastest. It’s the one that makes you smile the widest on the way down!
Ski Touring Skins
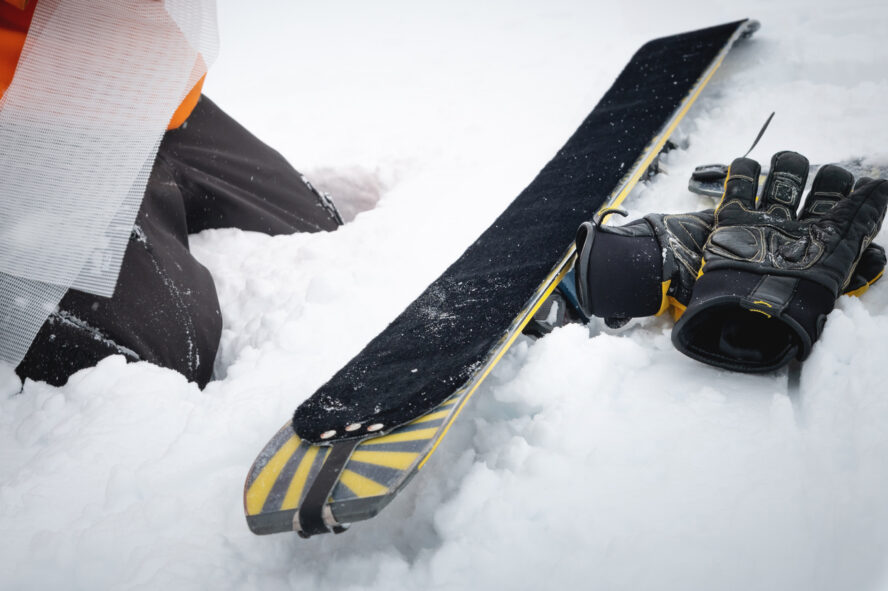
Skins are what make touring possible. These synthetic or mohair strips attach to the base of your skis. They allow glide forward but grip against backward slide. Sort of like fur growing in one direction.
Key features:
-
Material: Mohair (light, fast glide), Nylon (durable, more grip), or a blend of both.
-
Attachment: Tip and tail clips keep them secure; adhesive glue holds them flat.
-
Fit: Trim to match your ski’s length and shape. Most shops will do this for you.
A quick maintenance tip: Keep your skins dry and warm between climbs, and re-glue them when adhesion starts to fade.
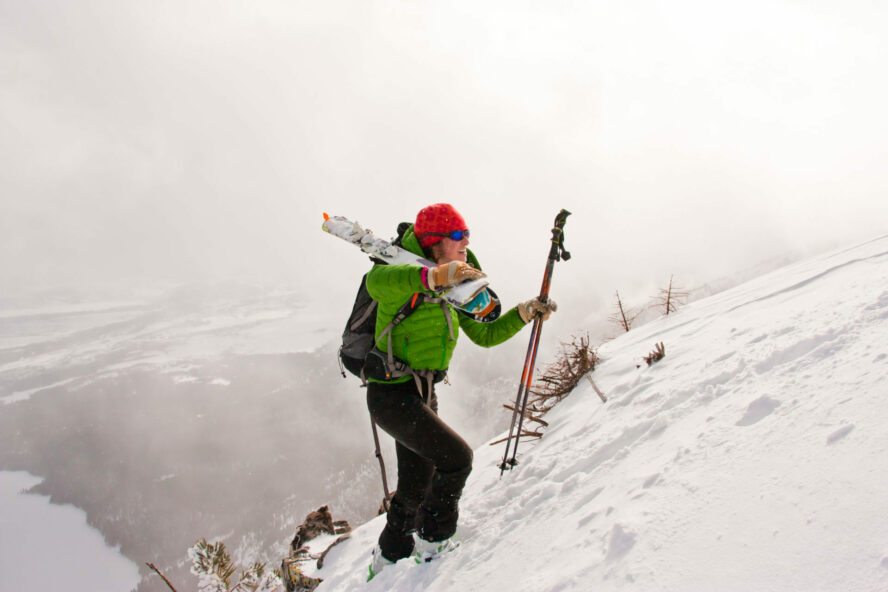
Touring Ski Poles
Unlike fixed-length resort poles, touring poles adjust to match the slope. You’ll extend them for long approaches and shorten them for steep switchbacks or descents. Trust us, this small adaptability makes a huge difference in comfort over a long day.
Good touring poles are lightweight but strong, typically made from aluminum or carbon fiber. They have extended foam grips that let you change hand position easily when side-hilling, and oversized baskets to keep them from plunging too deep into soft snow. Collapsible models should pack neatly onto your backpack when it’s time to transition or bootpack.
Poles might seem minor in the grand gear scheme, but after several thousand vertical feet of climbing, you’ll realize they’re as essential as your skis.
The Best Touring Ski Poles for You
If you favor lightness and fast-paced ascents, go for carbon poles. They weigh less and feel almost effortless. If you’re tougher on gear or often ski in rocky terrain, aluminum is your friend. It’s heavier but far more durable.
Look for adjustable models with reliable locking mechanisms that won’t slip mid-climb. Extended grips are invaluable for uneven traverses, as they let you choke up or down on the pole for balance. Comfort, reliability, and adaptability are what matter most.
The right poles should disappear into your movement. Never noticed, always helping.
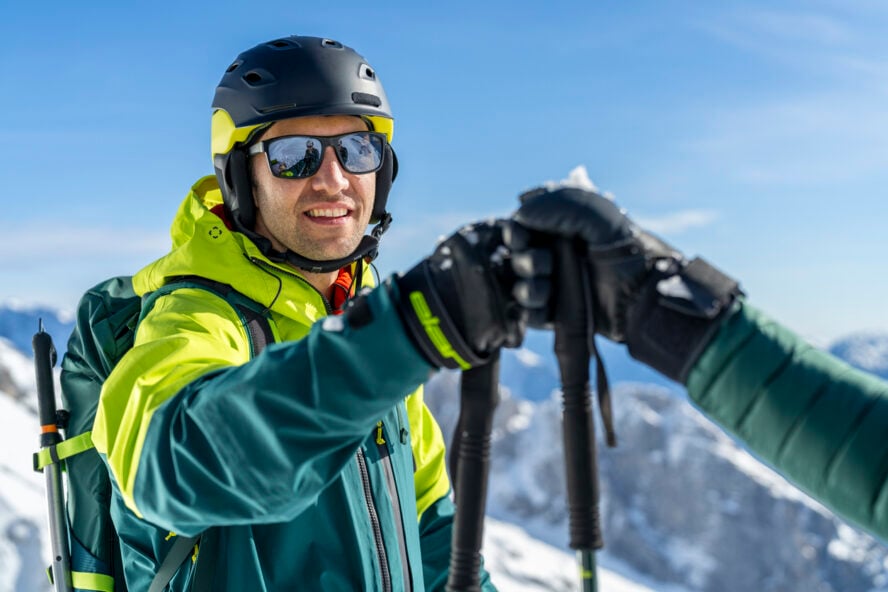
Ski Touring Helmets
Backcountry helmets need to be light for climbing, yet fully protective for descents and falls.
Choosing the Best Ski Touring Helmet
Your helmet is your first and most important line of defense. A ski touring helmet must protect you on the descent and keep you comfortable on the ascent. It’s a tricky balance between safety, weight, and ventilation.
Traditional resort helmets can feel stifling when climbing, while ultralight mountaineering helmets might lack the full coverage needed for high-speed descents. The best touring helmets blend both worlds. They have dual certification for skiing and climbing, along with generous vents and a weight under 400 grams.
Look for features like adjustable airflow, a low-profile fit compatible with goggles, and clips for headlamps during dawn patrols.
A great helmet won’t just save your life. It’ll make you forget you’re wearing one until you need it.
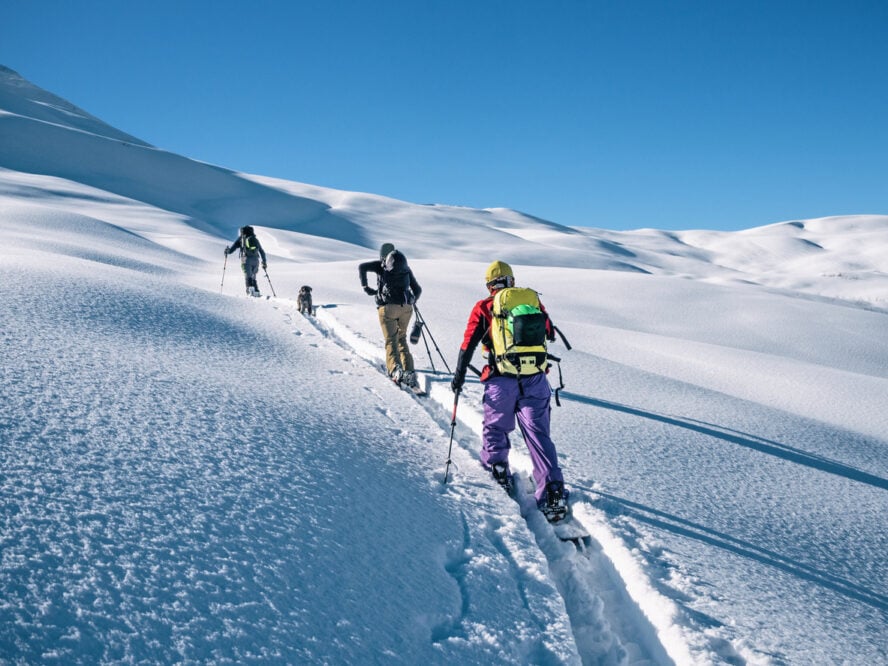
Ski Touring Backpack
A solid touring pack should carry your safety gear, skins, hydration, and extra layers efficiently.
For day tours, a 30–40 liter pack is usually enough. Multi-day trips call for something closer to 45–50 liters, with space for sleeping gear and extra insulation.
Most modern packs include diagonal or A-frame ski carries, helmet holders, and sturdy hip belts for long approaches. If you plan to ski in avalanche-prone terrain, consider an airbag model for added safety.
Our tip? Check the dedicated compartments for your shovel and probe. You should be able to reach them instantly in an emergency.
Ski Touring Pants
Forget bulky insulated resort gear. What you need to prioritize in your ski touring setup is breathability, stretch, and protection.
Softshell touring pants hit that trifecta beautifully. They flex easily, shed light snow and wind, and keep you from overheating on long climbs.
The best ski touring pants have vent zips along the thighs, reinforced cuffs to resist ski edges or crampons, and built-in gaiters to keep snow out of your boots. In cold conditions, layering is extremely important: a light merino base under your softshells will keep you warm and wick moisture.
In spring, those same pants might be all you need. Vents open, sun on your back.
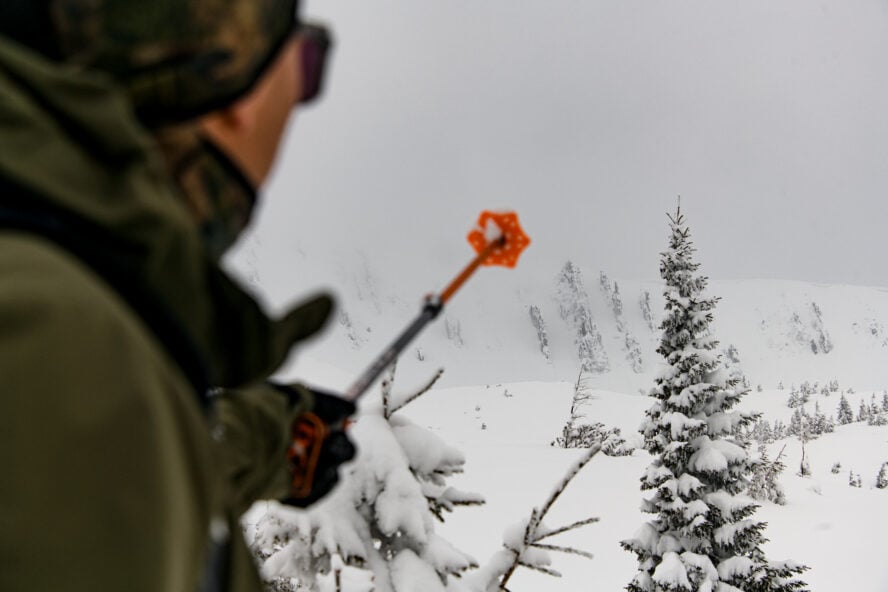
Avalanche Safety Kit
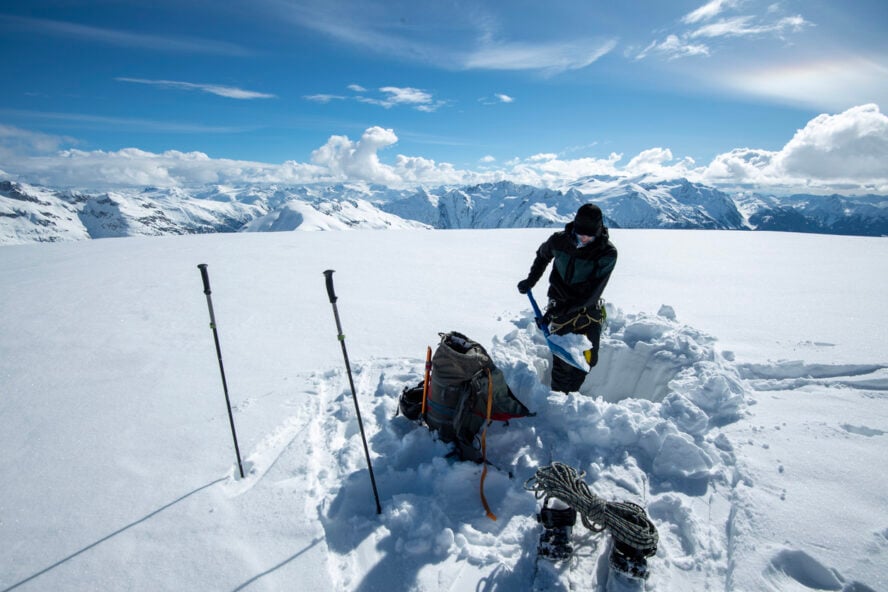
Your avalanche gear is the most important part of your ski touring setup. Full stop. Every backcountry skier must carry a beacon, shovel, and probe in their setup, and more importantly, must know how to use them.
These tools are not optional. They’re your lifeline when the mountain turns unpredictable.
Beacon
The beacon, worn close to your body, emits a steady signal that helps rescuers locate you—or helps you locate a partner—after a slide. A modern digital beacon with three antennas and a clear display is the standard. Practice regularly until switching between “send” and “search” mode becomes second nature.
Shovel
The shovel is, obviously, your digging tool. An avy safety shovel is compact but strong, made from aluminum with a telescoping handle. Plastic won’t cut it when seconds matter.
Probe
The probe, usually around 240 to 300 centimeters long, lets you pinpoint the buried person’s location after your beacon narrows the search zone.
Together, these three tools form a simple but vital chain: find, confirm, dig. They’re only as effective as your practice and preparation. Take an avalanche safety course, go with a certified guide, and make awareness your strongest piece of gear.
Other Ski Touring Setup Essentials
Beyond the big items, here are a few extras that make life easier, and safer, out there:
-
Base layers: Merino wool or synthetic for sweat management.
-
Mid-layers: Lightweight down or synthetic puffy for transitions.
-
Shell jacket: Waterproof, breathable, with pit zips.
-
Gloves: Thin pair for climbing, insulated pair for descent.
-
Goggles + sunglasses: Swap based on visibility.
-
Headlamp: Crucial for early starts or late exits.
-
Repair kit: Duct tape, spare screws, multitool, and ski straps.
-
Navigation: Map, compass, GPS, or a reliable app (download offline maps).
-
First aid kit: Always carry one. You’re your own ski patrol out there.
Locally-guided ski touring trips for first-timers! is-promotionCHAMONIX | FRANCEChamonix Ski Tour Adventure: Highlights of France, Italy, and SwitzerlandJan 25 | Mar 8$5,373 | 7 days
CHAMONIX | FRANCEPrivate Chamonix Ski Holidays: Ski the Best of France, Italy, and SwitzerlandAvailable$4,880 | 5 days
GOLDEN | BRITISH COLUMBIASki Touring Near Golden, BC: Stay at Heli-Accessed Purcell LodgeDec 26 | Dec 29 | Jan 2 | +13 more$1,743 | 4-5 days
Whistler | British ColumbiaBackcountry Skiing at the Kees and Claire HutFeb 20 | Mar 13$999 | 3 days
is-promotionCHAMONIX | FRANCEChamonix Ski Tour Adventure: Highlights of France, Italy, and SwitzerlandJan 25 | Mar 8$5,373 | 7 days
CHAMONIX | FRANCEPrivate Chamonix Ski Holidays: Ski the Best of France, Italy, and SwitzerlandAvailable$4,880 | 5 days
GOLDEN | BRITISH COLUMBIASki Touring Near Golden, BC: Stay at Heli-Accessed Purcell LodgeDec 26 | Dec 29 | Jan 2 | +13 more$1,743 | 4-5 days
Whistler | British ColumbiaBackcountry Skiing at the Kees and Claire HutFeb 20 | Mar 13$999 | 3 days
Congrats, You’ve Built Your Ideal Ski Touring Setup!
Standing at the trailhead, skis gleaming in the pale morning light, your pack feels lighter now that you understand every piece inside it. You’ve built your setup intentionally. Gear that’ll take you uphill smoothly, bring you down safely, and keep you warm and dry in between.
Remember, the perfect touring setup isn’t about buying the most expensive kit. It’s about balancing weight, performance, and reliability for your goals. While gear gets you to the snow, knowledge keeps you alive: always check avalanche forecasts, plan conservatively, and travel with a guide until you’re comfortable leading your own missions.
The mountain rewards curiosity and respect in equal measure. Now, with your ideal ski touring setup dialed and a world of untouched snow ahead, it’s time to start earning your turns.