Hiking for Beginners: Essential Tips From an Outdoor Pro
As a professional guide with a passion for nature, I enjoy helping others become confident in the backcountry. If you’re wondering how to get started, check out my hiking tips for beginners.
On our very first long-distance hiking trip, my mom and I chose to do an 80-mile section on the Tahoe Rim Trail in the Sierra Nevada Mountains. Meandering along ridges at 9,000 feet, the trail follows sharp drops into valleys and steep climbs up rugged mountainsides. It’s a bit of a bigger beast than hiking in San Diego — the relentless elevation change and unexpected snow made the trip much more challenging than we’d anticipated. It felt like it was never going to end.
Reflecting back on all the snafus we encountered, we could have done things differently. However, this experience taught me a lot about hiking and fueled the direction of my professional career.
Today, I enjoy helping hikers develop the skills needed to hit the trails with confidence. My aim is to prepare you to feel capable of confronting any backcountry challenge that comes your way. Whether you’ve dipped your toes into the sport by hiking the trails of Cinque Terre or you’ve started getting your boots dirty for real, these beginner hiking tips are for you.
Returning to My Roots
My passion for nature started at a young age, thanks to my adventurous and outdoorsy mom. Growing up, she was a role model and supported getting me outdoors—long before our memorable hiking trip on one of the best trails in Northern California.
Despite my enthusiasm for nature, it somehow got placed on the back burner as I got older. My wake-up call was when I realized I was spending very little time outdoors anymore. I needed to make a change. Out of curiosity, I typed the phrases “abroad,” “outdoors,” and “master’s program,” into Google and…voilà!
An outdoor education graduate program in Scotland popped up and I jumped at the opportunity. Everything fell into place from there.
Coming full circle
After graduating, I accepted a guiding job in Bozeman, Montana, and… I’m still here working for Good Trip Adventures!
Following in my mom’s footsteps, now I have the opportunity to encourage other people to get outside too. One of the best aspects of my job is working with folks from diverse backgrounds—namely, types of people we may not typically see outdoors.
How to Prepare for Hiking (And You Can Too!)
A guide’s approach to new hikers
When I start working with beginner hikers, the first step is ensuring you have the basics (food, water, and proper clothing). Then, I learn as much as I can about your experience and objectives. This allows me to meet you where you are, set reasonable trip expectations, and break down intimidating aspects of the hike.
For instance, gaining 1,500 feet of elevation may sound quite challenging to someone who’s never done it before. Yet, when I describe that it will be a steady gain over six miles—250 feet of elevation per mile—the incline is a lot more manageable.
Establish your baseline fitness
Before you start hiking, you should understand your current fitness level (and be honest with yourself)! One strategy is to take a “test drive”: go on a low-risk hike with some elevation change and see how you perform. It can also help you pinpoint hiking-specific weaknesses that you can then work on.
If you find yourself gasping for air, slow your pace or take a break. You’ll need to build up your cardio over time to tackle longer distances. Pay attention to where you’re struggling and focus on improving those aspects.
You can build up your endurance and strength at home or in the gym as well. Here are some tips to train for hiking before setting foot out on the trail:
- Watch online videos on how to strengthen the muscles in your legs, shoulders, and back.
- To improve your cardio, add a treadmill session to your gym workouts, or even run in place or do jumping jacks throughout the work day—anything that gets your heart rate up.
- Incorporate yoga to improve core muscles and stability for moving across uneven terrain.
Remember to listen to your body and don’t push yourself too hard. And, remember to enjoy the process, like hiking itself—you’ll get there!
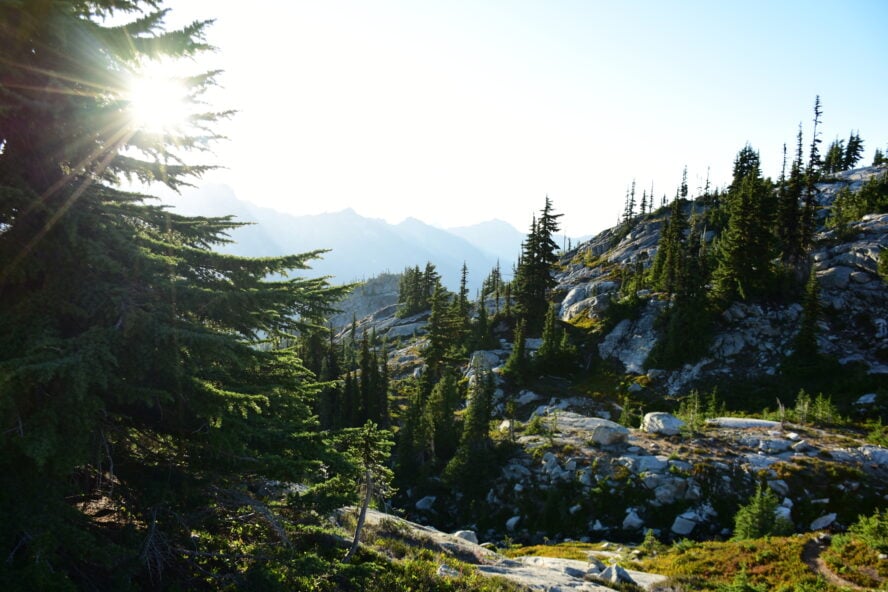
Choose a suitable hiking trail
Whether you dream of long day hikes or something as ambitious as thru-hiking the Appalachian Trail, it’s best to select hikes that match your current fitness level.
When you’re choosing a hiking trail, pay attention to the distance, elevation, terrain, and note potential places you can rest along the way. To find a hike, guidebooks are great, as are free online resources like AllTrails or Hiking Project (both of which are available as apps). These are useful for finding hiking trails for beginners because they indicate the level of difficulty based on user reviews (and you can go through a user’s history to see if their experience matches your own).
You can also ask a trusted friend for trail recommendations or, better yet, have them join you. There are hiking groups on Facebook and local hiking Meetups as well. For beginners, hiking with others is a great way to gain confidence because you’ll have someone to answer questions and address concerns along the way.
Another thing to consider is the type of trail you’re hiking, whether it’s a loop or out-and-back. A loop allows you to experience new surroundings the entire way. In contrast, an out-and-back trail gives a greater sense of familiarity.
I recommend popular, well-marked trails for beginners. Highly trafficked hikes offer security (in the form of fellow hikers if you need help), and if by chance there aren’t others around, a well-marked trail will keep you on the right track.
Carry a guidebook
Regardless of your experience, it’s recommended to carry a physical guidebook of the area where you’re hiking. Before my mom and I ventured out on the Tahoe Rim Trail, we collected a lot of beta from online sources. While all that information was useful, it was reassuring to have a hardcopy resource on hand—especially if cell phone coverage is likely to be spotty, or you run out of battery. If a guidebook is too much to carry, I recommend printing out the details of your individual hike ahead of time, storing them in a waterproof bag, and keeping that with you.
Learn navigation skills
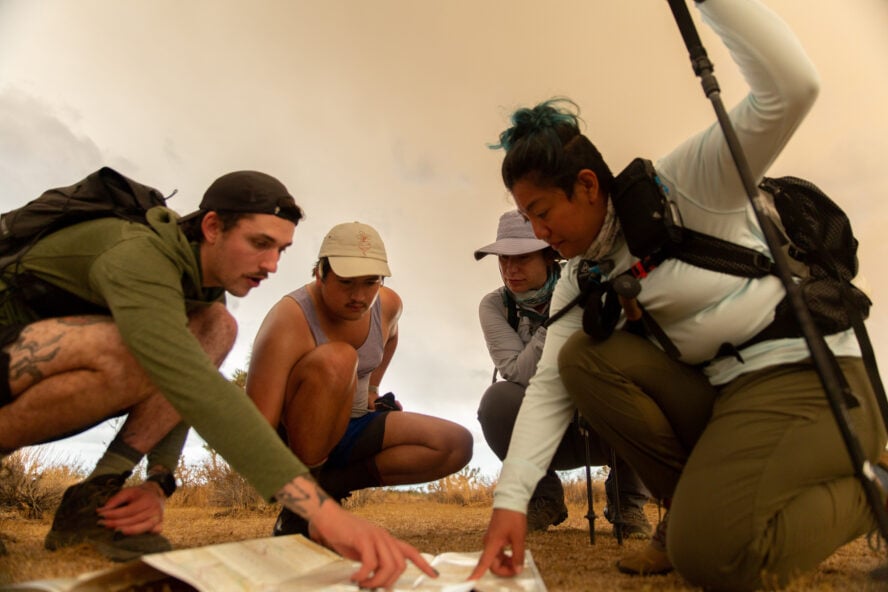
While advanced navigation skills aren’t necessary for hiking well-marked trails, you’ll feel more confident with a basic understanding of how to read a map and use a compass. Check out beginner navigation classes offered locally or online. For those who expect to start venturing into the backcountry, you’ll need to learn how to read a topo map.

Weather, the season, and trail conditions
The time of season you go hiking matters, as conditions alter a trail’s difficulty level. When hiking in Tahoe during July, my mom and I hadn’t expected so much snow. It forced us to use alternative routes along the way.
To help you prepare, start checking the weather forecast in the area every day for a week leading up to your trip (as well as historical)—and remember to check the day of. This will give you an idea of seasonal patterns, what to expect, and what gear you need to pack. For example, if you’re planning on tackling the best Joshua Tree hikes, summer is usually not a good idea since, you know, it’s the desert.
Still, the weather forecast can be wrong and sometimes weather can change on a dime, so you need to remain flexible and plan for uncertainties. When you’re out there, you might encounter unexpected circumstances, such as heavy snow, high river crossings, and landslides, to name a few.
Don’t be afraid to turn around if you don’t feel prepared for what you encounter—you can always come back another time!
Consider hiring a guide
If you’re still feeling trepidation about hiking, consider hiring a guide. Guided hikes are a great way to learn about the environment from a professional, meet other outdoorsy folks, and enjoy the activity without the logistical stress.
As a guide, one of the most rewarding things for me is helping people overcome barriers to hiking—whether they’re physical, mental, financial, or something else entirely. Part of this is due to working with Good Trip Adventures, a company focused on making guiding accessible by trying to take cost out of the equation.
Hiking 101: The Gear
Stick to the basics
There is often a sense of elitism in the outdoors, including the idea you need ultra-specific gear for different activities. While particular gear is required under certain circumstances (food storage while hiking through bear country, for example), you can usually start hiking with what you already own.
For example, consider what you would normally wear to go for a walk or to the gym. If that’s been working for you, then try it out on a short hike. It’s good to be prepared, but try not to overthink it. Instead of investing in costly gear up front, get out there and start hiking—it’s easy to make changes as you gain experience along the way.
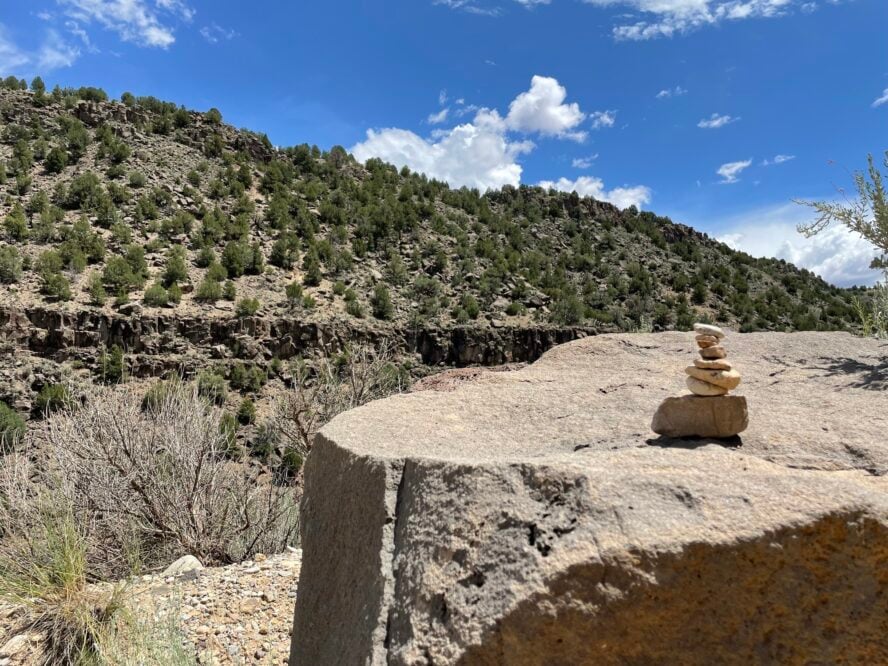
Essential hiking gear for beginners
Using a gear checklist is a great way to ensure that nothing important gets left behind when you’re packing for a hiking trip. What to bring hiking varies from trip-to-trip depending on the trail length, terrain, and weather conditions, but there are essentials you should always carry.
It’s easy to go overboard with packing. A good rule of thumb for when you’re starting out is to keep your pack under ten pounds. Your body needs time to adjust to carrying a load. While ultralight gear can help keep pack weight down, it can be pretty expensive. As a beginner, if you already have access to gear—great! Start with that. And if you find you need to get some items, focus on the basics for now.
Here’s a list of items I recommend for a moderate-length day hike:
- Backpack
- First aid kit (an easy option is to buy a prepackaged one—it takes the hassle out of making your own. I like to add seasonally-specific medications, like antihistamines for spring and summer trips)
- Hiking clothes
- Hiking boots/shoes/sandals (whatever works for you)
- Trekking poles (optional)
- Water (Amount is hike-dependant. For example, some of the best Grand Canyon hikes have no access to water, so bringing lots of it is recommended)
- Snacks
- Luxury item (for my mom and I during the Tahoe Rim trip, this was wine. It made the end of a long day rewarding)
- Ten Essentials
Essential Hiking Clothes: What to Wear
Hiking doesn’t require an extensive wardrobe. Your focus should be on safety and comfort. Here are some basic suggestions on what to wear for hiking.
Dressing for the trail
Starting at the bottom, footwear is one of the most critical items to consider. Selecting the best hiking boot, shoe, or sandal depends on the season and terrain (sandals are not a great choice for winter conditions or rocky trails).
Choose footwear with good traction, arch, and ankle support to reduce foot fatigue and mitigate sprains. To avoid blisters, make sure your footwear fits properly—not too loose and not too tight, or you’ll risk developing hot spots.
When it comes to clothing, try to avoid cotton. And that includes socks. While I often wear cotton t-shirts in the summer if I know it will be hot, when wet, cotton tends to take a long time to dry which can be life-threatening in cold temperatures. For layering in cooler climates or winter months, you’ll need to do more research on how to stay warm while hiking.
An example outfit for hiking in mild weather might look like this:
- Hiking shoes
- Wool blend socks
- Underwear garments (what you would wear while working out)
- Hiking shorts or pants—made of quick-drying fabrics like wool, nylon, or polyester. Yoga pants are an okay option too
- A t-shirt or tank-top, also made of moisture-wicking fabric
- A light windbreaker or jacket
Additional clothing options may include a hat and sunglasses to ward off the sunrays accompanied by sunblock to prevent sunburn. In buggy areas, you can avoid mosquito bites by wearing clothing that covers exposed skin. If ticks are a problem, donning light-colored clothing accompanied by high socks is a deterrent and makes them easy to spot.
One last tip (also outlined in the Ten Essentials) is to always carry a few extra layers with you in case your clothes get wet.
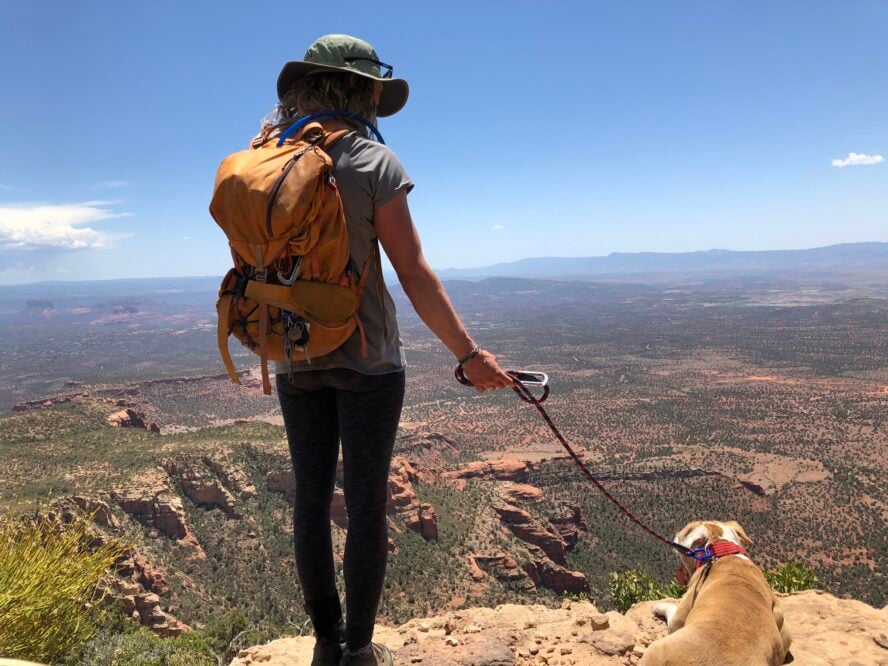
On The Trail: Hiking Tips for Beginners
Hiking with kids
When it comes to kids, especially young ones, make sure you keep them close by. They will want to explore—and there’s nothing wrong with that, but you need to be considerate of other hikers on the trail.
Cultivating teachable moments about outdoor etiquette is a great way to foster respect for the environment and others. One way to keep kids focused on the trail is to engage with them by asking questions, such as, “Hey, when we see another person, what do we do? We step aside.”
When I was a kid, spending time in nature while learning to respect my surroundings has helped shape who I am today.
Hiking with dogs
As for dogs, first, see whether dogs are allowed on the trail. On trails that are dog friendly, most require you to keep your dog leashed. Regardless of whether leashes are required or not, it’s a good idea to keep one on hand. Good dogs and not-so-good dogs alike can become excited, so prepare to intervene if needed.
Also, I can’t stress enough the importance of picking up after your dog. Sidestepping dog poop on the trail or spotting unsightly tied-up bags on the side takes away the experience for others—not to mention it’s disrespectful to nature.
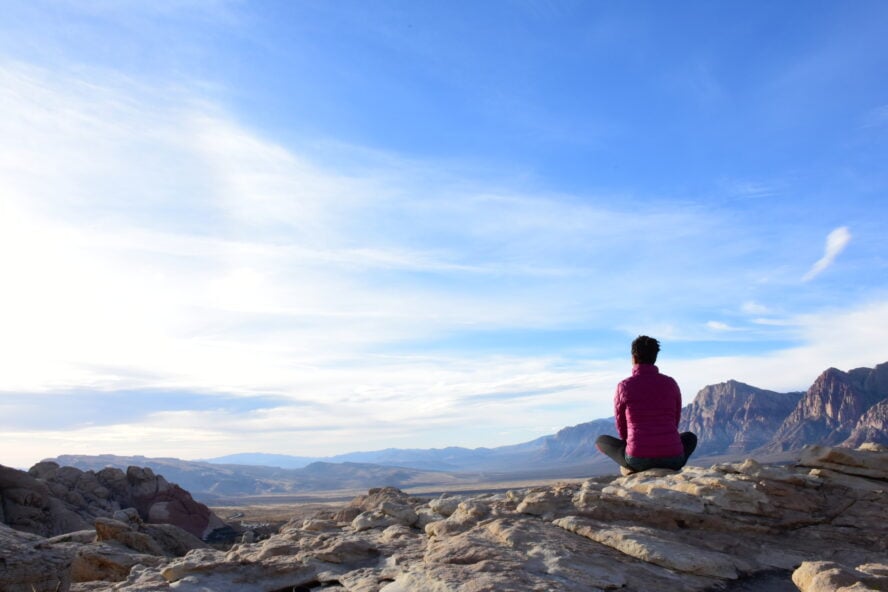
Avoid burnout
Often people tend to push themselves, especially at the beginning of a hike and when hiking in a group. When I’m guiding, something I tell clients is that the pace you naturally go is always the best pace. If you’re gasping for air, it’s a good indicator to slow down. If you feel yourself unintentionally slowing down, you might be running low on energy so consider a snack break.
Remember, you’re hiking for fun! The pace shouldn’t be so difficult that it causes you to dislike the activity. Listen to your body.
Leave no trace
To keep the backcountry looking better than you find it, follow the Leave No Trace principles. Pack out everything you bring in—yes, even that apple core you’re considering tossing on the ground. Just because it’s biodegradable doesn’t mean we should put it anywhere.
Respect other hikers
Making too much noise isn’t something people often consider out hiking, but talking too loudly and playing music can be disruptive. As someone who talks a lot out on the trail, I’m guilty of this. While chatting is a great way to pass the time, it’s important to keep your voice down so it doesn’t detract from another’s outdoor experience.
Concerning the right of way, I go by the rule of thumb that if I see someone first, I’ll pull over first. When it comes to horses, I’ll move immediately out of the way, giving them a wide, respectful berth. As long as you’re being courteous, you can’t really go wrong.
Don’t take shortcuts
When you’re hiking, do your best to stay on the trail—especially high elevation switchbacks. As tempting as it is to save your quads the extra few steps, it’s poor trial etiquette. Taking a shortcut across steep terrain exacerbates erosion. Over time, tramping down delicate flora can damage the integrity of a hillside.
Plus, when one person cuts corners, others tend to follow. Aim to stay on the trail.
Hiking Safety Tips
Before a hike
Always leave your hiking itinerary and an estimated check-in time with a trusted party (ideally two) back at home. Provide them with details of where you’ll be hiking and relevant contact information for the trail’s associated outdoor organization. If you’re hiking on National Forest Service land, you would provide information for the affiliated ranger district.
Anyone who ventures outdoors should consider taking a wilderness first aid course. A good place to find online and in-person options is through your local outdoor store or REI. The National Outdoor Leadership School (NOLS) is another good organization that offers wilderness medicine classes. While these courses can be time-consuming and pricey, learning outdoor safety skills is a surefire way to build backcountry confidence.
At the trailhead
Good advice that’s often overlooked is registering at trailheads. Most backcountry trails (but not all) provide a registration box near the parking lot or start of the trail. A trail register allows you to record the length of your anticipated backcountry stay (especially important for backpackers), number in your party, route, and contact information. This data provides search organizations with essential information for finding someone if they’re reported missing.
Pro tip: sometimes pens and notepads are either filled up or missing—it’s useful to bring your own pen and piece of paper, just in case.
Out on the trail
Being prepared and using your best judgment are the best ways to stay safe on a hike. To avoid getting caught hiking at night, pre-plan a destination or turn-around time.
If there’s the possibility for extreme weather, locate alternate route options. When the snow became too deep for my mom on our hike, she took a service trail back to town, where a friend met her. We planned this option in advance for that reason.
Beginner hikers should consider hiking with a partner. A companion can provide moral support, enjoyment, and an added safety measure, especially in areas without cell service.
On that note, devices like the Garmin inReach (a two-way satellite communicator that works in areas where cell phones don’t) are useful for communication. Just note that they can be pricey.
Keep it simple
Thanks to my outdoorsy mom, personal experiences, and professional career, I’ve learned a great deal about hiking for beginners, including how overwhelming it can feel when you’re starting out. My final word of advice: Keep it simple.
Start with short hikes within your physical and mental comfort zone. As you build up confidence and endurance, it will be easy to transition to longer, more difficult outings. I hope these hiking tips will equip you with enough knowledge to avoid mishaps like those my mom and I experienced on the Tahoe Rim Trail. No matter how prepared you are, hiking is a learning experience, so remember to have fun and be courteous along the way!


