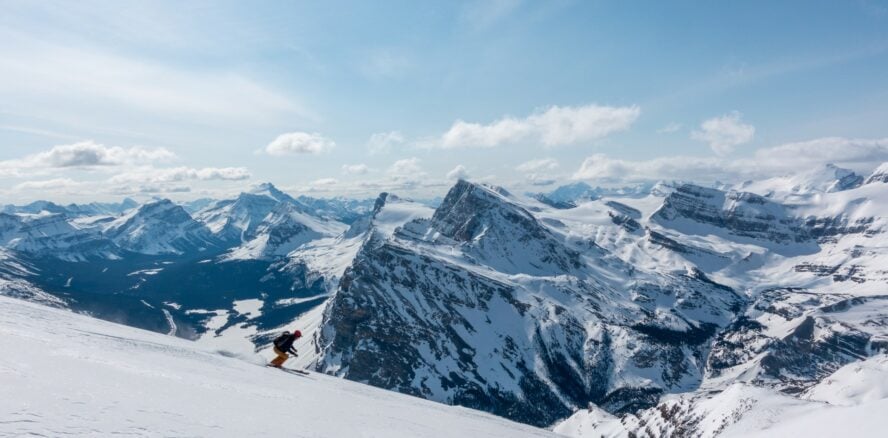

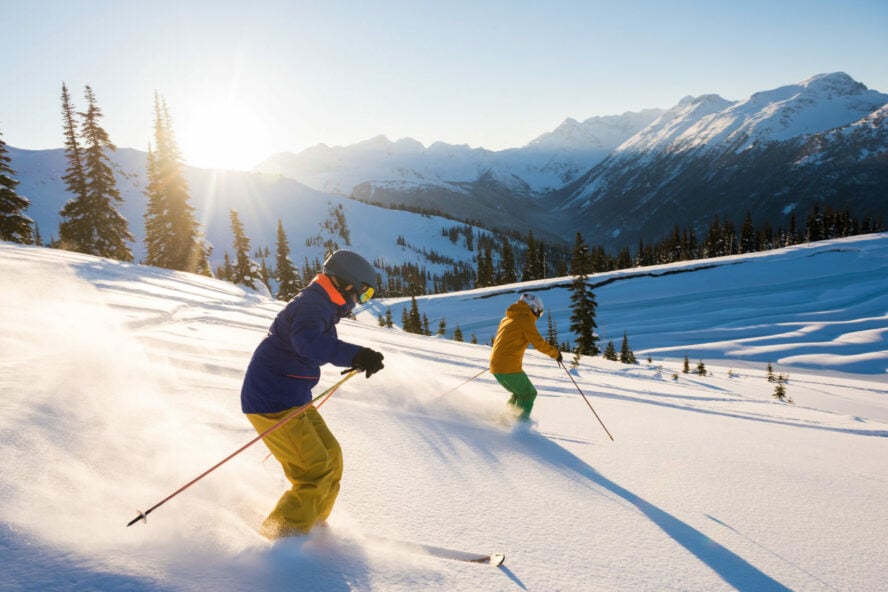
You’re floating through knee-deep powder. No chairlifts in sight, no crowds. Just you, the mountains, and the sweet whisper of skis slicing untouched snow. That’s backcountry skiing – but what is it like for beginners?
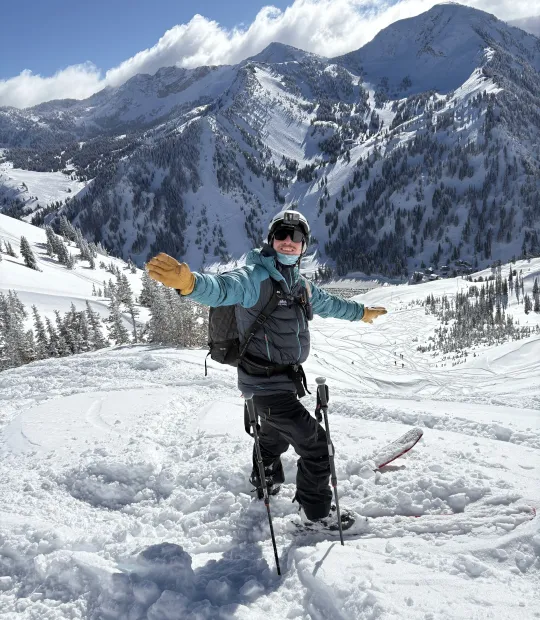
I’m Erik, and I’ve been chasing that feeling for over 30 years. As an AMGA Assistant Ski Guide with a Pro Level 2 avalanche cert, I’ve made it my mission to take people beyond the ropes and into the real magic of winter.
So, if you’re ready to leave the resort behind and earn every turn, let’s go find some wild snow.
Who I Am and Why I Love This
I started skiing at seven, catching the bug on Vermont’s snowy slopes. By my teens, I was a freeride enthusiast, throwing tricks in the park (yeah, the falls hurt more now!) and even making ski edits for my YouTube channel.
About 16 years ago, I discovered backcountry skiing, and it changed everything. From the summits of Mount Baker to the volcanoes of Chile, I’ve lived for those moments of solitude and challenge in untouched terrain.
With my Wilderness First Responder ed and years of guiding, I’ve learned what it takes to ski safely and have a blast. This guide is my way of sharing that passion. I’ll break down what backcountry skiing is and how you can jump in with confidence.
For Beginners: What Does Backcountry Skiing Even Mean?
Backcountry skiing is all about freedom. It’s leaving the groomed runs behind for wild, unpatrolled terrain. Let’s get into the terminology for a little bit:
On-Piste vs. Off-Piste
On-piste skiing is what you do at resorts: marked trails, groomed slopes, and controlled avalanches. Off-piste, or slack country, is just outside those boundaries, often reachable from a lift but without patrollers or avalanche mitigation. It’s a step toward freedom, but you’re still close to the resort’s safety net.
Side Country
Side country is a hybrid. You might ride a lift to access higher terrain, then hike or skin into uncontrolled areas. It’s a great intro, but once you leave the resort’s marked zones, you’re on your own for safety and rescue. I learned this early on, when I guided clients who thought “close to the resort” meant “safe.” It doesn’t.
True Backcountry Skiing
This is the heart of it: remote, unpatrolled terrain where every decision—route, snow assessment, rescue—is yours. Good examples would be skiing Alaska’s Cherry Couloir or a Patagonian volcano with 1,524 m (5,000 ft) of corn snow. It’s raw, exciting, and demands preparation. That’s what we’re working toward.
A Global Perspective
Having skied in Europe and the U.S., I’ve seen how resort boundaries differ. U.S. resorts are strict, with clear lines you don’t cross. Europe’s more flexible, and off-piste often blends into backcountry. Wherever you ski, backcountry means self-reliance, and I’ll show you how to get there safely.
Why I’m Hooked on Backcountry Skiing
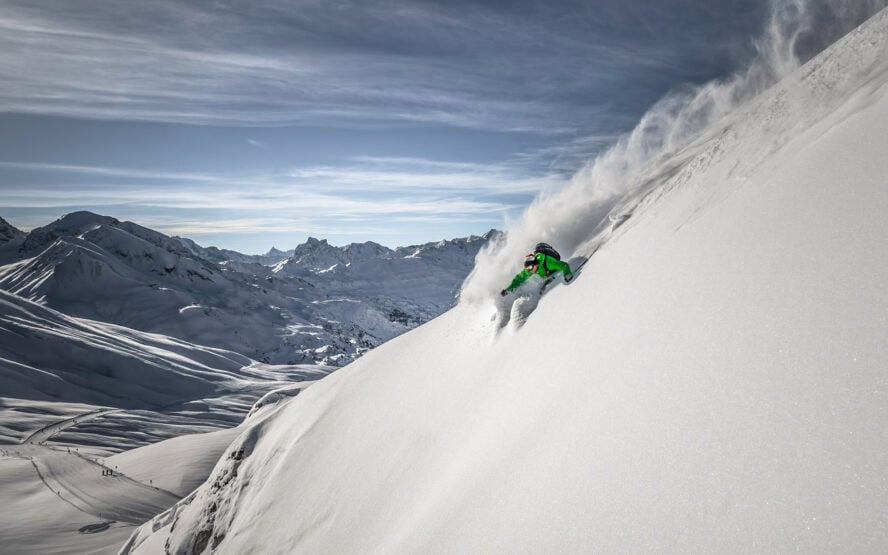
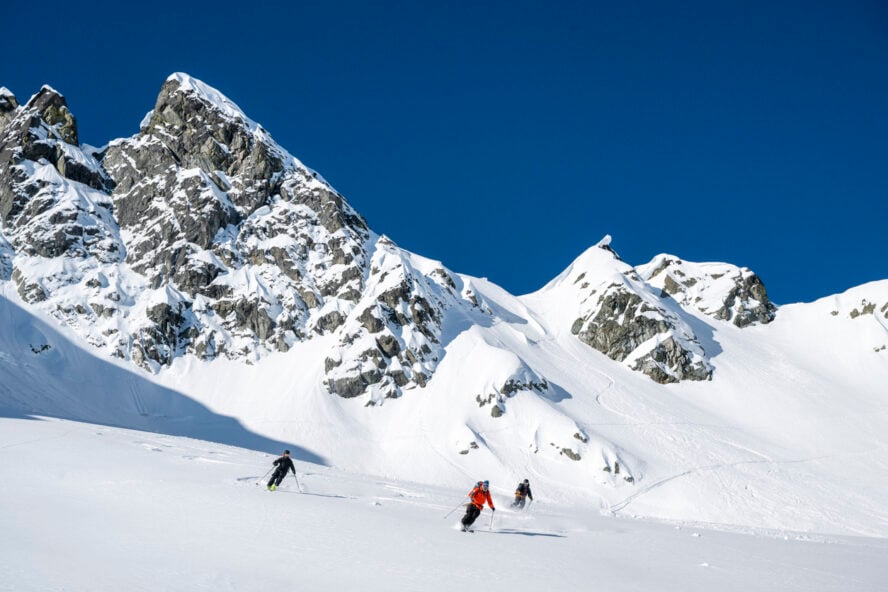
Why trade resort comfort for the backcountry? Because nothing compares to the rush of earning your turns.
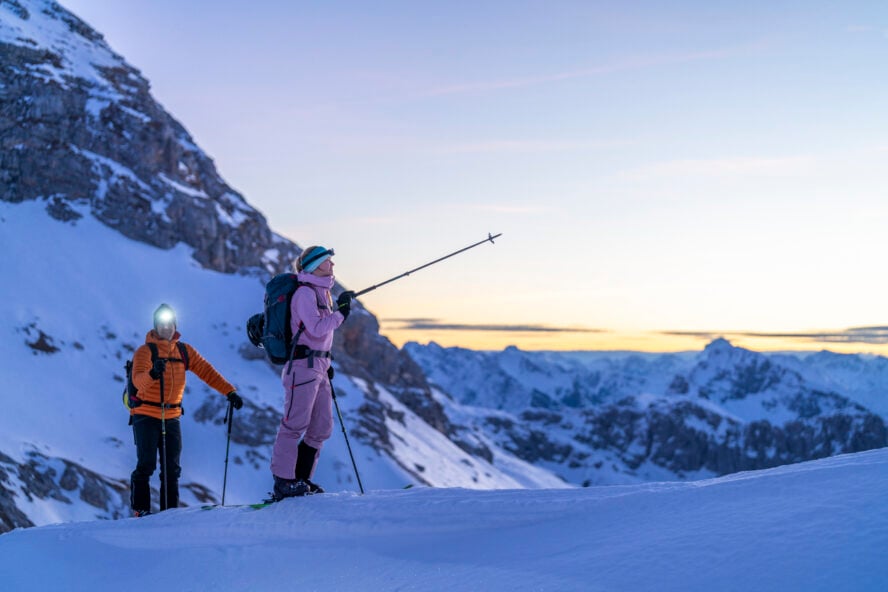
Picture this: I’m in Alaska, skinning up Iguana Back East near Valdez, the snow untouched, the silence absolute. I drop into a couloir, powder billowing around me. It’s like flying.
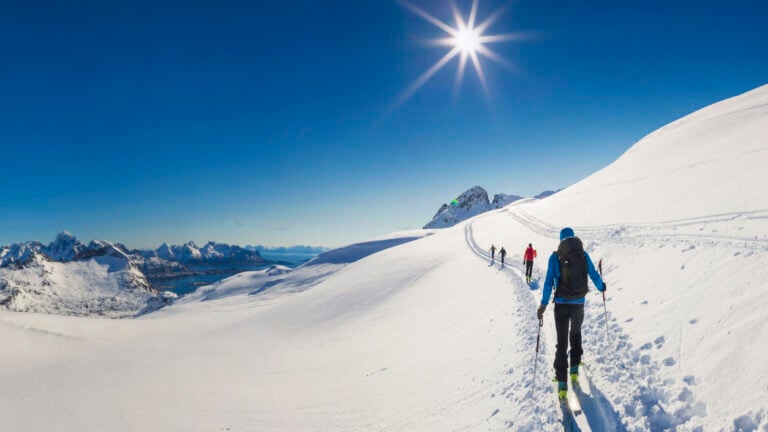
Or skiing a Chilean volcano, the corn snow perfect underfoot, with a green valley 1,524 m (5,000 ft) below.
In Svalbard, at 78 degrees north, I’ve skied under the northern lights, glaciers stretching to the horizon. Every ascent is a grind, but the descent? Pure triumph. I help folks chase these moments for a living, and I can’t wait for you to feel that rush.
Gear Essentials – My Backcountry Skiing Kit For Beginners
Backcountry skiing needs a solid setup that’s light for climbing but solid for shredding. Here’s what I use and recommend:
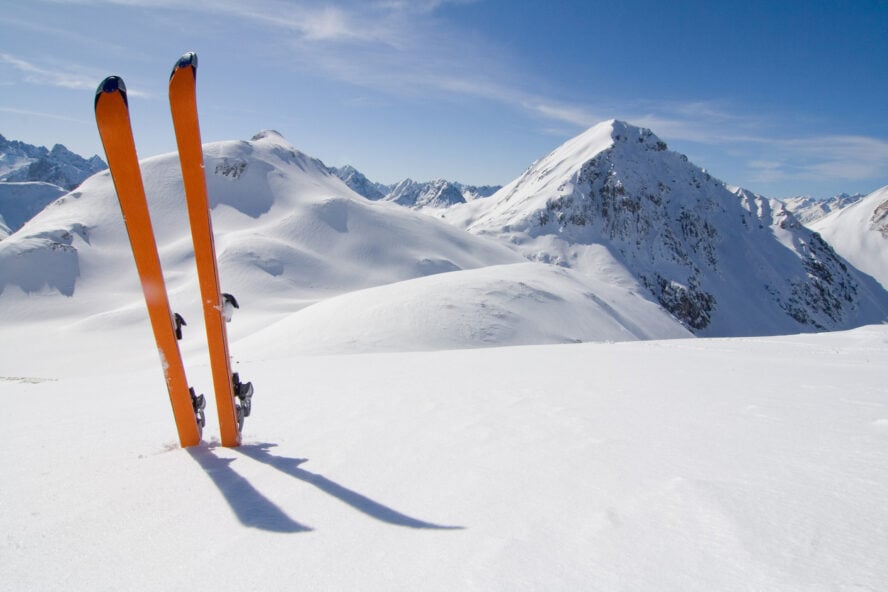
Touring Skis
One day, you might have a ski quiver that covers every snow condition imaginable. Until then, it’s worth knowing the four main types of touring skis and how they stack up.
Alpine touring skis are the all-rounders. They strike a balance between uphill efficiency and downhill fun, with waist widths typically in the 85–105 mm range. They’re my go-to in Utah, where the terrain can change from wide-open bowls to tight tree runs in a single day.
Ski mountaineering skis are built for the long game. They are lightweight and narrow for big, technical climbs and high-alpine missions. The trade-off is that they’re less forgiving on the descent, and you’ll feel every little bump in the snow.
On the opposite end, freeride touring skis are wider (around 105–110 mm), playful, and have a more resort-like feel. I reach for these when I’m chasing powder and want a ski that will make the downhill as fun as the climb.
Then there are wide powder skis, with 110–120 mm underfoot, designed for the deepest days in places like Alaska or Japan. These are my storm-day favorites when the snow is so deep you can barely see your tips.
If you’re new to touring, it’s smart to rent before you buy—shops like Skimo.co offer full setups (skis, boots, bindings, skins) for around $75 a day, so you can experiment and see what works best. Your ideal ski will depend on your size, skill level, and goals, so check reviews, talk to shop pros, and don’t be afraid to test different setups before committing.
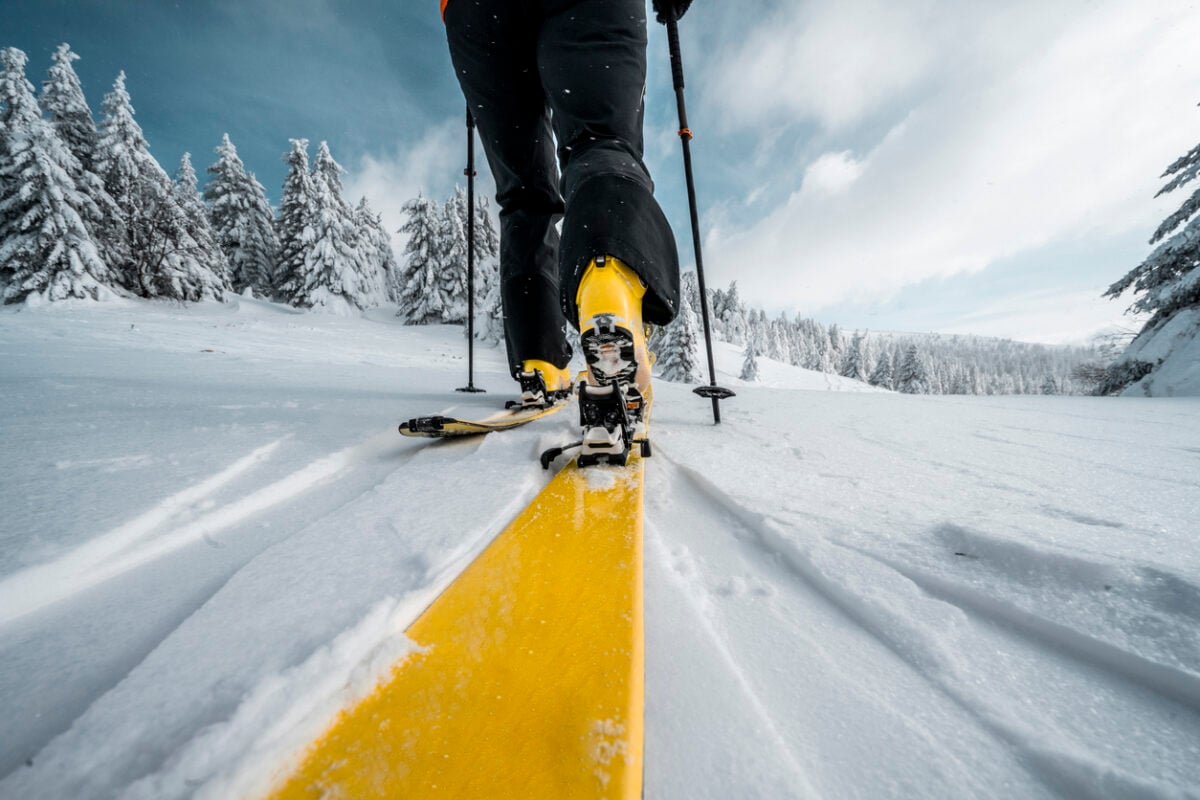
Bindings
Bindings are where uphill mobility meets downhill performance, and choosing the right setup can make or break your tour.
Tech bindings are my go-to for most trips. They’re lightweight, with pivoting toes that make climbing efficient, but they do require specific boots with tech inserts.
For days when I want stronger downhill performance without giving up uphill efficiency, I turn to hybrid bindings. These pair tech toes with resort-style heels, like the popular Salomon Shift, giving you the best of both worlds.
Frame bindings are the older, heavier style, but they’ll work with standard resort boots, which made them a practical choice when I was just starting out. These days, hybrids are quickly taking their place.
And then there are telemark bindings—classic, flexible, and full of old-school style. You don’t see them much anymore, but I’ve got a lot of respect for the freeheel skiers keeping the tradition alive.
Boots
Boots are your foundation. I spend the most here ($500-$800) for fit. Get:
-
Lightweight touring boots with walk modes.
-
Heat-moldable liners: visit a boot fitter to avoid blisters.
-
Tech-compatible lugs (not all resort boots work).
A bad fit ruined a trip for me once. Don’t skimp on boots.
Skins and Poles
Skins (mohair or synthetic) grip snow for climbing. I use adjustable trekking poles with wide baskets for stability. Rent these to start, then buy what fits your style.
Splitboards for Snowboarders
I’ve guided snowboarders with splitboards. Skis for climbing, a board for descending. Tech bindings need hard boots, which I find less comfy than soft boots for standard bindings, but they’re better for technical terrain.
My Pack
I carry a 30-35L pack for day trips, fitting my beacon, shovel, probe, and layers. For guiding, I use a 40L for extra rescue gear. Beginners should stick to 30L—20L is too small unless you’re a minimalist pro.
Dressing for Success – My Layering Strategy

In the backcountry, staying dry is just as important as staying warm, and the right layering system makes all the difference.
I start with a solid base layer made from merino wool or synthetic fabrics, both of which wick sweat away from the skin. Cotton is off the table; it holds moisture, and once it’s wet, it’ll chill you fast.
Over that, I add a mid-layer—usually a fleece or a lightweight puffy—that traps warmth without adding too much bulk. I look for pieces that breathe well so I don’t overheat on the climb.
On the outside, I wear a Gore-Tex shell, which blocks wind and snow while still allowing moisture to escape. I’ve been caught in storms without one before, and trust me, it’s not an experience you want to repeat.
Accessories round out my kit: a warm hat, both light and heavy gloves, sunglasses, and a buff to cut the wind. Gaiters are also a must for keeping snow from sneaking into my boots.
As for protection, I skip back or rib guards since they tend to trap heat and make me sweat, which can be dangerous in cold conditions. If you do want that extra protection, make sure whatever you choose is breathable.
At the end of the day, mobility and dryness are the keys to staying comfortable and safe on long tours.
Avalanche Safety: My Approach to Staying Safe
Avalanches are the backcountry’s biggest risk, and I take them seriously. This isn’t a full course (get a Level 1!), but here’s my foundation:
My Safety Tools
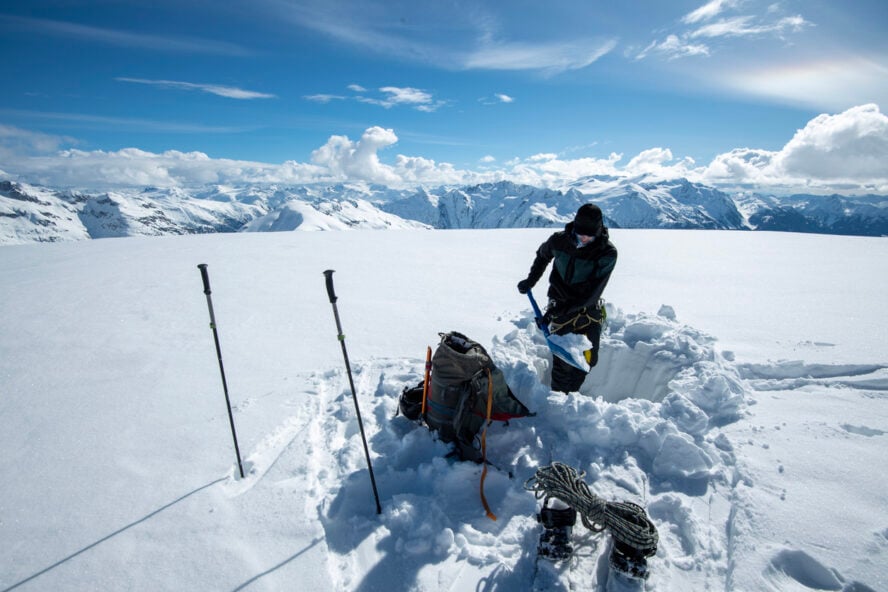
When I head into the backcountry, my beacon is always on my body—not stashed in my pack—so it’s ready to work if things go wrong.
I practice searches regularly, because in an avalanche, seconds count, and knowing how to use your gear is just as important as carrying it.
Alongside the beacon, I keep a shovel and probe in my pack. These tools are essential for digging out and pinpointing a buried skier, and I prefer lightweight, compact models that won’t slow me down on the climb.
For bigger trips or days in more committing terrain, I bring an airbag backpack. These run anywhere from $600 to $1,200 and can reduce the risk of burial while also offering some protection against trauma.
That said, if you’re just getting started and money is tight, I always recommend prioritizing an avalanche safety course before investing in an airbag. You can rent one later, but you can’t rent the knowledge that keeps you alive.
Reading Avalanche Terrain
I avoid slopes steeper than 30 degrees unless the avalanche forecast indicates stable conditions. It’s worth remembering that avalanches can release on slopes as mellow as 28 or 29 degrees, and they can also run far into lower-angle terrain below steeper slopes.
I carry an inclinometer to check angles rather than guessing, and I make it a habit to scan the terrain above me as carefully as the slope I’m on. Being aware of what’s overhead can be just as important as where you’re standing.
Understanding Snowpack
Not all snow is created equal. Knowing the difference can keep you out of trouble.
Dry snow—those beautiful, cold powder days we all love—can quickly turn dangerous when it forms into slabs, which are tricky to read without proper training.
Wet snow, on the other hand, is heavy and dense, often the result of sun exposure or warm temperatures, and it greatly increases avalanche risk. In the spring, I time my runs carefully to avoid this hazard.
Then there’s corn snow, my personal favorite in spring conditions. This snow forms through melt-freeze cycles, creating a smooth, fast surface that’s incredibly fun to ski if you hit it at just the right time of day.
I learned how these snow types form and interact by studying snow science in avalanche courses, paying attention to how individual snow particles, like the fragile, sparkly surface hoar, bond together or break apart.
Checking Forecasts
Every day before I head out, I check the avalanche forecast for my region.
In the U.S., I start at Avalanche.org, which links to local avalanche centers like the Sierra Avalanche Center.
In Europe, my go-tos are Varsom in Norway and Meteo France, both of which offer detailed, easy-to-read reports.
For trips further afield, I often turn to apps like FATMAP, now part of Strava. They combine terrain analysis with snow and weather data, which gives me a broader picture of the conditions.
Training
My avalanche safety journey began with a Level 1 course, which typically runs $300 to $500 and takes two to three days.
In that course, you can learn the fundamentals of snowpack analysis, terrain evaluation, and companion rescue. It’s one of the best investments I’ve made as a skier. Today, I still recommend this as the first step for anyone venturing beyond the resort.
Companies like 57hours even offer private avalanche courses with a low student-to-guide ratio, which gives you more time for hands-on learning and real-time feedback. This is a huge advantage when you’re developing the skills that could one day save your life.
Mastering Movement and Group Dynamics
Backcountry skiing is a skill and a team effort. Here’s how I move and stay safe:
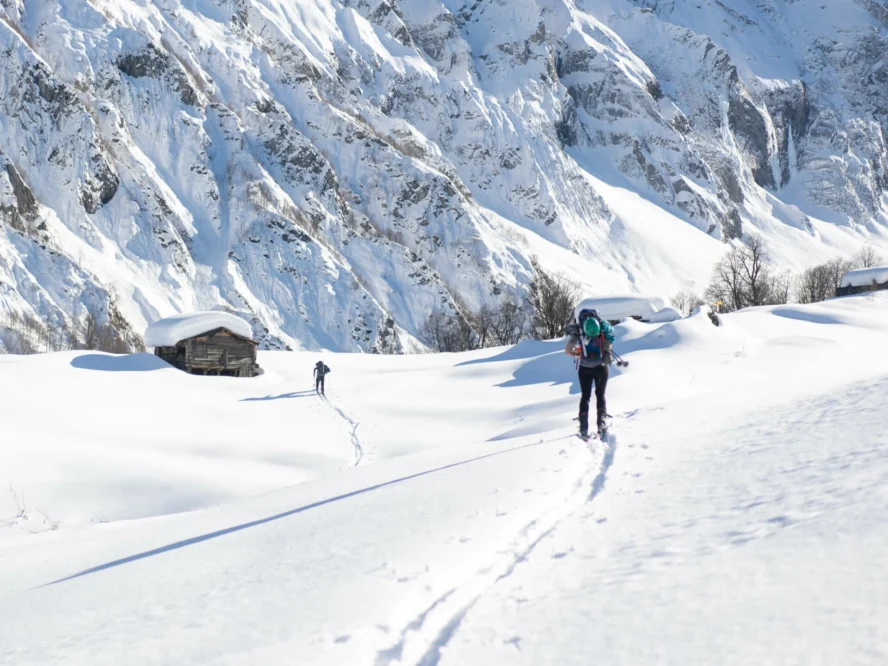
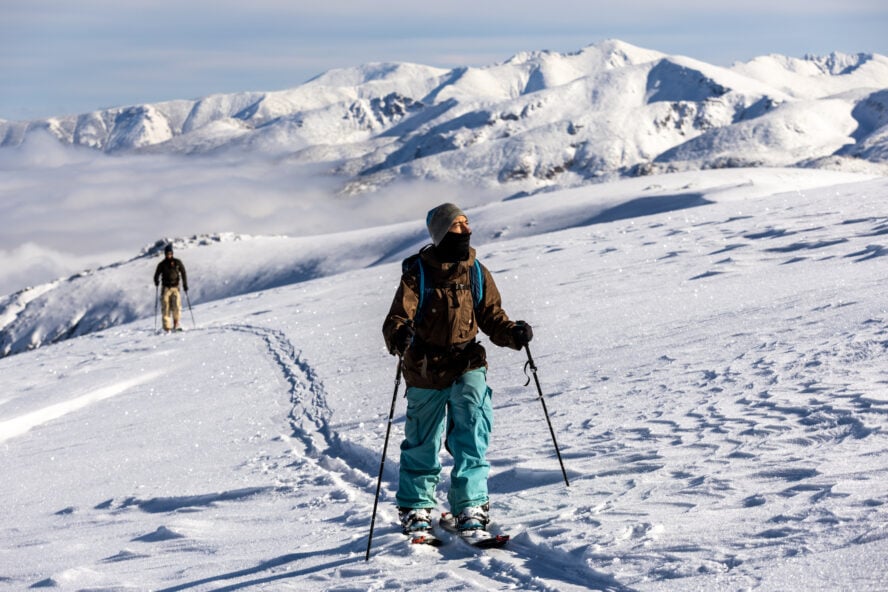
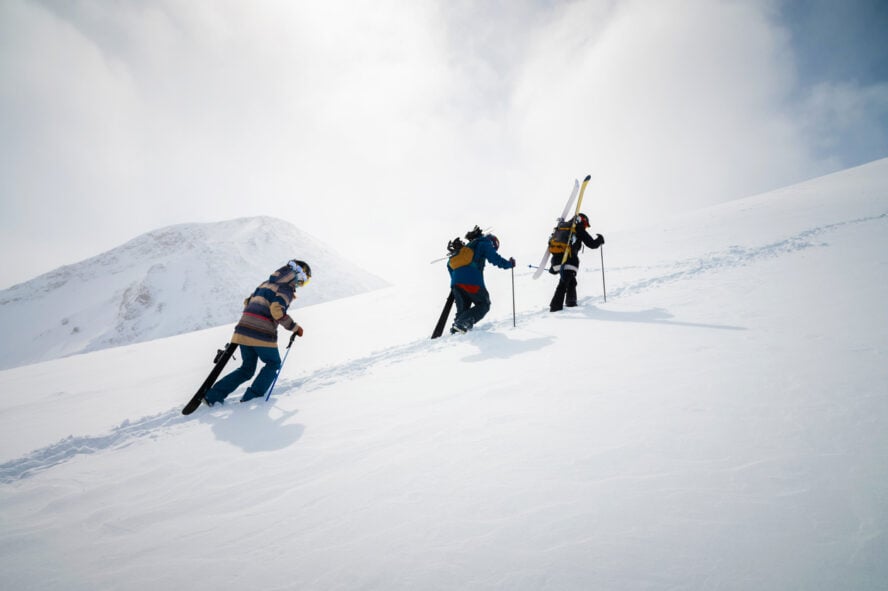
Skinning and Transitions
I love the rhythm of skinning, gliding uphill with skins gripping the snow. Transitions (switching from climb to descent) take practice, but I got the hang of it at resorts with uphill policies, like Vermont’s Bolton Valley, where I could test gear safely.
Fitness and Flexibility
I’m no Olympian, but I train with 2-3 hour hikes carrying a 10-15 kg (22-33 lb) pack. As a strong downhill skier, I handle blue runs easily, but backcountry snow, with powder, ice, and crust, tests my adaptability. Intermediate skills are enough for mellow terrain.
Group Dynamics
I’ve seen the “human factor” make or break trips. Clear communication, defined roles (leader, navigator), and avoiding overconfidence are essential. I stick to groups of 2-4 for quick rescues and practice self-rescue drills, knowing public help isn’t coming.
Guided Adventures and Your Next Steps
Ready to try backcountry? Here’s how I’d start you off:
1) Test the Waters
I always suggest a guided day ($200-$400). You’ll ski safe terrain, learn basics, and feel the thrill without buying gear. Rent from Skimo.co or REI ($75-$100/day) to test skis, boots, and safety gear before committing.
2) Do Some Low-Risk Practice
After a guided day, I’d take you to low-angle terrain (<30 degrees) with friends or rentals. Resorts like Smuggler’s Notch (Vermont) have uphill policies for safe practice. Skip stormy days when avalanche control happens.
3) Build Your Skills Up
I recommend 3-5 touring days before an avalanche course to nail movement basics. Mentorship from guides or experienced buddies helps, but stick to low-risk zones until you’re ready.
Q&A – Your Burning Questions

Here are some of the most common questions I’ve been asked by beginners looking to start backcountry skiing:
What’s the best backpack size?
I use a 30-35L pack for day trips, with room for safety gear and layers. Guiding, I go 40L for extra rescue stuff. Beginners, stick to 30L; 20L is for pros who pack light.
Should I get an airbag?
I love my airbag for big trips, but they’re pricey ($600-$1,200). If funds are tight, take a Level 1 course first. It’s much more critical than gear.
What ski skills do I need?
If you ski blue runs confidently, you’re ready for mellow backcountry. Variable snow can test your flexibility, so practice slow, controlled turns. Fitness for 2-3 hour climbs is key.
Any East Coast spots?
Mount Washington (New Hampshire) is epic but crowded. I started at Bolton Valley and Smuggler’s Notch (Vermont), which, as I stated above, are fantastic spots for safe practice.
Backcountry skiing is awesome even for beginners!
Backcountry skiing has been my passion for over a decade, from Alaska’s powder to Chile’s volcanoes. It’s a journey of sweat, skill, and pure joy, but safety comes first.
Start with a guided trip to feel the rush, rent gear to test your vibe, and take an avalanche course to build confidence.
Whether you’re carving under Svalbard’s northern lights or sharing stories in a Utah lodge, the backcountry will change how you see winter.
Ready to make tracks? Book a trip with 57hours, and let’s make this season one for the books!