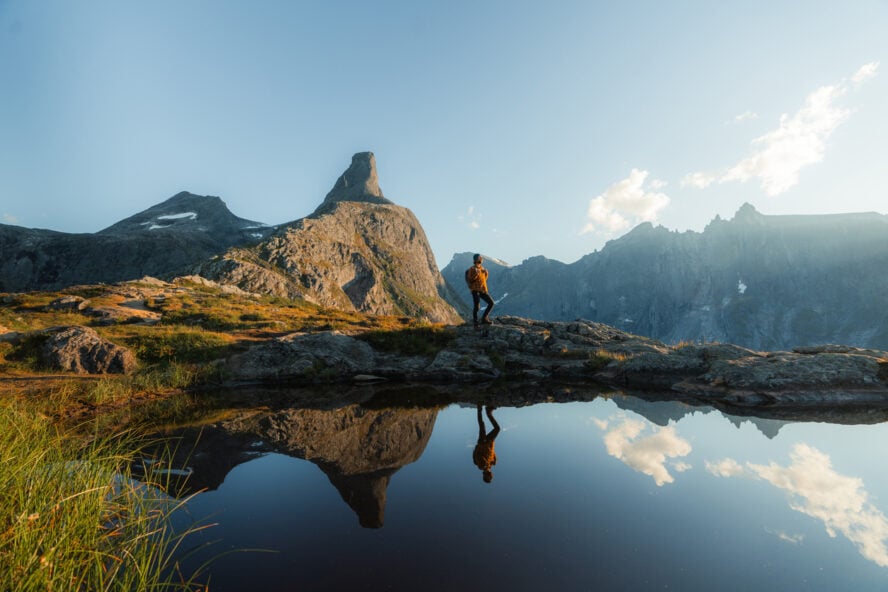
Did you know only 5% of Grand Canyon visitors hike below the rim? No doubt the views at the top are stunning, but the sights inside are even better.
Descending from the lip you are absorbed by interchanging layers of beige and red limestones, sandstones, and shales dripping down the sheer walls like grains in an hourglass. Each band reveals a different chapter of geologic history.
To brush against rock nearly 70 million years old, you have to go down, down, down.
But this is no walk in the park. With over 5,000 feet of elevation loss to the bottom and average temperatures in the summer reaching 100+ ºF on most days, you better be prepared to hike through the sands of time!
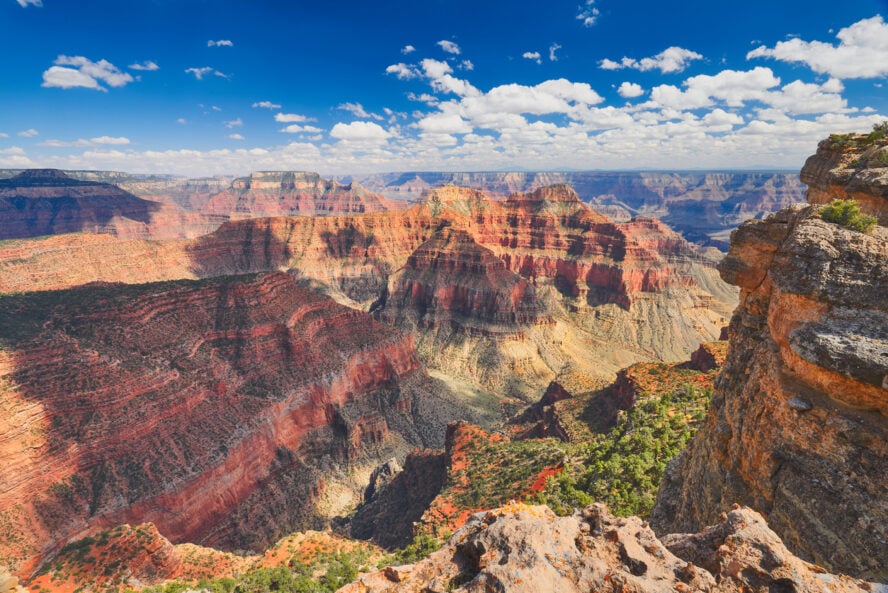
What Awaits Inside the Grand Canyon
Six million years ago, the Colorado River started carving the canyon we now explore.
Today, it is 277 miles long, up to 18 miles wide, and over a mile deep (6,093 feet to be exact). While it’s already the largest canyon in America, because the river that created it continues to flow, it keeps getting bigger each year!
Hiking to the base of the Grand Canyon, you pass through three main rock layers: 1) Metamorphic basement rocks, 2) The Precambrian Grand Canyon Supergroup, and 3) Paleozoic strata, each representing vastly different time periods of Earth. For example, the sage-colored Bright Angel Shale near the bottom displays ocean fossils, the Supai Group of redbeds halfway in nods to a shallow sea, and the white Coconino Sandstone near the top features ripple marks from ancient sand dunes.
In other words, the deeper you get, the older the rock, so a trip to the bottom is literally a walk back through (geologic) time.
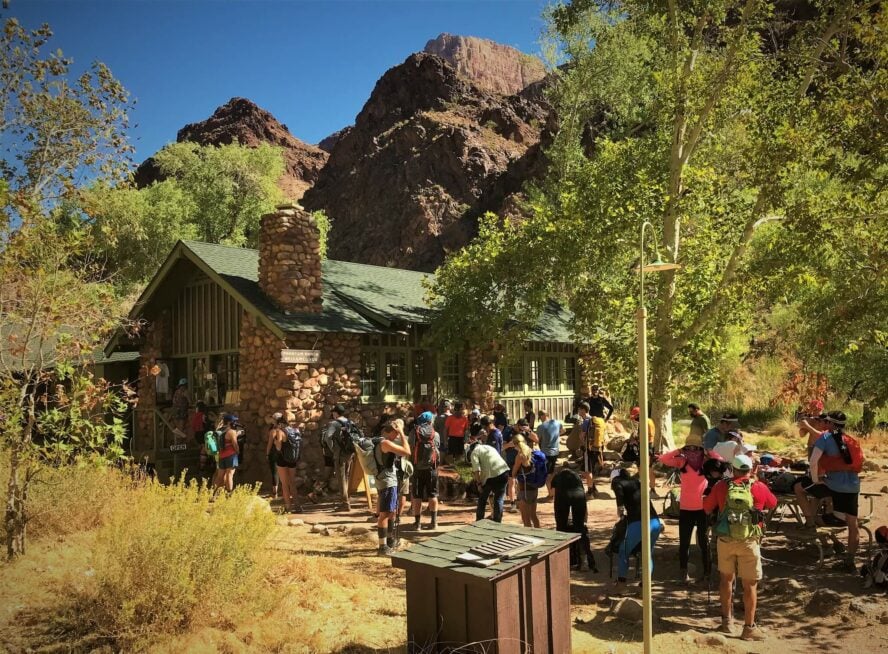
Embedded among the walls, you’ll also find a time capsule full of Native American history. Along the Bright Angel Trail, hikers can admire the Pictograph Panel in Mallery’s Grotto or rest in Havasupai Gardens halfway down the Canyon where Ancestral Puebloans and Havasupai lived for millenia.
A vast ecological zone
The size of the canyon supports surprising biodiversity. Because of the extreme range of elevation and a mixture of desert, forest, and aquatic ecosystems, there are thousands of species of plants, including several that are unique to the area, as well as many animals.
Each rocky ridge is dappled with specks of green sagebrush, junipers, ponderosa pine, and mariola. On a special day, hikers may catch a glimpse of a golden eagle, peregrine falcon, or sight the rare California condor flying above the steep-walled corridors. Those with enough preparedness to plunge below the rim will be greeted by the soft trills of canyon wrens and the quizzical cock-eyed gazes of leathery chuckwalla lizards.
Is this enough to convince you to visit? I sure hope so!
However, before you plan a trip to my stomping grounds I want to share some important factors that you should consider, and prepare for.
Why You Need to Be Prepared to Hike the Grand Canyon
I highly encourage visitors not to treat the Grand Canyon as a drive-through national park (most people only spend between 30 minutes and two hours here), and a day hike to the bottom is a great way to see what most other people don’t.
However, if you’ve ever been hiking in Arizona, you’ll know to expect heat. Yes, temperatures vary by elevation and season, but in the summer, when most people visit the Grand Canyon, the inner canyon regularly goes above 100 ºF (tipping the scales at 120 ºF or more). This is to say nothing of the 13-14 hours of sunlight, which should not be underestimated.
For those that do head below, there are two trails nearly everyone uses: the South Kaibab and Bright Angel Trails. I’m on these paths all the time both for work and fun as I lead hiking and backpacking trips through the Grand Canyon through my guiding company, Outdoor Professional Treks.
While I’ve seen countless people enjoy their deeper dive, I’ve also seen plenty of others suffer from heat exhaustion and dehydration.
From high heat and a drastic elevation change to a lack of cell service and the importance of Leave No Trace, I cover Grand Canyon hiking tips and considerations to help you prepare for your next visit below.
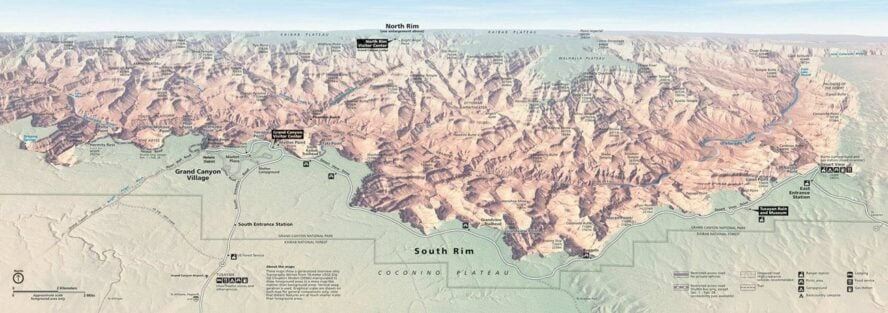
Map of the Grand Canyon
To help orient you, here is a generalized view of the canyon, from south looking north. It isn’t a highly accurate topo, but it gives a sense of the scale and layout of the park.
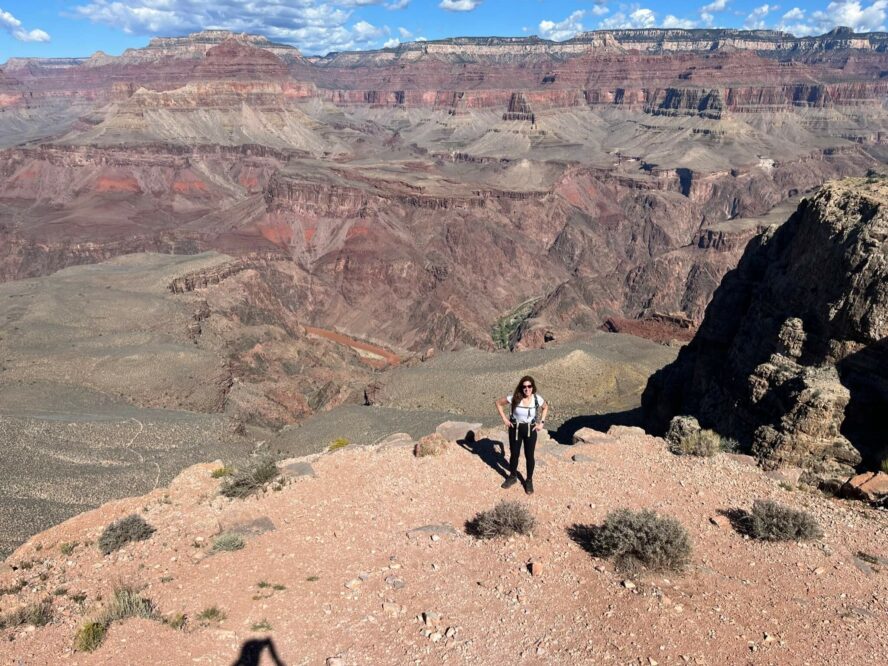
Tip #1: Don’t Underestimate the Elevation Change and Sun
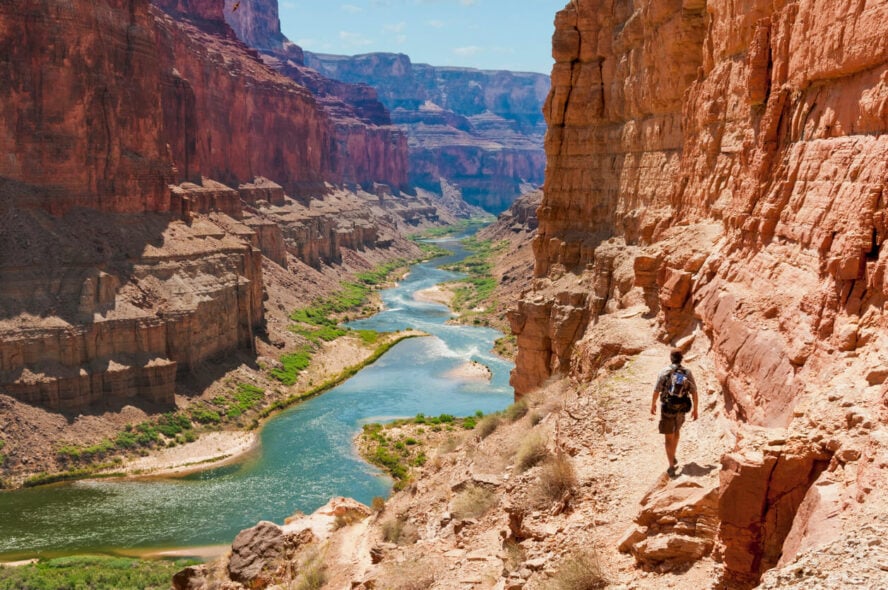
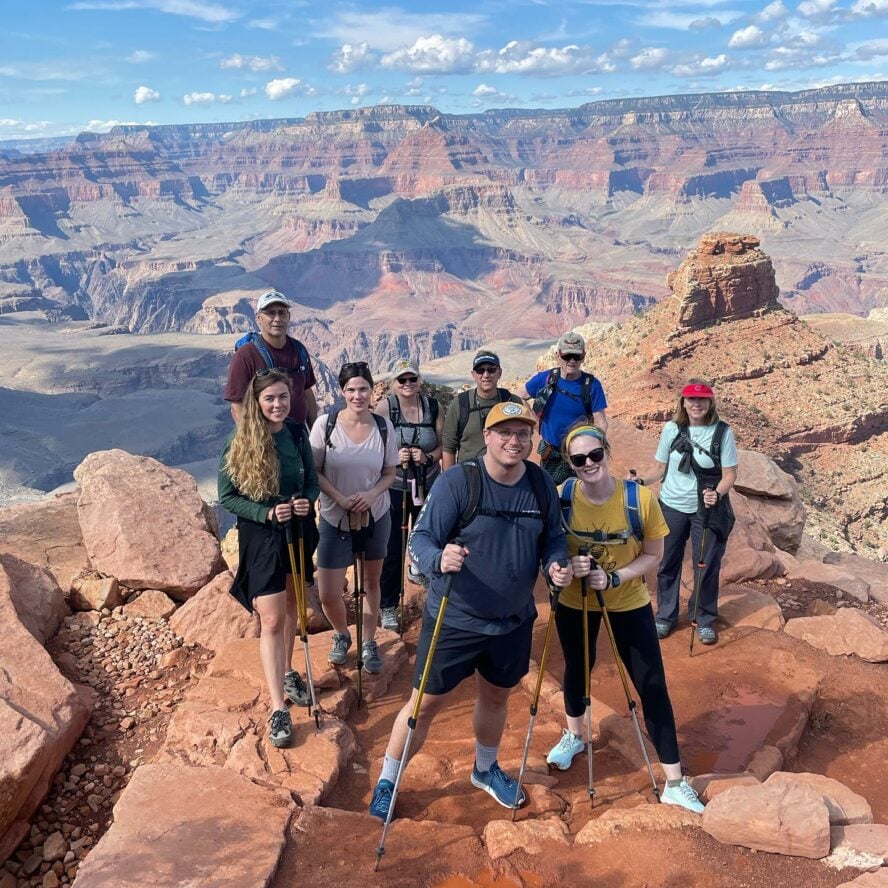
As fellow hiker, Liz Thomas, says, the trick most people miss when they come to hike at the Grand Canyon is that the best views aren’t from the top. Simply, the place is so big that you need to head inside the canyon to get the real scope of its size and beauty.
Before you head out on your hike, there’s two things to be aware of:
-
- You have to go downhill and uphill.
- People underestimate how hot it really is.
To start, you might be surprised to learn that the Grand Canyon is around 8,000 feet above sea level at the North Rim and 7,000 feet at the South Rim. Since most people who go below-rim aim to make it all the way to the Colorado River—known as a Rim-to-River hike—this means a lot of elevation change.
(Note: the park service does NOT recommend attempting a hike from the rim to the river and back in one day, especially during the months of May to September.)
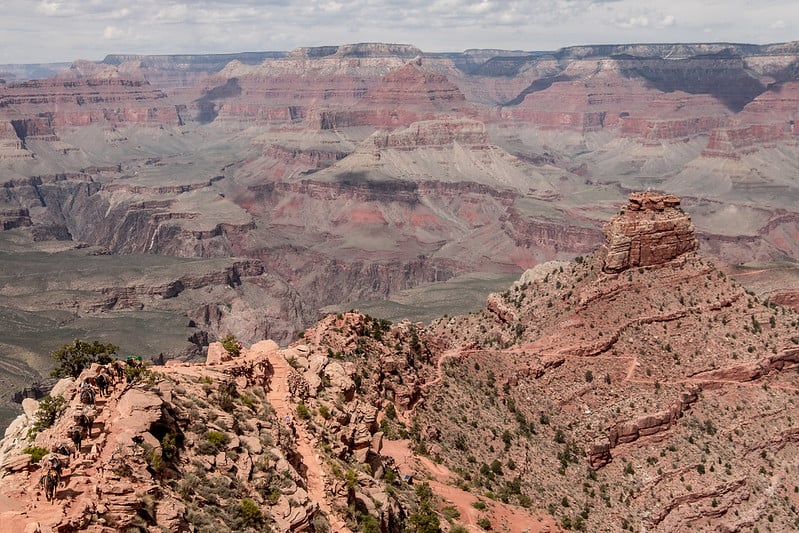
The trails are very steep, and the total ascent can vary between 5,000 to 6,400 feet. Depending on the trail, it’s usually 6.5-8 miles to the bottom. This might not seem like a long distance, but the elevation gain going back up can be grueling after a long day in the sun.
“The further down you go, the warmer it gets. It could be 85 degrees on the South Rim during the summer, but when you get to Phantom Ranch it could be 120.”
– Andy Pickreign
Further, the Grand Canyon creates its own weather system, and the temperatures are even hotter below the rim. While it might be 85 ºF with a breeze up top—warm but not overwhelming—temps are typically 30 ºF greater at the bottom. This phenomenon is called adiabatic heating, which occurs when air gets trapped at a lower elevation, becomes compressed, and releases energy causing the temperature to rise.
Along with the heat, there is little to no shade in other than a few rest houses and campgrounds. According to the National Park Service, the hottest time of day is between 10am to 4pm, which is when the most medical emergencies occur in the summer.
What you should do:
I advise you to start early in the morning in order to avoid hiking during the hottest time of day, wear light, breathable layers with plenty of coverage, and plan to do a shorter distance than you’re typically accustomed to.
It may seem counterintuitive to cover up for your hike, however sun shirts, sunhats, sunglasses, and pants will keep you from exposing too much skin helping you to remain cooler and more comfortable.
Further, I recommend planning for a check-in with yourself and your party: hike 2-3 miles down and evaluate how things are going before deciding whether to continue. Most people speed through the downward trek, but the uphill is the real business, typically requiring double or triple the amount of time as the descent.
Tip #2: Look Out for Signs of Dehydration and Overhydration
Since 2010, 134 people have died in the Grand Canyon (the highest death toll of any national park). Along those lines, over 250 people are rescued from the canyon each year. Most of these occur from medical reasons (dehydration or overheating) or cliff falls.
While these statistics are intimidating, don’t let this prevent you from exploring. Instead, let it be a lesson for coming prepared, especially when it comes to staying hydrated.
Dehydration happens when water loss overcomes water and electrolyte intake as a consequence of over exertion or high temperature. In a similar fashion, hyponatremia (overhydration) flushes your system when you consume too much water. Both are very common in the Grand Canyon.
Dehydration and hyponatremia symptoms include paleness, headache, nausea, vomiting, and confusion. If you or someone in your group start to experience these symptoms, find a park ranger immediately. While waiting for them to arrive, sit down and lick a glucose tablet and take small sips of water.
What you should do:
The key is prepping. Eat a hearty meal full of carbs, proteins, and sugars the night before. I also recommend drinking one to two liters of water too.
During the hike, drink electrolytes with your water and pack an emergency stash of glucose tablets (you can usually find over-the-counter ones at outdoor outfitters).
“Don’t force fluids, drink when you are thirsty, rest, and eat often.”
– National Park Service
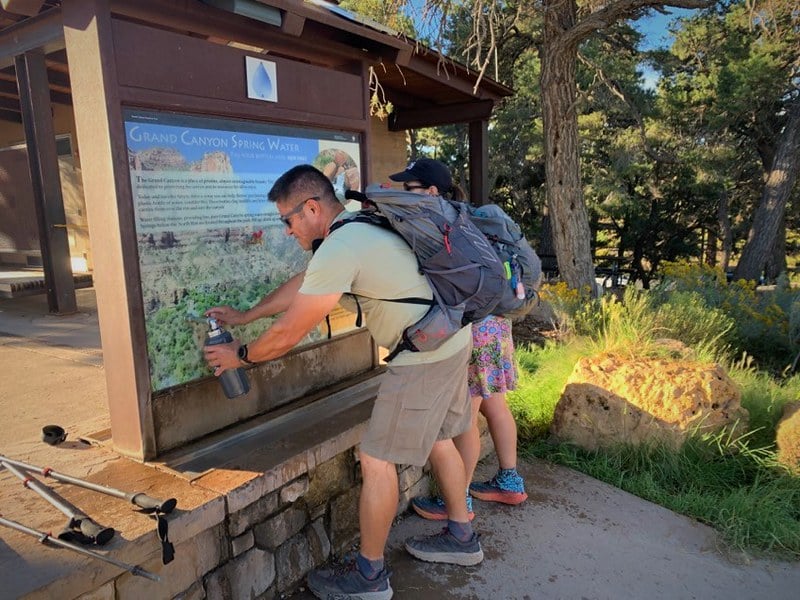
In the summer, bring a liter of water for every hour that you’re out hiking. Note that Bright Angel Trail is the only trail with water fill stations in the Grand Canyon, so review where all the rest stops and water bottle filling stations are located for other trails you’re interested in. If you’re on another trail, I recommend bringing at least 5 liters of water with you.
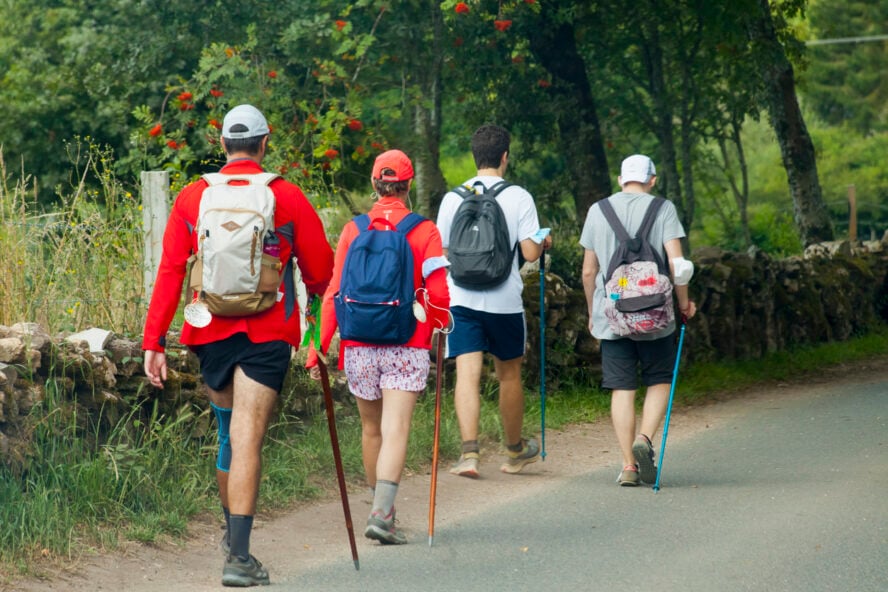
Tip #3: Consider the Right Time and Season to Hike the Most Popular Trails
4.5 million visitors per year, and even if only 5% hike below the rim, that’s still 225,000 hikers. Here’s the thing, almost everyone uses two main trails: Bright Angel and South Kaibab. In part, this is because they are the only two consistently maintained paths in the park.
Further, most visitors come to the Grand Canyon in the summer (and most national parks in general), which means you are most likely to encounter crowded trails in this season, along with intense heat and sun exposure.
What you should do:
I recommend visiting in the spring (March through May) or fall (September through November)
when the temperatures are a little cooler. Winter is doable, but you risk hiking on icy paths which can be dangerous in the steep canyon. Plus, the North Rim is closed if you are keen on exploring a more remote zone.
No matter the season, weekdays are your best bet for less people on the trail. And if you start earlier in the day, you can beat the traffic into the park as well.
For first-timers, Bright Angel Trail is a good go-to hike because of the water stations and restrooms positioned throughout the route. South Kaibab Trail is maintained as well but does not have water stations. (I repeat, no water stations on South Kaibab!).
“Weekdays are the best time to visit. And the earlier you can get to the national park, the better.”
– Andy Pickreign
The backcountry trails, including the Hermit Trail and Grandview Trek, are a great way to get off the beaten path, but if you aren’t familiar with backpacking, you are much safer going out on a multi-day hiking tour in the Grand Canyon with a guide.
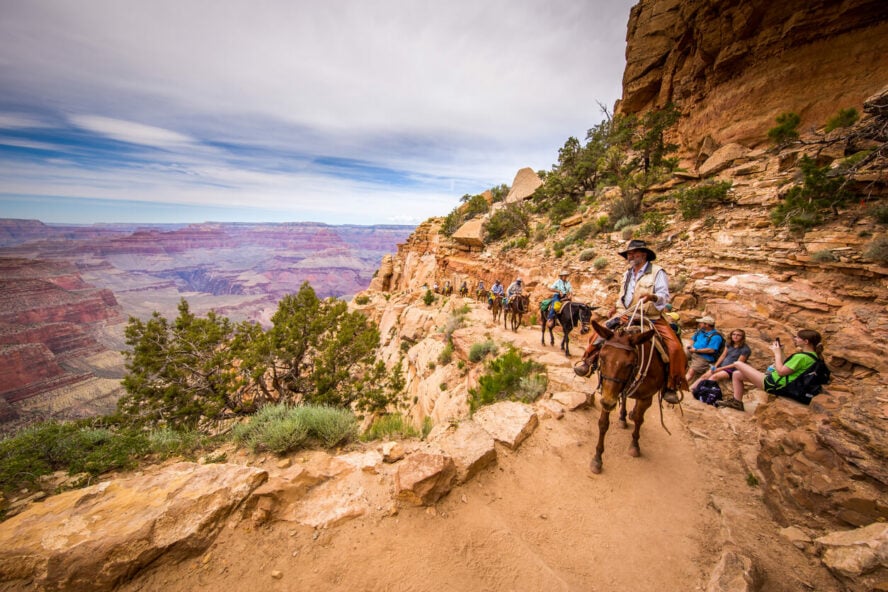
Another Grand Canyon feature you’ll have to be aware of is the mule trains. This is what it sounds like, a line of mules used for tours, trail maintenance, and evacuations. Anytime you see a mule train on the trail, stay to the inside (away from the cliff) and follow the rider’s instructions.
Tip #4: Prepare Ahead of Time with a Plan and Permits
In addition to bringing a first aid kit, plenty of water, snacks, and sun shade, there’s some scheduling and planning you’ll need to arrange ahead of time to give you peace of mind on the trail.
What you should do:
Make sure to look at the map of the trail you plan to hike and note the mileage and elevation gain. Like I mentioned before, a lot of hikers make the mistake of only looking at the mileage and assume the Grand Canyon hikes aren’t difficult due to their rather short distance.
Further, the steep dropoff alongside the trail and crowds means it can be hard to do your business so plan your restroom stops accordingly.
If you plan to camp overnight below the Rim, there are limited campsites that require reservations. You’ll want to get backcountry hiking permits and camping permits at least 3 months in advance. Some people book even a year in advance. Also, remember that there is an entrance fee to the park in the summer (advanced reservations are not required).
“If you’re camping without a guide, you need to pay for a permit. Depending on the campground there are maybe only 20 spots, so it’s really hard to get a permit depending on the time of year.”
– Andy Pickreign
One benefit to a Grand Canyon multi-day hiking tour, is the guide service handles all the permits and itineraries for you!
Tip #5: Remember to Leave No Trace: Pack it in, pack it out
Since COVID started, more people are getting outside and using the trails at the Grand Canyon. Unfortunately, this means I’ve seen more trash than ever before.
The desert ecosystem is sensitive and it takes years for litter (including napkins, tissues, and toilet paper) and human waste to decompose. But some items will last several lifetimes, like food wrappers, water bottles, broken hiking poles, and other common items.
Regular maintenance does occur (on select trails), but the park’s resources are limited. If junk falls to the side of the path—which is often jagged, falls away steeply, or is hard to access—the Park Service can’t always pick up the left behinds.
Beyond the eyesore, wildlife will pick through debris if it isn’t disposed of properly. A major problem I’ve noticed is people leaving food, belongings, or trash bags out at campsites during the day or overnight. The garbage might be sealed in a plastic bag, but this doesn’t mean bears, raccoons, and birds won’t tear into it. The result is a ransacked campsite with stuff scattered everywhere; no one—visitors or park rangers alike—wants to deal with this.
What you should do:
First and foremost, pack out what you pack in. I always take a trash bag in my pack, and when leading backpacking or hiking trips, I make sure everyone has their own too. No exceptions.
The issue isn’t always negligence on behalf of hikers, or not knowing LNT; I see things falling out of people’s pockets and backpacks all the time. What’s important is to pay attention to where you put your gear, where you are storing trash, and regularly checking on your stuff. On guided trips, whenever we stop for a rest we make sure to check our surroundings so that we’re not leaving anything behind before we leave.
“Litter left in the canyon takes years to decompose. Packing out all of your trash helps to preserve the natural environment. Place your trash in resealable plastic bags that you can carry in your pack.”
– National Park Service
The same principles apply for human waste and food.
1) Always bring a Wag Bag in case you need to go #2. And for peeing outside, make sure to pack out your toilet paper.
2) Never leave food or fragrant items outside overnight. If you’re backcountry camping, leave trash, food, and toiletries in bear-proof boxes.
Remember, we have a responsibility to leave our national parks pristine, and picking up after yourself is the easiest and most effective way to do your part!
Tip #6: No Cell Service During Emergencies
There is a very good chance you won’t have cell service below the Rim of the Grand Canyon. At the bottom, no way, but you might be lucky if you’re on a hill and get one bar. This means that in an emergency, getting in touch with the authorities is seriously limited.
“We have found that many of the visitors who request help during an inner canyon hike have underestimated how difficult hiking in the Grand Canyon can be—especially in the heat of the summer months.”
– National Park Service
Inside the canyon, evacuations can only be carried out by mule or helicopter. During daylight hours, the Park Service handles the communication and payment of these procedures. If you or a friend needs to be evacuated during nighttime hours below the rim, a private company needs to be contacted and the caller must cover the fee (which can be thousands of dollars).
What you should do:
As a guide, I always have a Garmin InReach (satellite communication device) with me on guided hiking day tours in the Grand Canyon and overnight trips. If you go in the backcountry, this is especially important.
There are also emergency phones along the main trails (which connect right to the Park Service so they know where you are calling from) and each campground has a medically trained ranger.
Another Grand Canyon hiking tip you should keep in mind is to let the Park Service know where you’re going and when you’re expected to be back. They’re accustomed to these notifications and will follow up if a group isn’t back at a certain time. I suggest telling friends and family too. The more you communicate your whereabouts and itinerary to others, the quicker you’ll get help if something goes wrong.
Tip #7: Nervous? Overwhelmed? Hire a Guide!
If my warnings of intense heat, elevation change, and dehydration scare you, it’s only because I want to make sure you’re safe and ready. But don’t let my cautions dissuade you from visiting the Grand Canyon—the aim is to help you understand what you’re getting yourself into so that you can be prepared.
However, if you’d like to simplify the planning process, want logistics to be taken care of, or want someone who is Wilderness First Responder trained alongside you, consider hiring a guide.
What you should do:
My guiding company does a Grand Canyon South Rim stroll tour which is family friendly, wheelchair accessible, and great for all levels of hikers. During the walk, your guide will teach you about the plants, animals, and cultural history.
“Thank you Andy! This was an amazing experience. You did an amazing job with all the details, from food selection to gear to chats along the trail, all was perfect!”
– Tamara, OP Treks Client
If you’re looking for something more adventurous, we also do Rim-to-Rim guided backcountry and multi-day tours. All of my guides are medically trained to give you peace of mind. Plus, we handle all the backcountry hiking and camping permits.
Take a Step Back Through Time and Hike the Grand Canyon!
I hope these Grand Canyon hiking tips and precautions will ease any nervous feelings you had about exploring one of America’s great natural wonders. If you come prepared with the right food intake, water, emergency plan, and gear, then your experience is sure to be an unforgettable memory full of geological, ecological, and historical marvels.