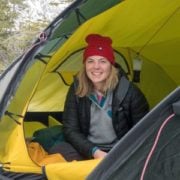
An Aspen backcountry hut-to-hut ski trip is perfect for anyone looking for adventure, but doesn’t want to spend a lot of time preparing for a few days in the wild. The huts are far enough from the crowds to feel isolated, but close enough to civilization to be easily accessible. And despite their remoteness, they’re extremely comfortable and cozy. Most importantly, the huts in Aspen’s backcountry have something to offer people with all levels of skiing experience. You can choose to stay as many nights as you like, in the same hut or moving between huts as you please. There are no restrictions. And when you’re looking for the ultimate backcountry adventure, what more can you ask for than that.
Pros and Cons of Hut Trip when Skiing in Aspen
The Colorado Hut System
A few years ago, my family decided to move past the comforts of resorts skiing and into the unknowns of the backcountry. We kept these excursions as day trips, mostly because winter camping with a whole family requires a lot of planning and hauling a lot of gear, which no one was excited to do. Then we came upon the extensive system of huts in Colorado managed by the 10th Mountain Division Hut Association. You can view a map of the backcountry huts in the area we explored here.
It was the perfect ski trip for our family: no need to carry extra weight, the convenience of an isolated but well-stocked and comfortable cabin, and a wide range of routes to ski every day. We made the trek to Colorado and set out for three days on what turned out to be one of the best winter outdoor adventures we’ve had as a family to date.
Day 1: Lindley Hut
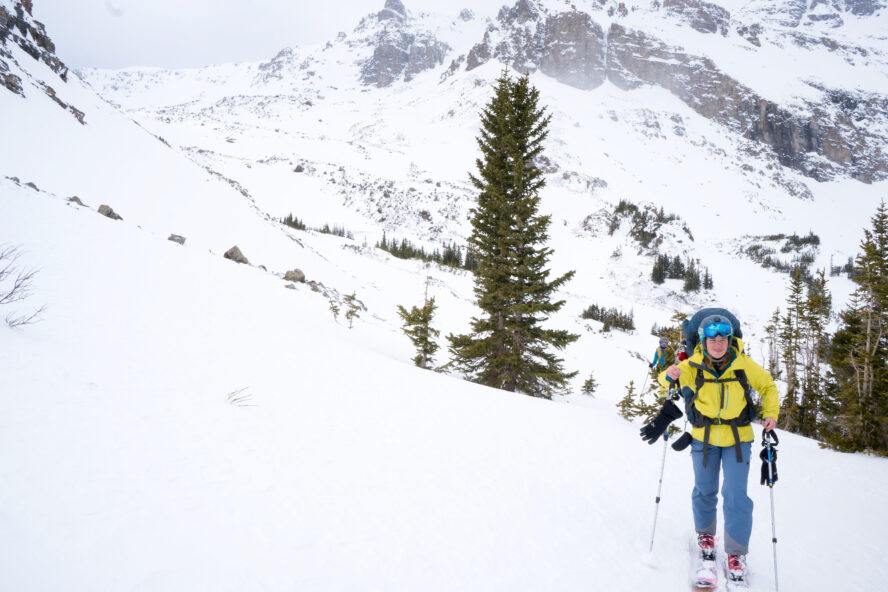
Sprinkled throughout the Colorado Rocky Mountains are 34 huts managed by the 10th Mountain Division. My family chose to do a three-day, two-night hut-to-hut trip in the backcountry near Aspen to check a few of these huts out. On one Tuesday morning, we packed our car, left the small ski resort town, and headed for the backcountry. After about 30 minutes of driving, we arrived at the Castle Creek Trailhead. From there, we set off on our hike to the Lindley Hut. This online guidebook from hutski.com is a great resource with plentiful information on the area.
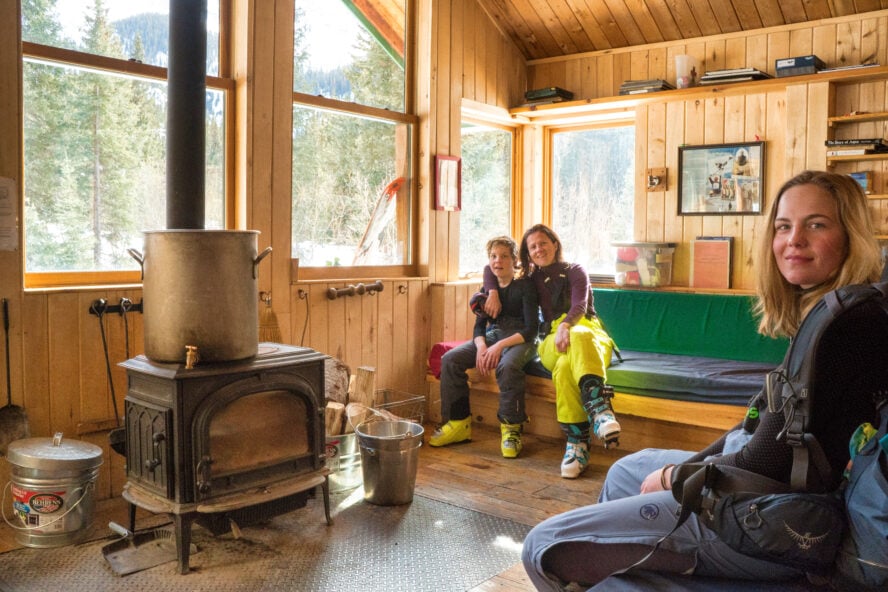
Right before the sunset, we arrived at our destination. Lindley is located in the head of the Ashcroft Valley, at the foot of Star Peak, at 10,480 ft. The hut sits right near a small creek, surrounded by big trees and stunning views. Made for sharing, all Braun Huts have propane burners for cooking, photovoltaic lighting, mattresses and pillows, eating and cooking utensils, outhouses, and wood for the fireplace.The hut we stayed in accommodated 14 people, however, we were the only group staying at the hut that night. I spent most of my time that evening outside on the deck, soaking up the views before the last bit of light departed, before heading inside to read my book by the fireplace.
Day 2: Friends Hut
The next day we set off on a hike through the woods towards the Friends Hut. Because of the elevation gain, this hike was more physically intense than the day prior. For our hut-to-hut trip, we expected to do more hiking than skiing. The first day we did most of our hiking on trail, but the second day, we decided to challenge ourselves and take an off-trail route. Once we reached our next destination, Friends Hut, we dropped our bags off and decided to hike a little further to catch a couple of turns before the day was over. (The Friends Hut was almost half the size of Lindley Hut, yet still had all of the essentials).
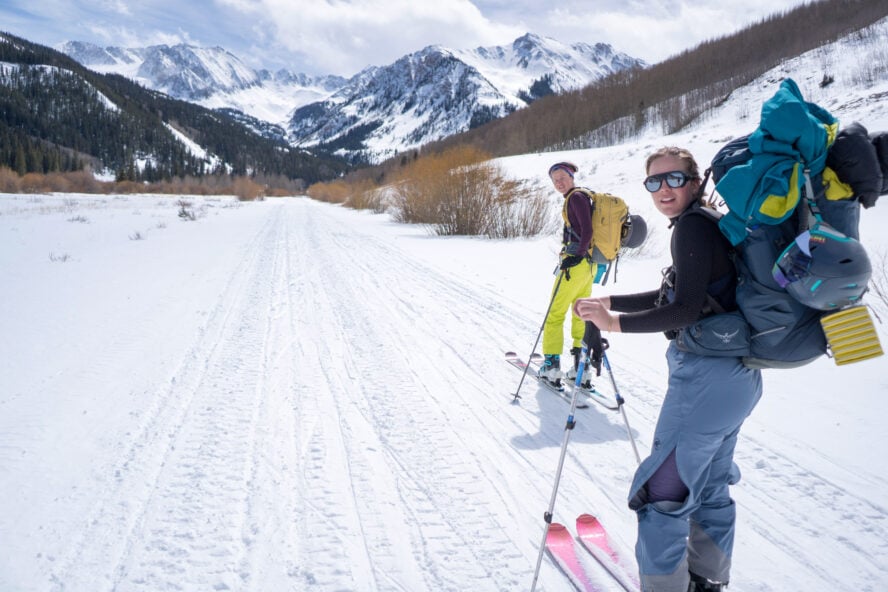
One of the best things about the huts is that they’re surrounded by ski routes, so the opportunities for exploring are endless. We did a short 30-minute hike from the Friends Hut, and skied down an untouched face of powder. Even though it hadn’t snowed in a few days, we still managed to find solid snow.
We shared the Friends Hut with the person in charge of maintaining the huts. His friend, who lives in a cabin nearby, also joined us for dinner. We had lovely conversations about their favorite ski routes in the area. They told us stories about how much climate change has impacted the area, and how different the snow and snowfall is now versus twenty years ago.
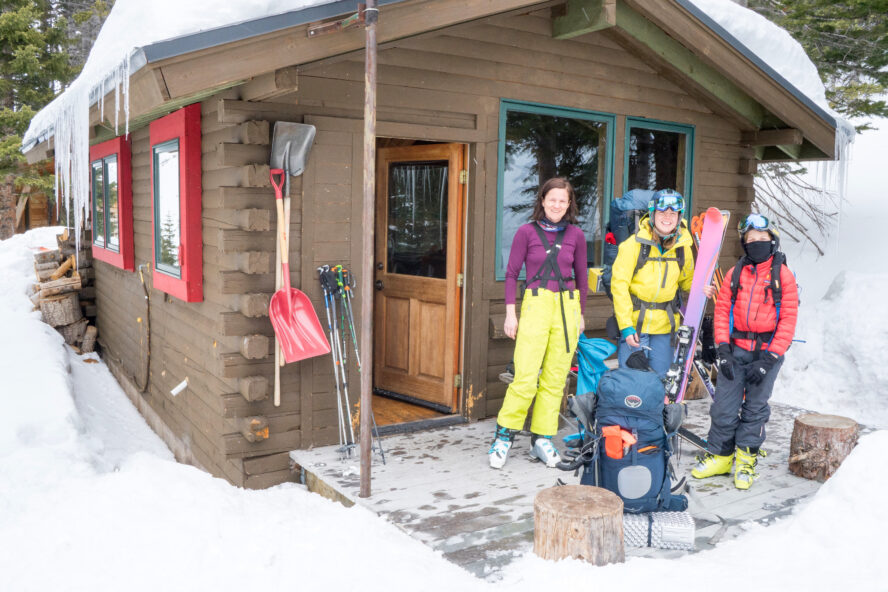
Sometimes, you’ll be all alone in these huts, which is what happened the first night, but the hut system is intended for sharing and if you embrace that philosophy, you are bound to meet wonderful people along the way. If you have any concerns about sharing the hut with strangers, just remember that they’re fellow adventurers looking for the same thing: a break from their regular lives and a chance to dip their feet into the wonders of the backcountry.
Day 3: A Full-Day of Backcountry Skiing
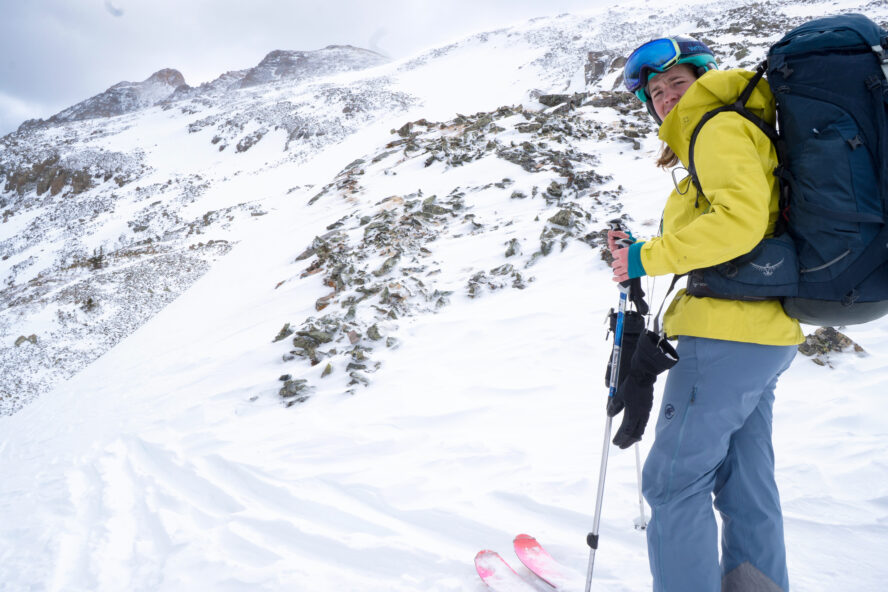
While the first two days were mostly about hiking up and gaining elevation, the third day was all about skiing the entire way back down. We got up in the morning, packed our bags and hiked a little further up the mountain before we descended down. We were still above treeline, so the first part of our route down was an open face with untouched snow.
However, we couldn’t keep skiing the open face, and soon enough, we got to the trees. While tree skiing is generally not my favorite, it’s all part of the trip. The people we met the night before recommended a route down through the trees, which we took. I never got the chance to thank them, but I wish I did. The quick turns, tight maneuvers and higher intensity of this part of the route were just as fun as the previous portion.
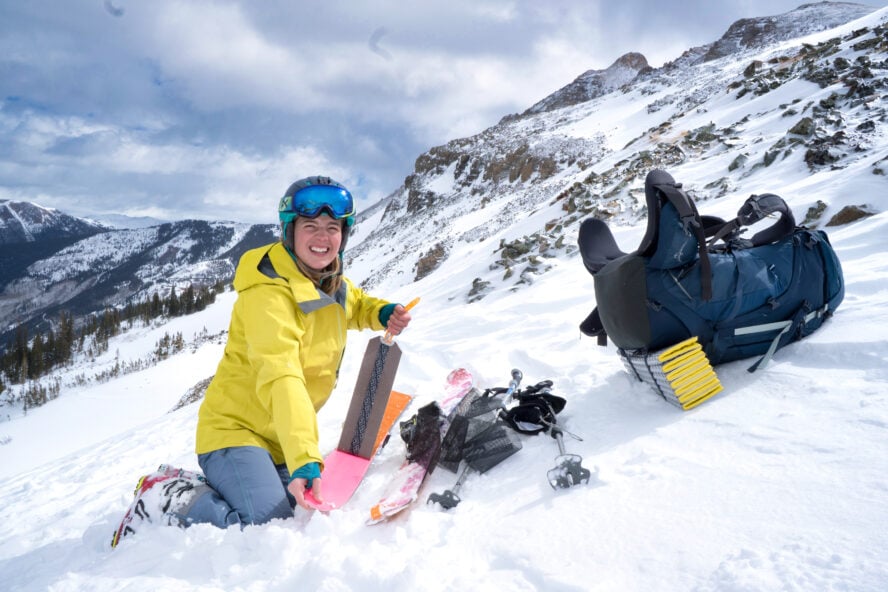
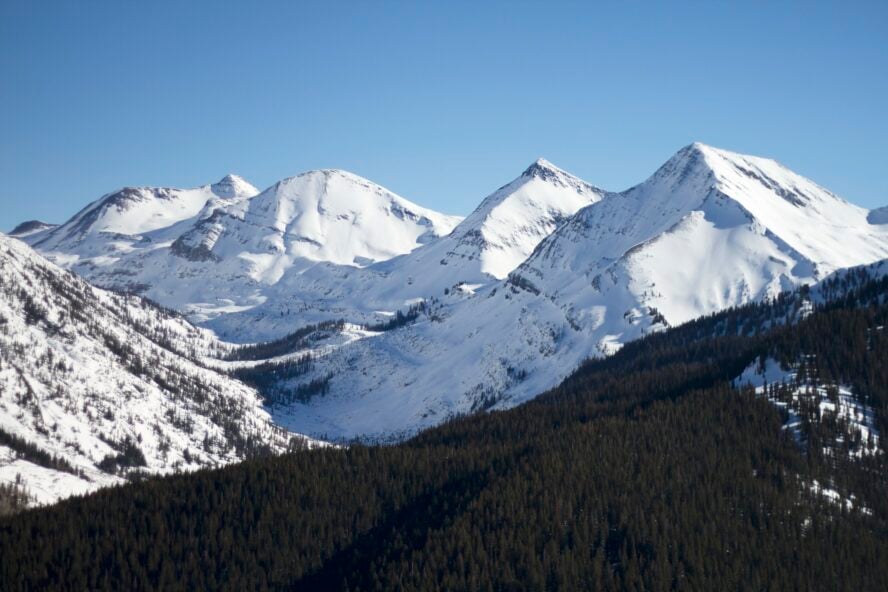
We skied as long as we could, which ended up being about two hours. We weren’t able to ski all the way to the trailhead where our car was parked because the ground flattens out for the last portion of the descent. The warm day made the snow wet and heavy causing it to stick and clump to the bottom of our skis. This is to be expected, though; it’s just part of the package when skiing in warm March weather. The views were stunning. Hiking up the valley the previous day, I didn’t entirely take in my surroundings because I was so focused on getting to the hut before sunset. Now, we had all the time in the world, and as I was skiing down the valley, I couldn’t stop looking at the expansive mountain range in front of me.
Close to the end of the trail is a restaurant called Pine Creek Cookhouse. After three-days of backcountry food, which consisted mostly of noodles, I enjoyed my usual reward meal — a delicious steak with potatoes on the side. This perfectly sums up the experience of backcountry skiing in Aspen. You can spend three days in the mountains, away from everything and everyone, but you’re just a short ski away from all the commodities of the modern world.
What You Need to Know Before Heading into Aspen’s Backcountry
Aspen undoubtedly has some of the best backcountry skiing in Colorado. If the sounds of a few days of ski touring the area’s backcountry has you itching to start planning your own hut trip, here’s some important information to get you started, from backcountry conditions to snowfall, permits, guiding services and more:
Planning your Aspen backcountry skiing trip
Given the span and quantity of the 10th Mountain Division Huts, there are a broad number of routes that can be taken from hut to hut. The trip plan should be based around what type of skiing intensity you’re looking for, and what the reservations you’re able to get. If you want your trip to be more ski-oriented, you can spend multiple days in the same hut and go on single-day ski tours. Or you can opt for moving from hut-to-hut each day, doing more hiking than skiing, but getting to see a greater variety of backcountry terrain. The options are endless!
Do you need a permit for backcountry ski touring in Aspen?
There is no permit necessary for the hut-to-hut backcountry trips in Aspen. However, it is important to make a reservation for the exact hut in which you will be staying. The reservation gives you all the information necessary, such as hut information, lock combinations, and emergency contact numbers. You also must fill out waivers for each traveler before starting your hut journey.
When is the best month to ski in Aspen?
The Aspen ski season is typically December through early spring, with the best months usually being late January to early March. Aspen’s first snowfall most often arrives in October. The season’s last snowfall typically happens in May, but some years also get a little snow in June. During the summer, July and August, Aspen is typically snow-free – ideal for hiking one of the best trails in Colorado.
January is one of the most reliable months for snowfall in Aspen, Colorado. You are most definitely going to encounter fresh powder skiing in January. However, this doesn’t make for the best backcountry ski conditions. With so much snow dumping all at once, avalanche danger is very high. After consistent snowfall, February is a great time to ski. The snow has settled and will be nice and deep.
However, if you are looking to get some nice skiing in with some nice weather to boot, March is your month. We chose to do our trip in the middle of March, which allowed for warm and sunny weather. However, in some areas, we encountered slushy snow which didn’t make for the best skiing conditions. But the warmer March temperatures made the hikes through the backcountry much more enjoyable. If you don’t mind the crowds that Spring Break brings, March is one of the best months for backcountry skiing. Warm temperatures and bright sunny days!
Check the conditions before you go
The backcountry is always an uncertain terrain. During our trip, the biggest cause for concern were wind slabs and loose, wet avalanches. Wind slab avalanches happen naturally during wind events, but can also be triggered for up to a week after a wind event. The route we did on the afternoon of our second day required us to stick to wind sheltered areas. We were also on the lookout for loose, wet avalanches. When backcountry touring in warmer weather, there’s always concern that water running through the snowpack can trigger an avalanche. Checking Aspen’s backcountry conditions on the Colorado Avalanche Information Center website is a good place to start.
Consider hiring a guide
My family was comfortable enough going into the terrain by ourselves, however, for some acquiring the services of a professional guide may be the best way to enjoy a backcountry adventure such as this one. If you are unsure of your backcountry skills, consider using a guide service to access the hut system. A guide service can also teach you about winter backcountry travel and safety so that next time you can go alone. Aspen Expeditions is one of the most trusted backcountry guiding services in the Aspen area, with more than 40 years of experience and a team of highly trained, certified guides.

